


Reg
-
Posts
6,683 -
Joined
-
Days Won
512
Content Type
Profiles
Forums
Gallery
Downloads
Articles
Posts posted by Reg
-
-
39 minutes ago, evo1 said:
Bit off topic here Reg, but what camera are you using if you don't mind me asking. Knowing you Reg its some top of the range £500+ (well out of my price range) camera.
 But joking apart great quality pictures them, and was looking at upgrading my camera sometime in the future.
It’s an old iPhone 8 Plus camera. Nothing special compared to current phone cameras.
-
18 hours ago, SocialDragon368 said:
This is a classic layout of Mazooma's Tetris, set on 25p/£15/82%. If fruit-emu's working, i might put the layout on there too. Thanks to vectra666 for the original DX layout. This layout will work on MFME 6.1 and will also work on MFME V19 if you have windows 10. Thanks to Wizard for MFME.
1 hour ago, Gary said:hmmm, has anyone converted all the lamps to graphic lamps

@SocialDragon368 I have warned you about doing this shit and posting it here. You have history of this.
Please do not post anything from a layout point of view that is not 100% your own work.
I have deleted the file as nobody would make a classic by doing a DX first - please as people have tried to help - get a set of roms that have not been done and try from scratch.
Also do not blame @Gary here. Due to your history I would have checked this when back home, this message is just a little earlier then it would have been.
I am not going to put you back in the Moderation queue as I have done before it does not work - I am going to ask you to stop and can you confirm via a reply or a response icon, you’ve seen this and read this please ?
I will take that confirmation that you will only work on stuff fresh from your PC going forward - ripping people’s work like this just upsets the talented .FML Artists we do have, be it DX or Classic.
Thank you.
-
 4
4
-
-
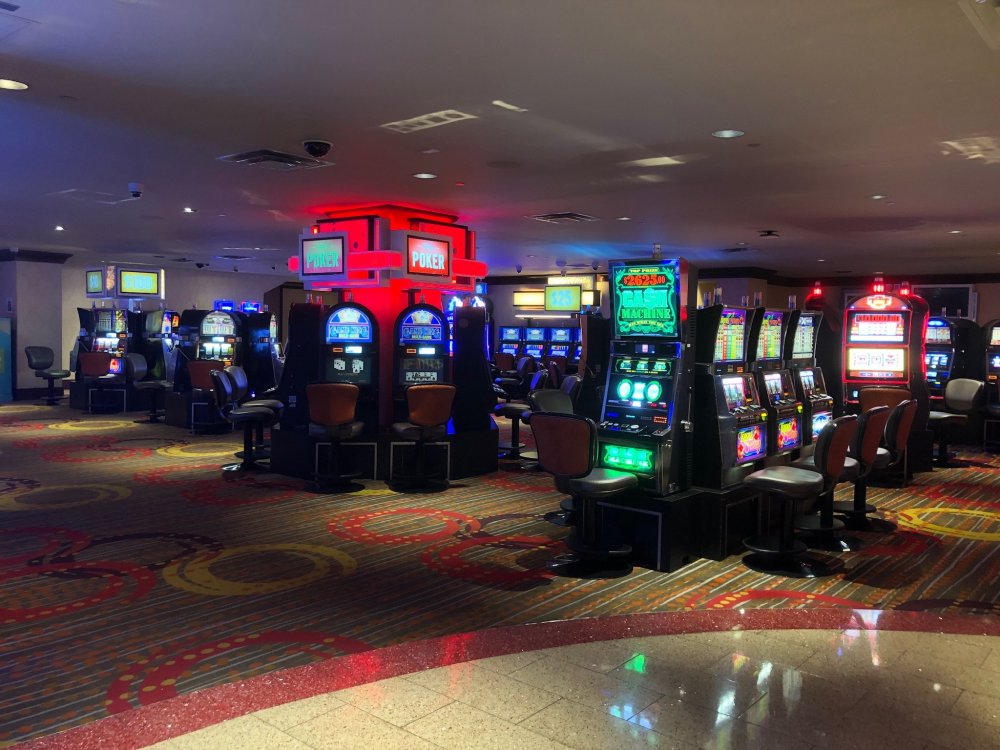
2 hours ago, Gary said:
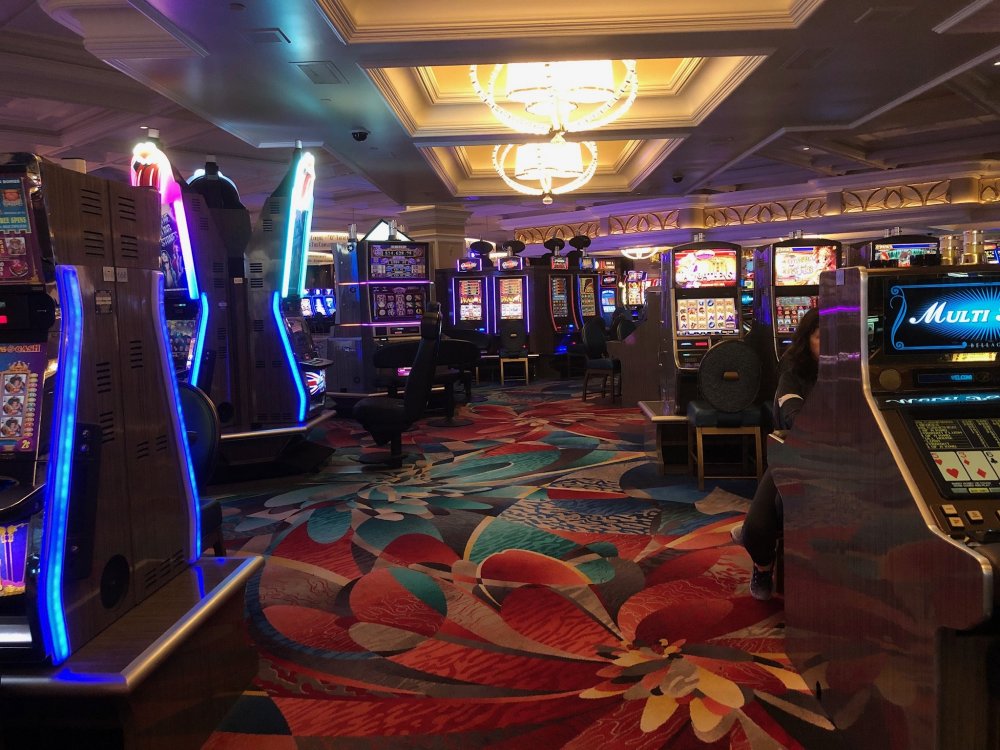
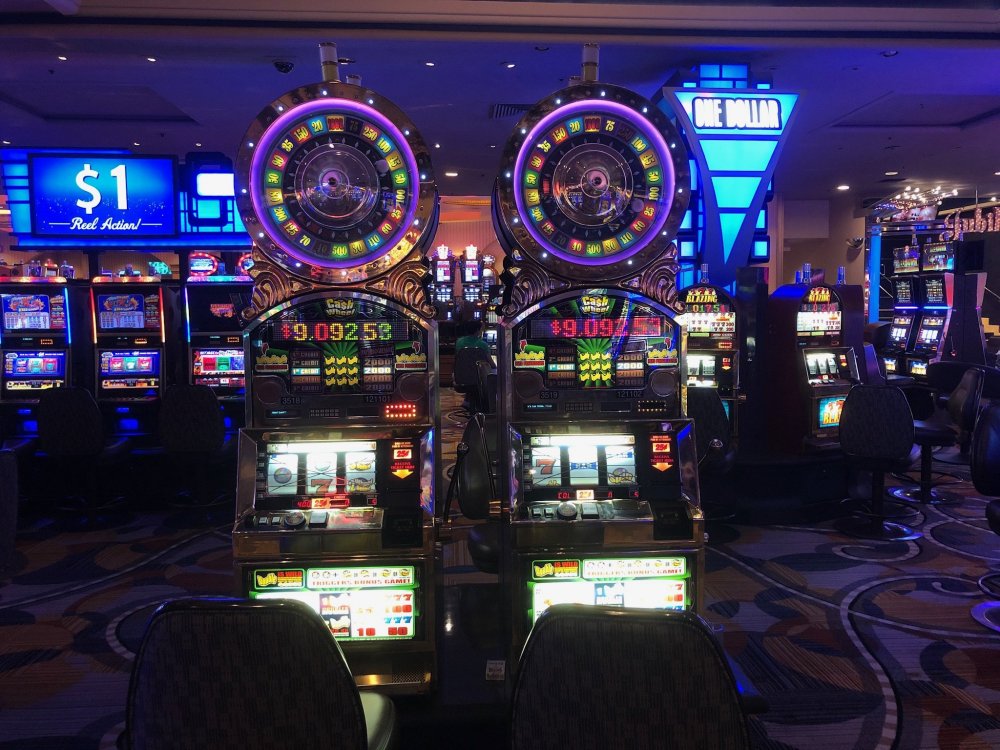
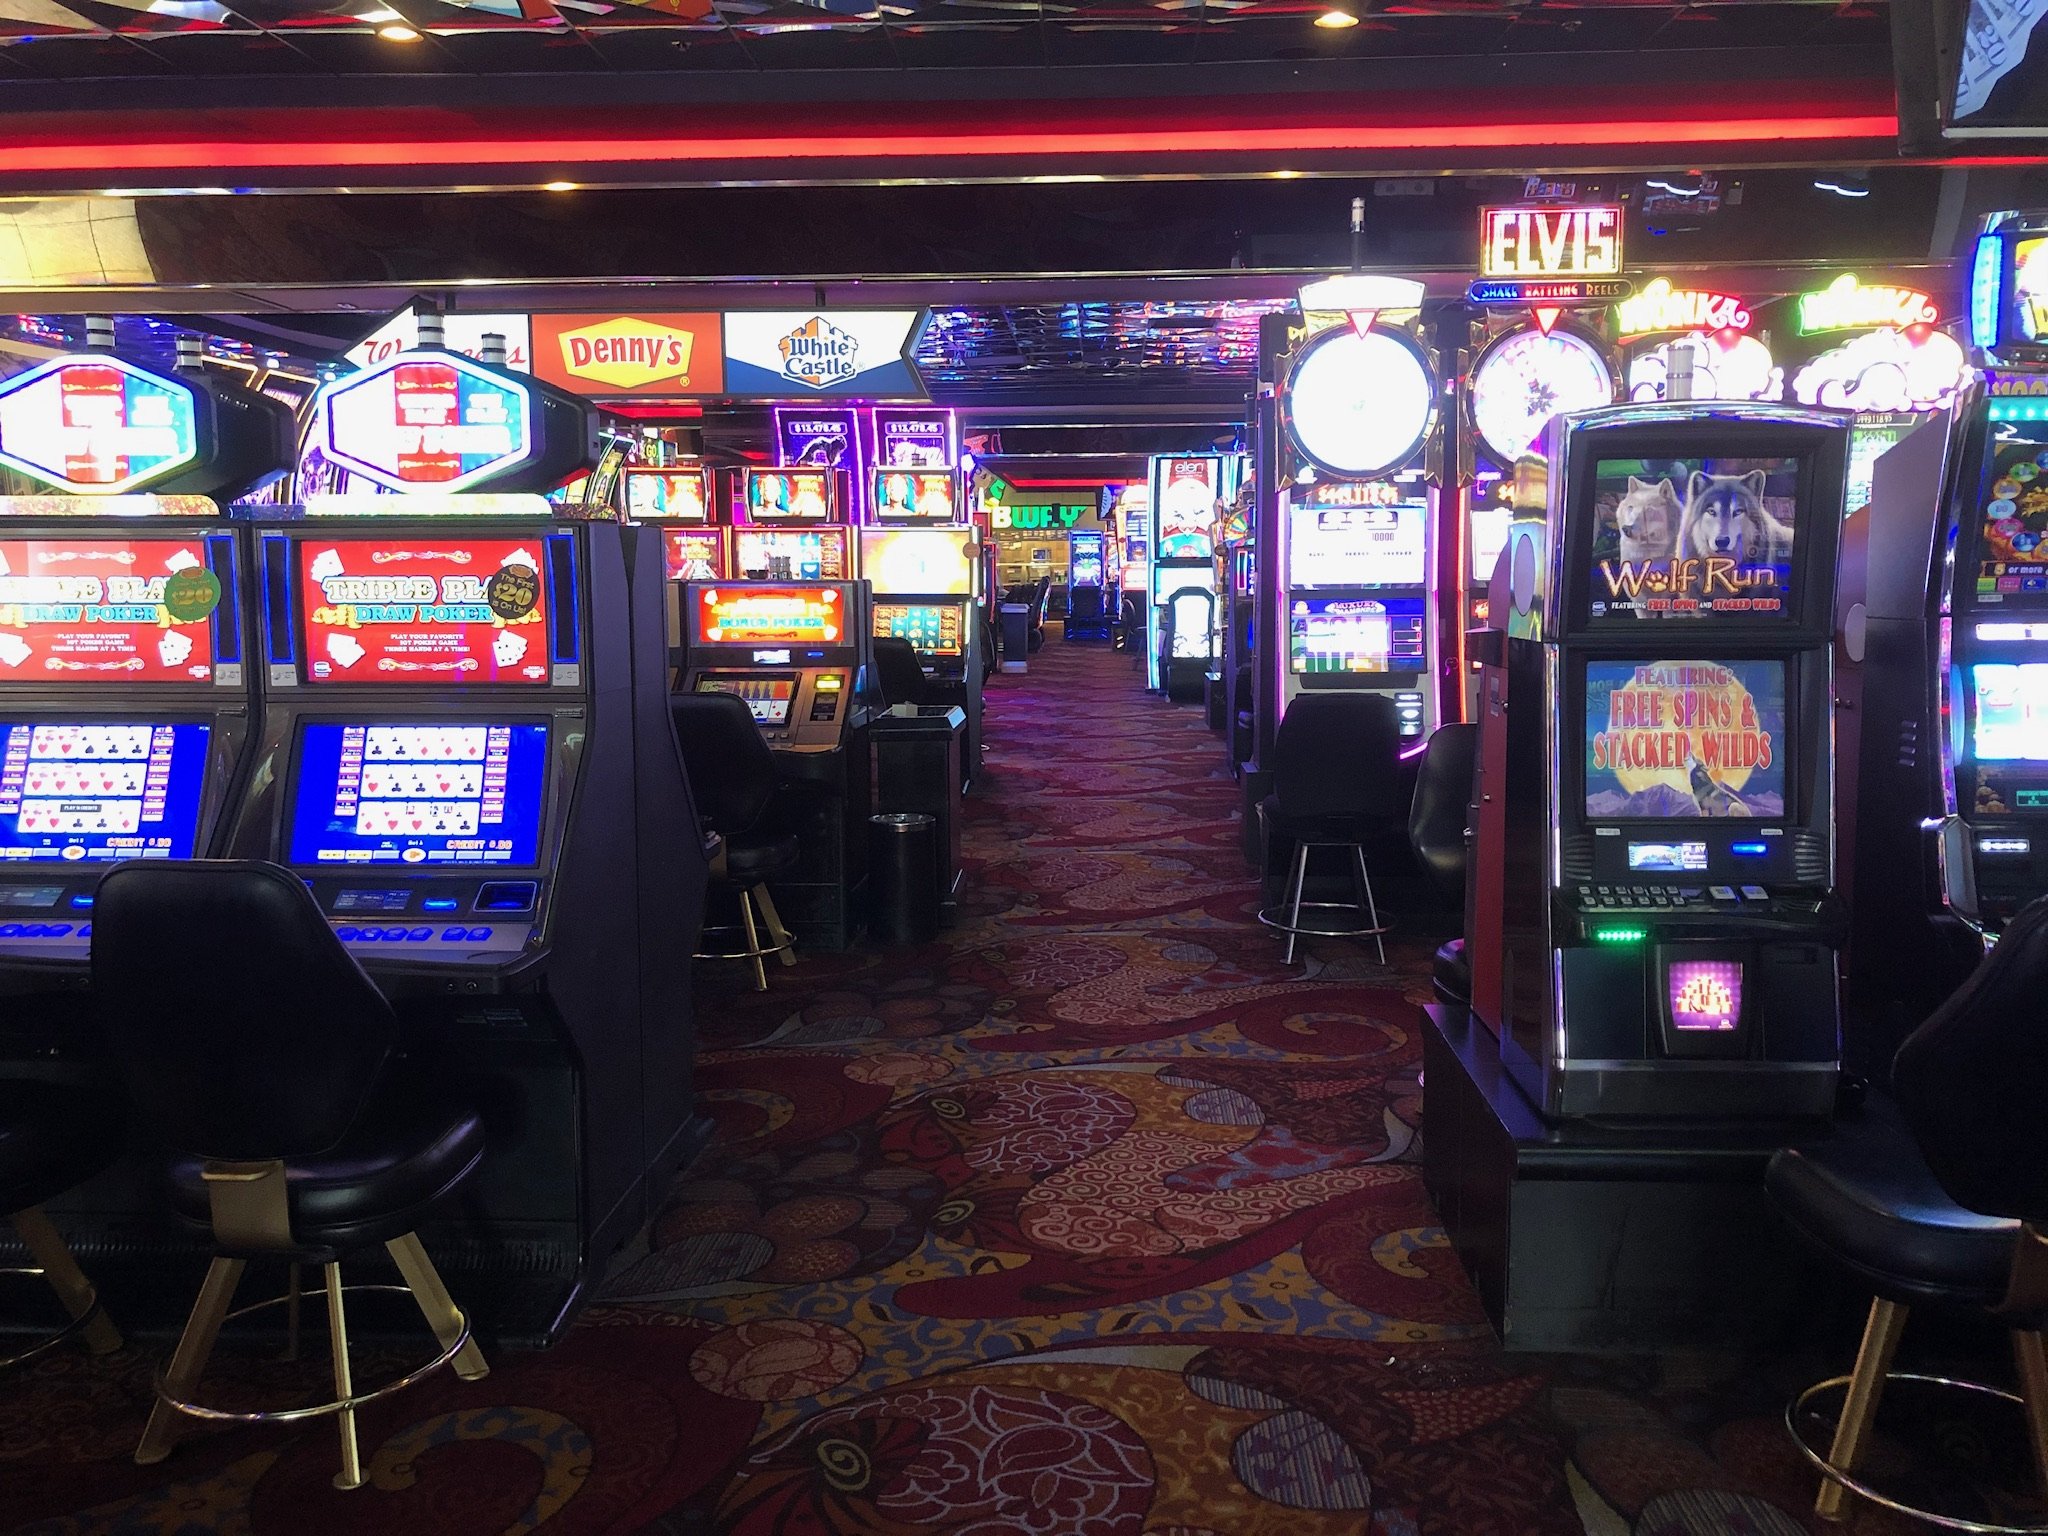
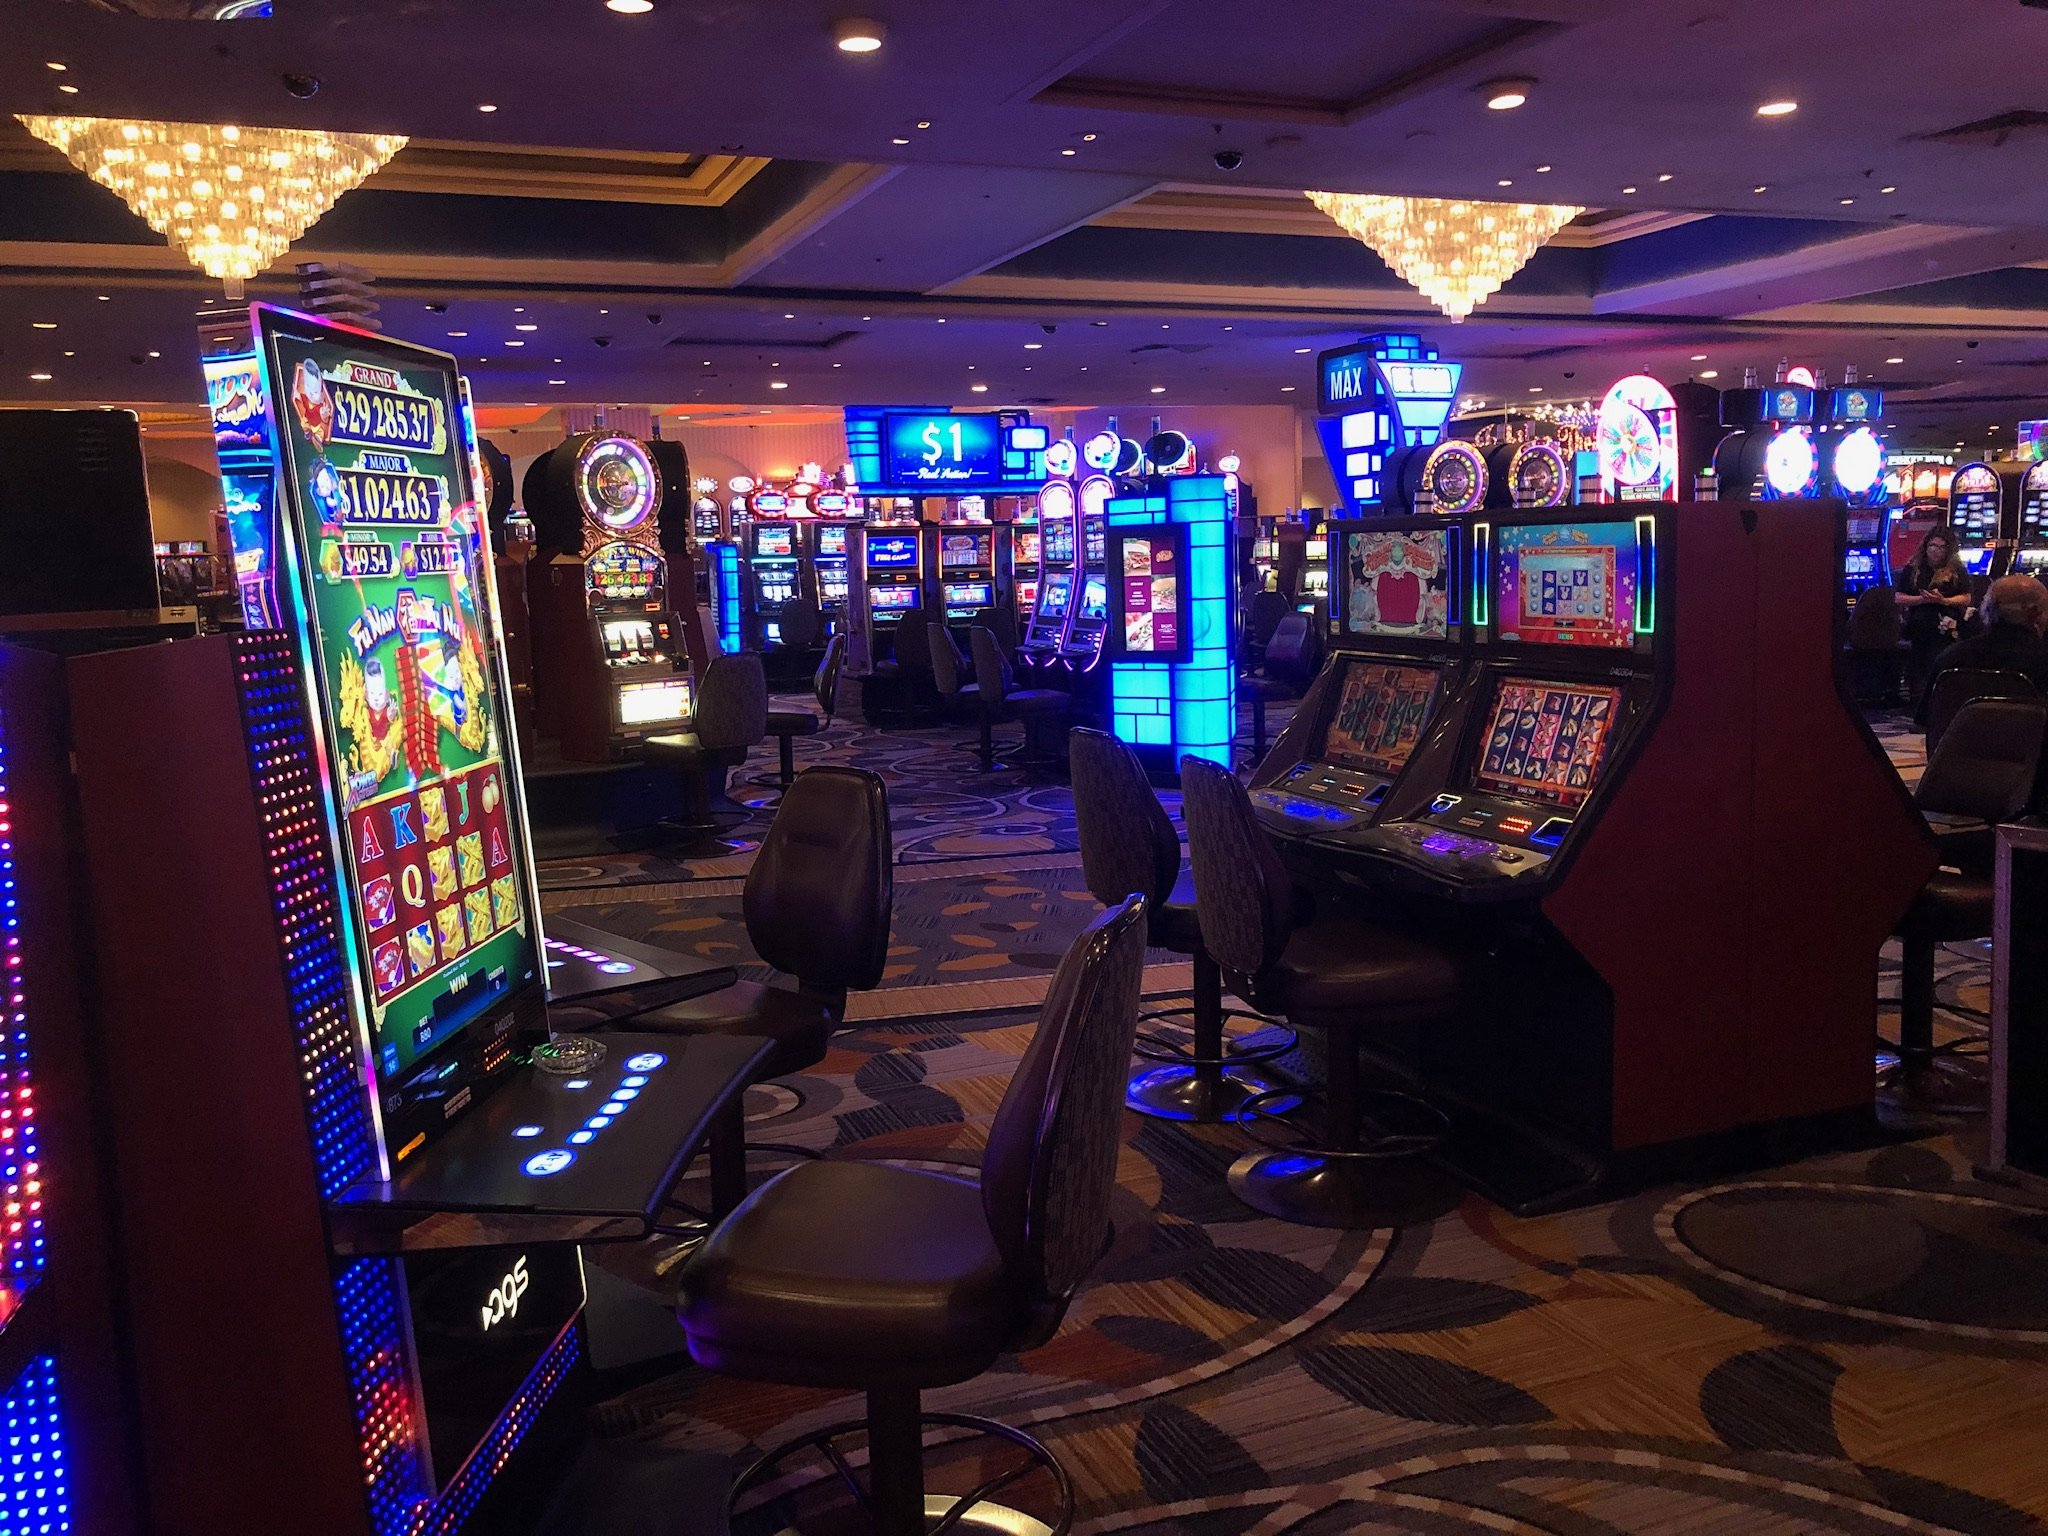
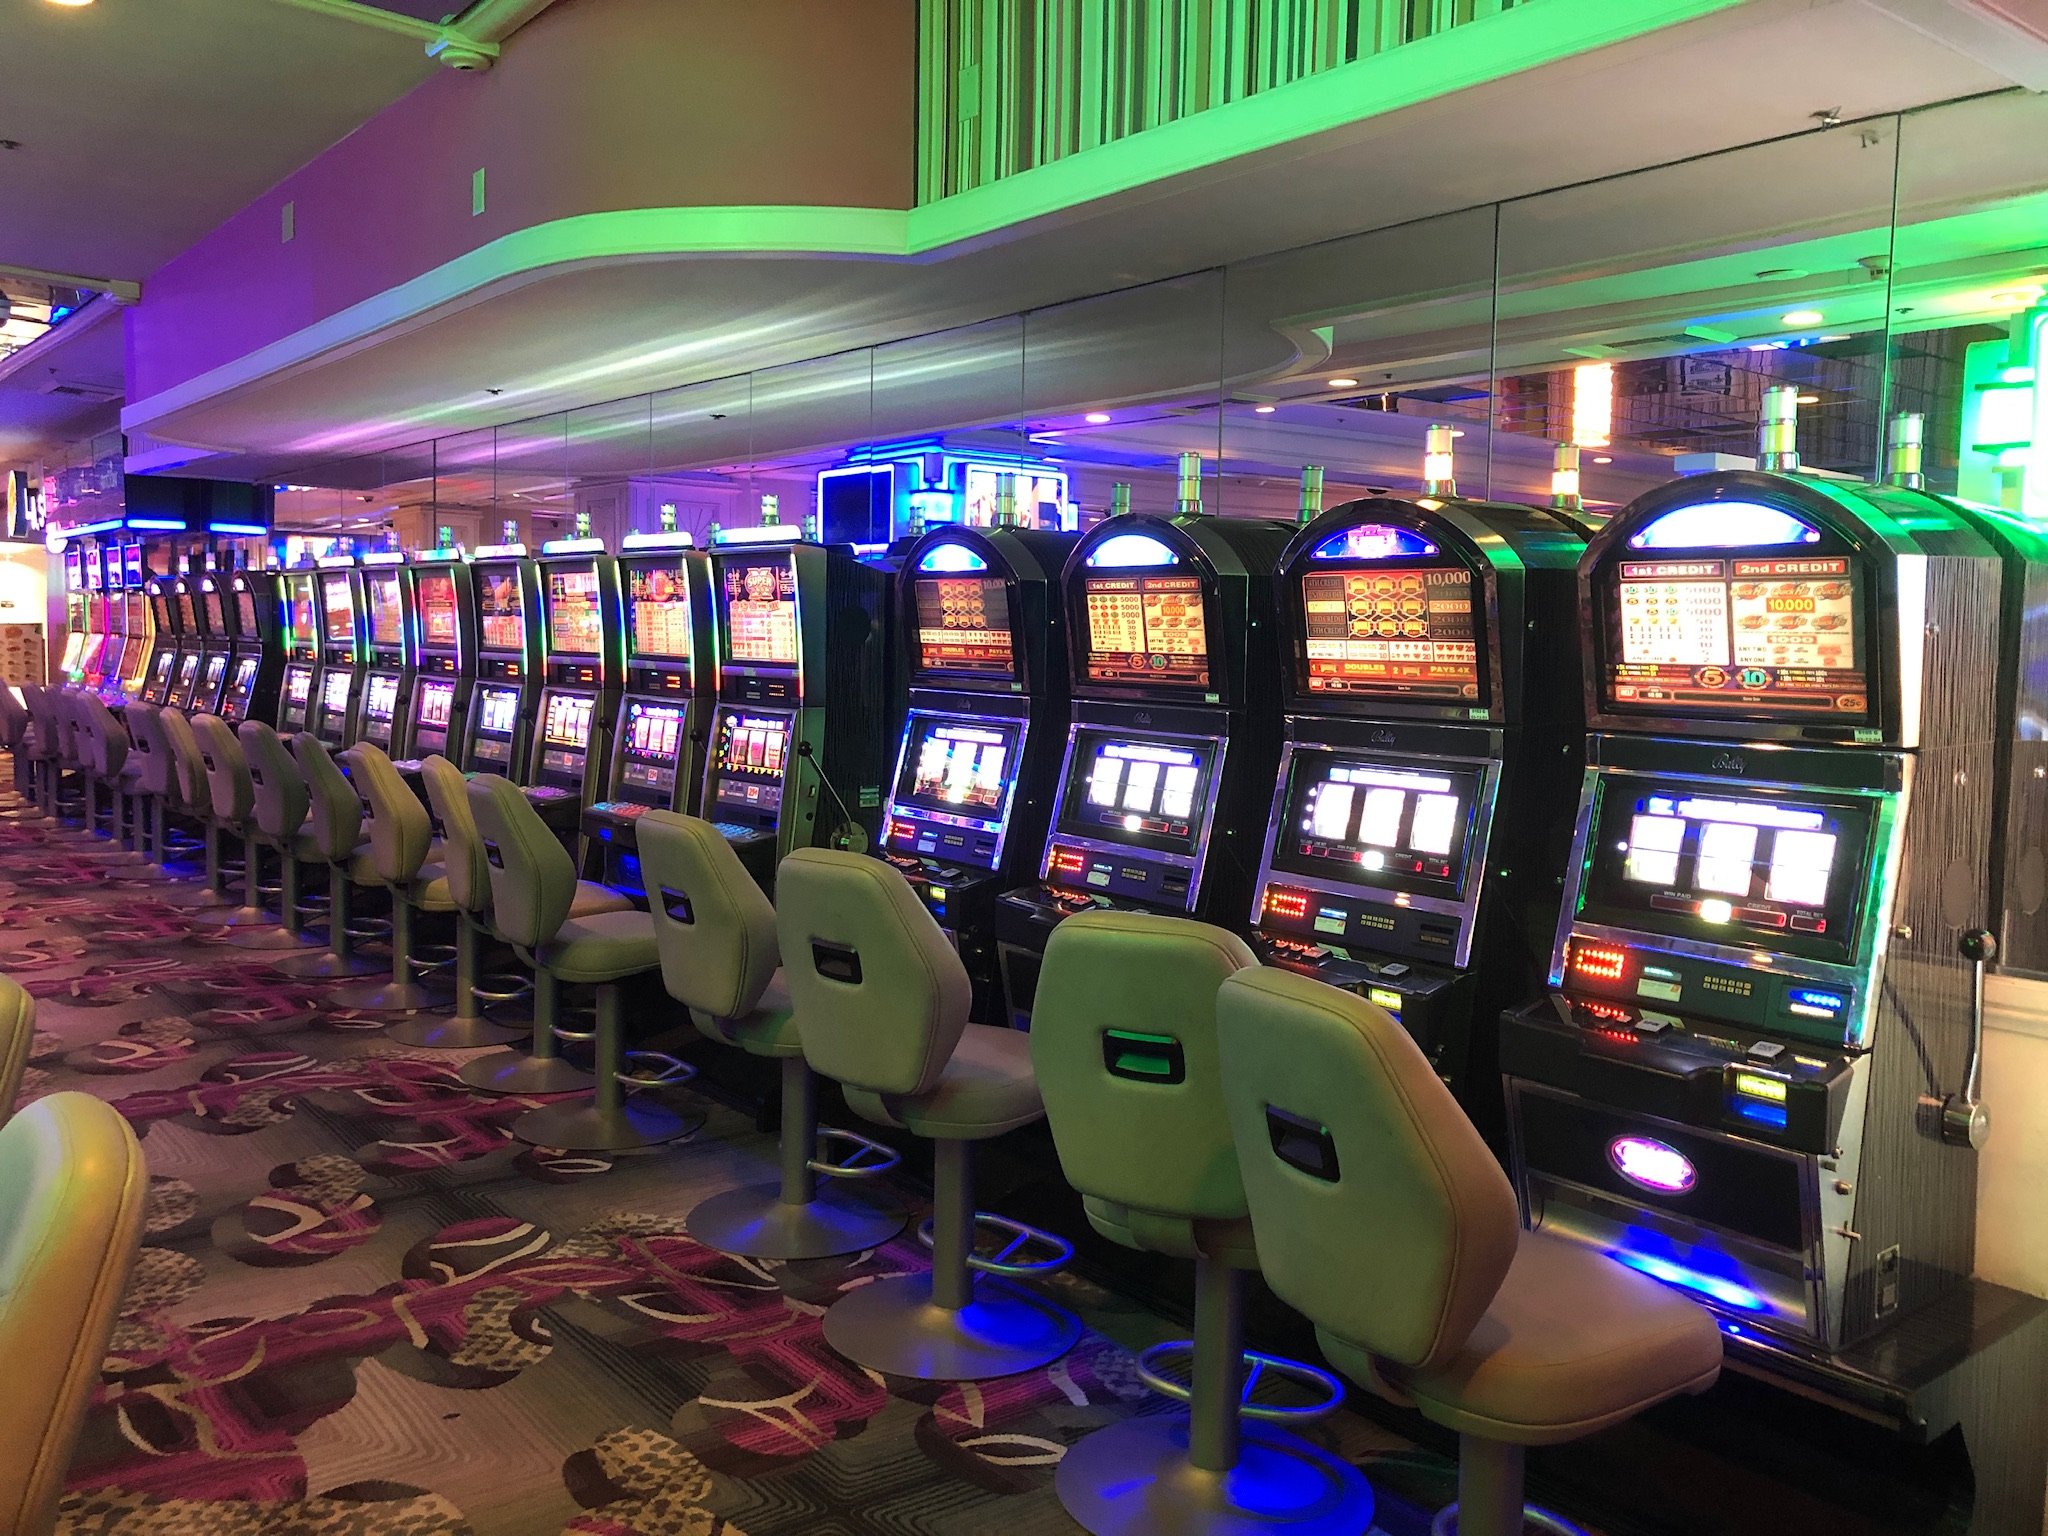
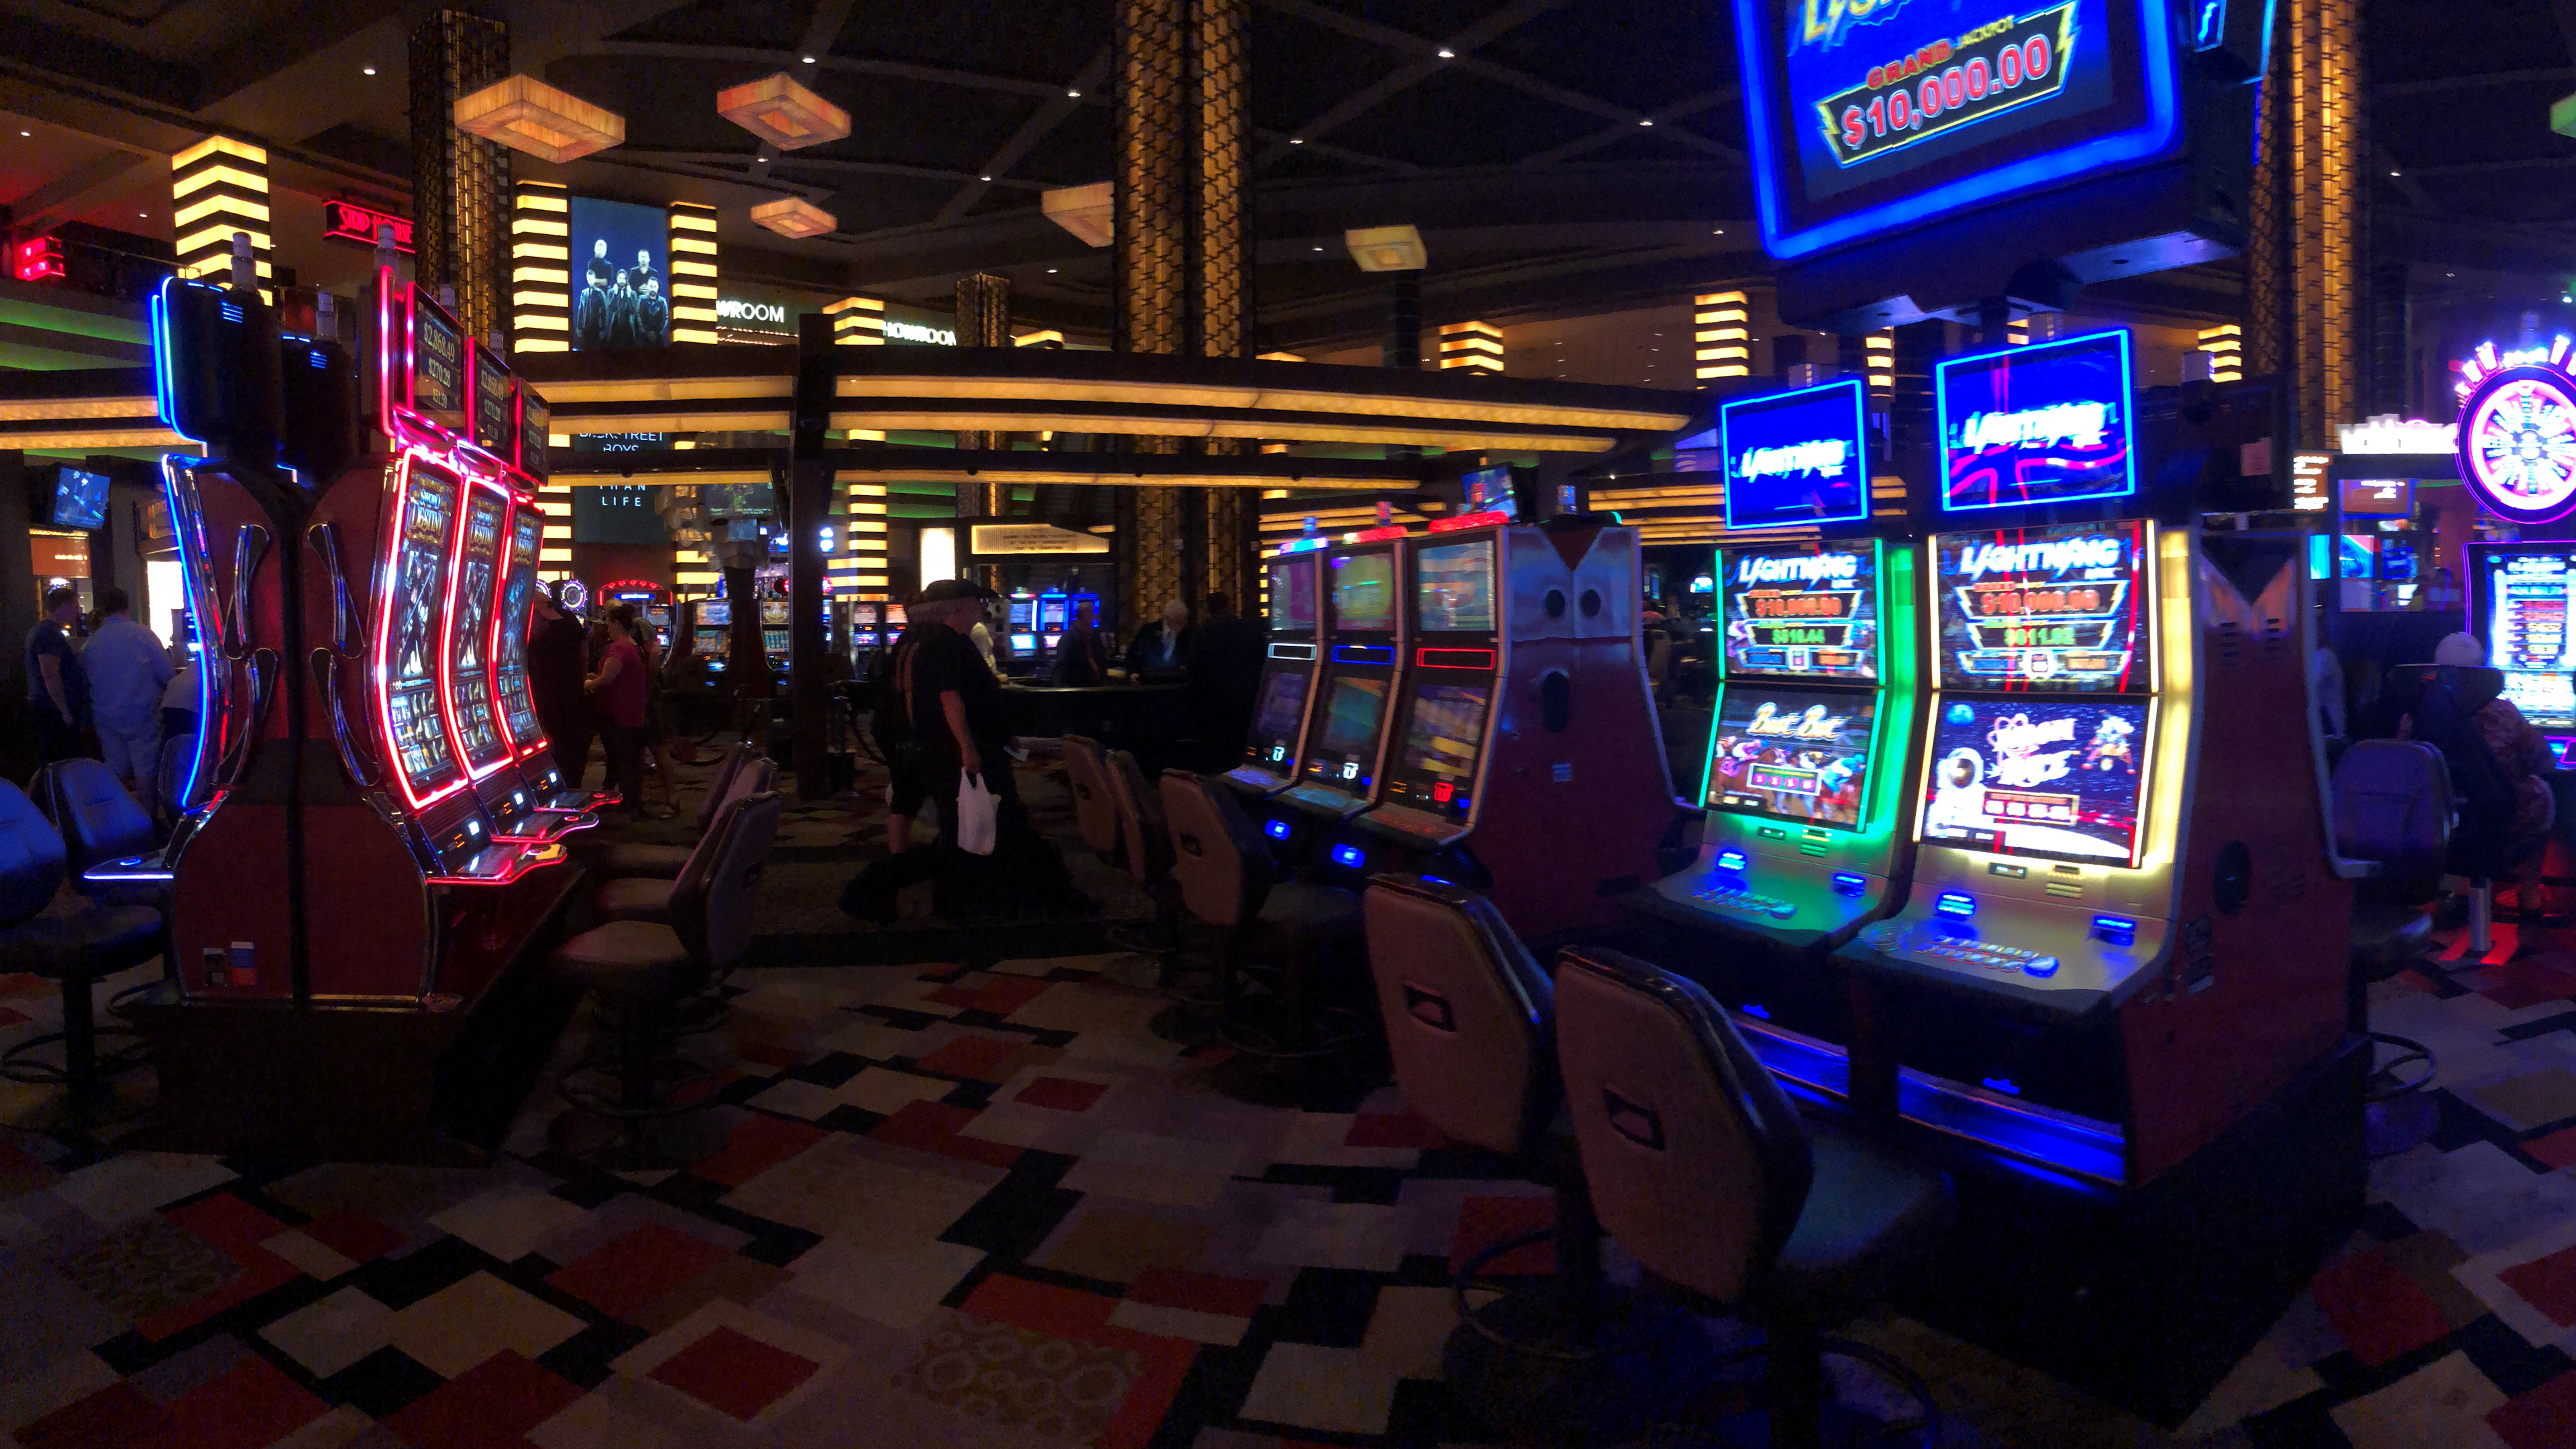
Isn't there a no photo policy in the casinos? The carpet looks really worn in places
I think there is but so many people doing selfies, I am just holding it the other way around.
I’ve not been stopped but there seems to be three staff- Security, Staff and Cleaners.
The cleaners don’t care, the staff are thin on the ground so I stay out of visuals of security and also play $5 here and there and it sorta works out. I do aim for the morning windows as well to hit less people.
-
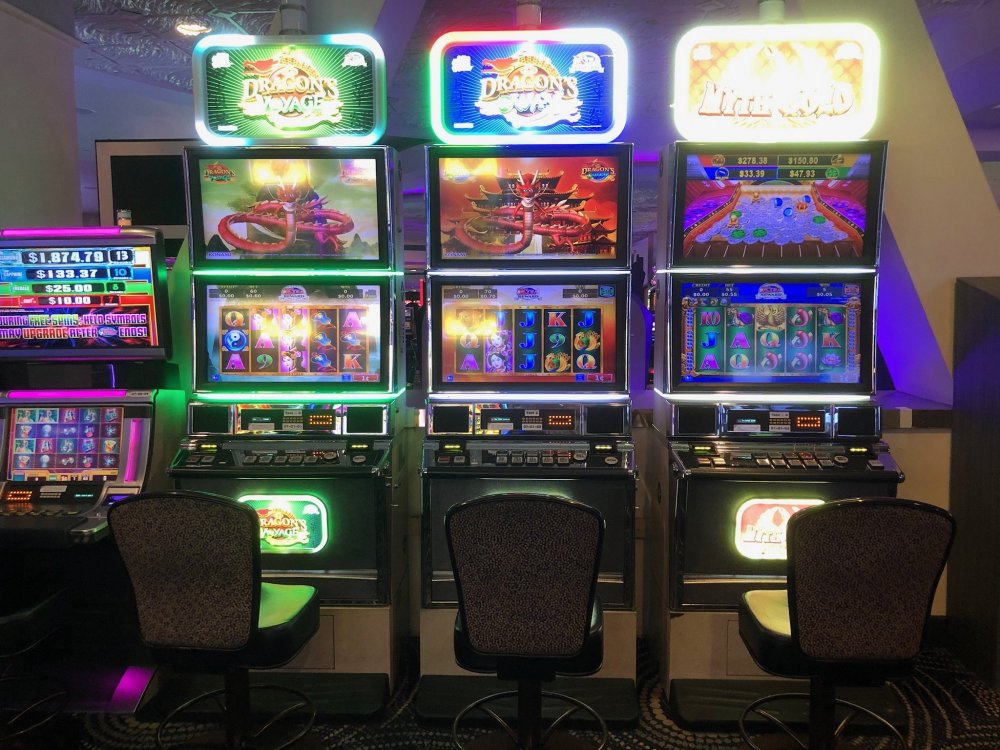
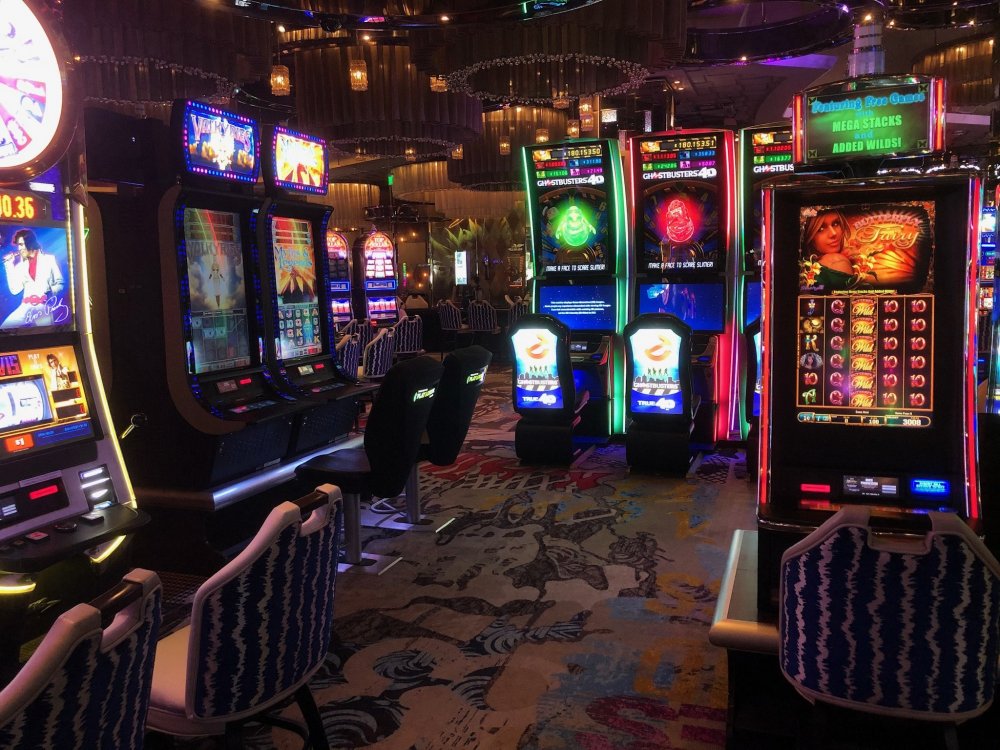
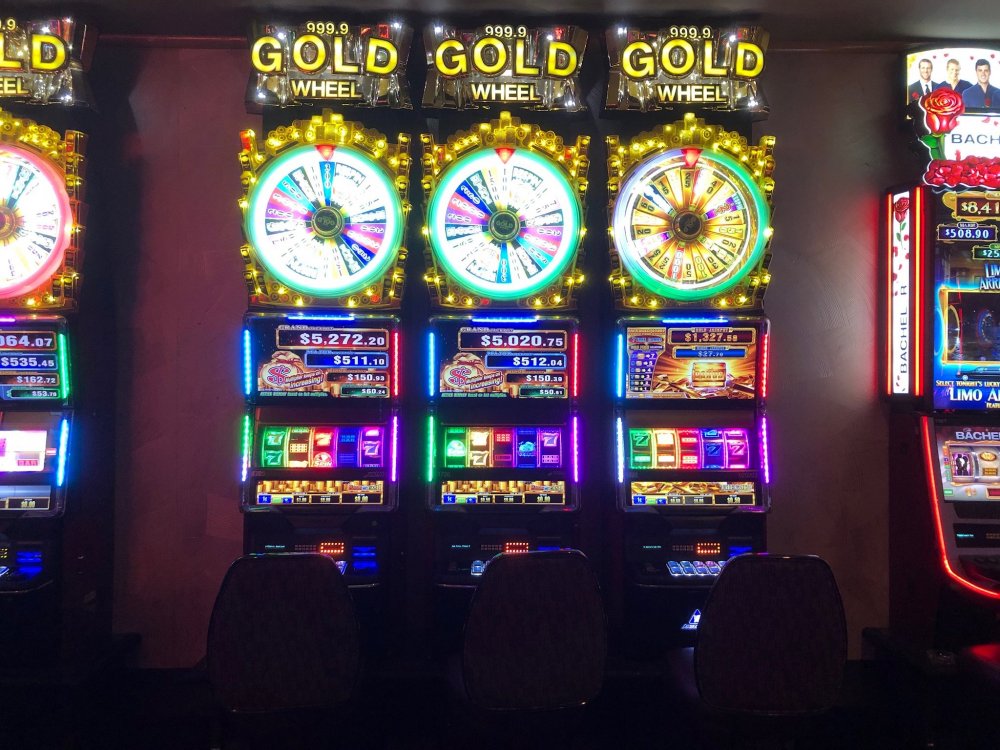
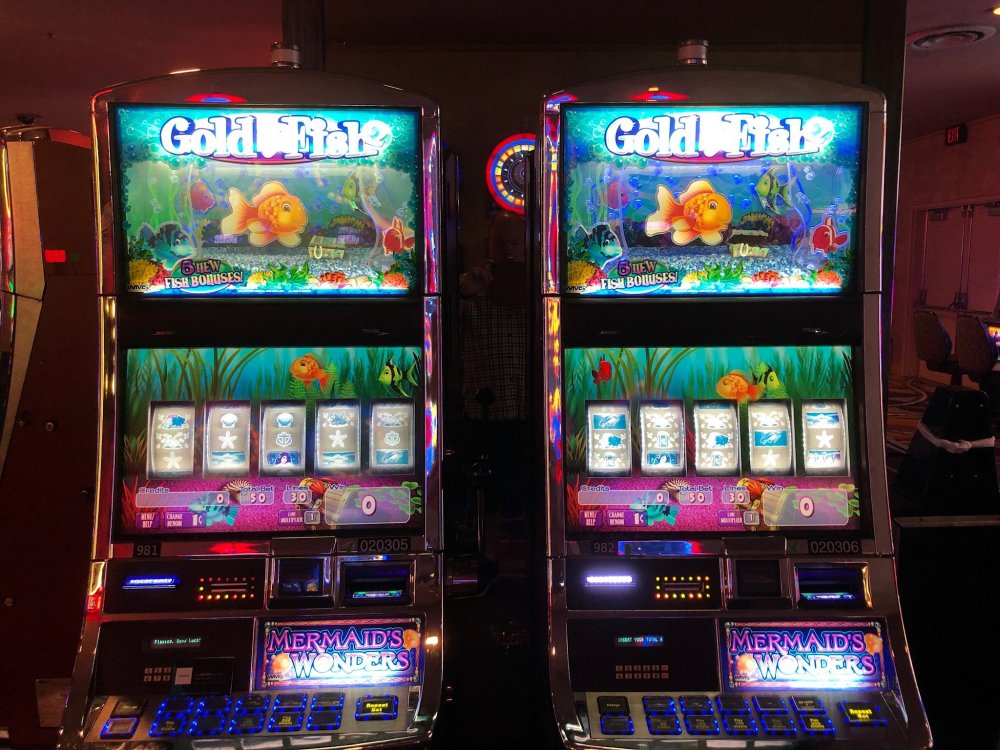
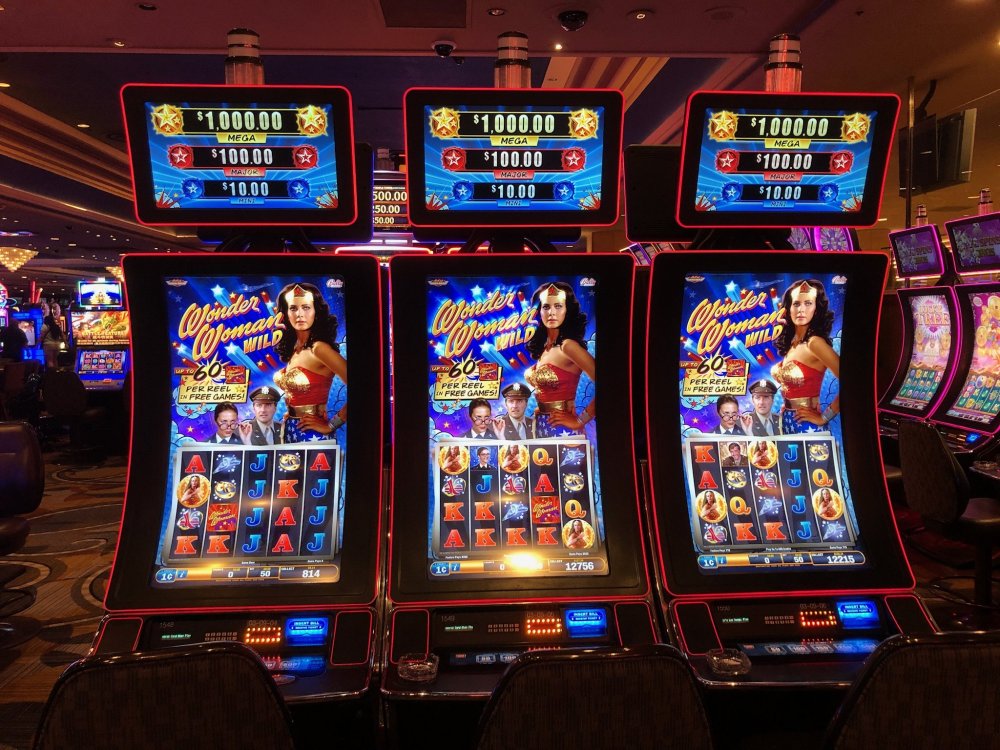
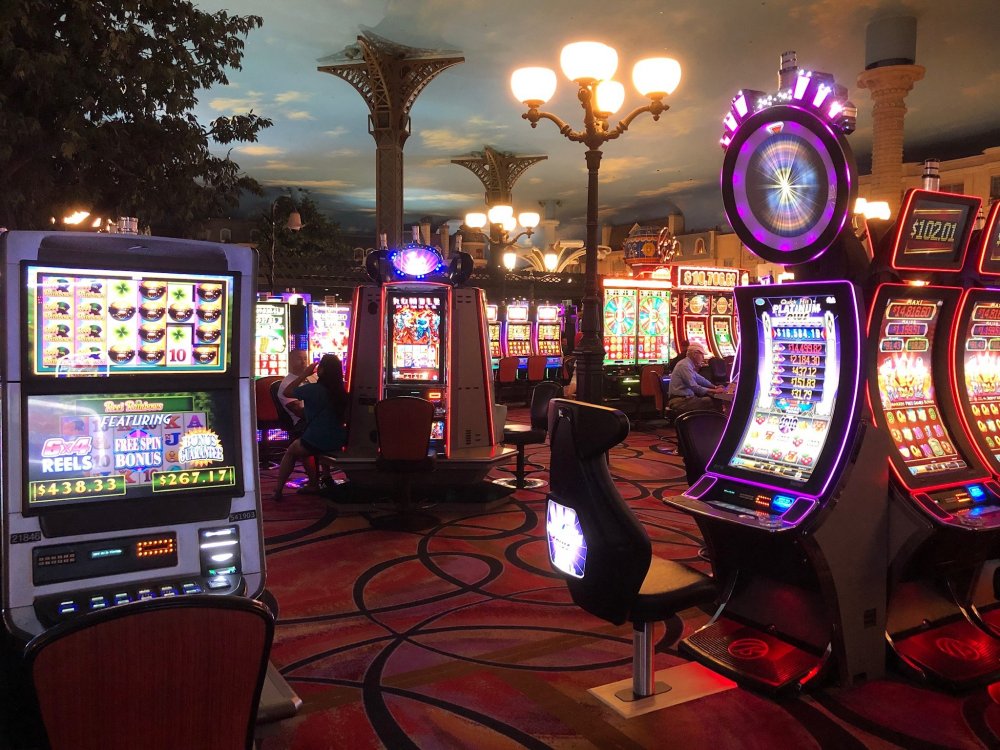
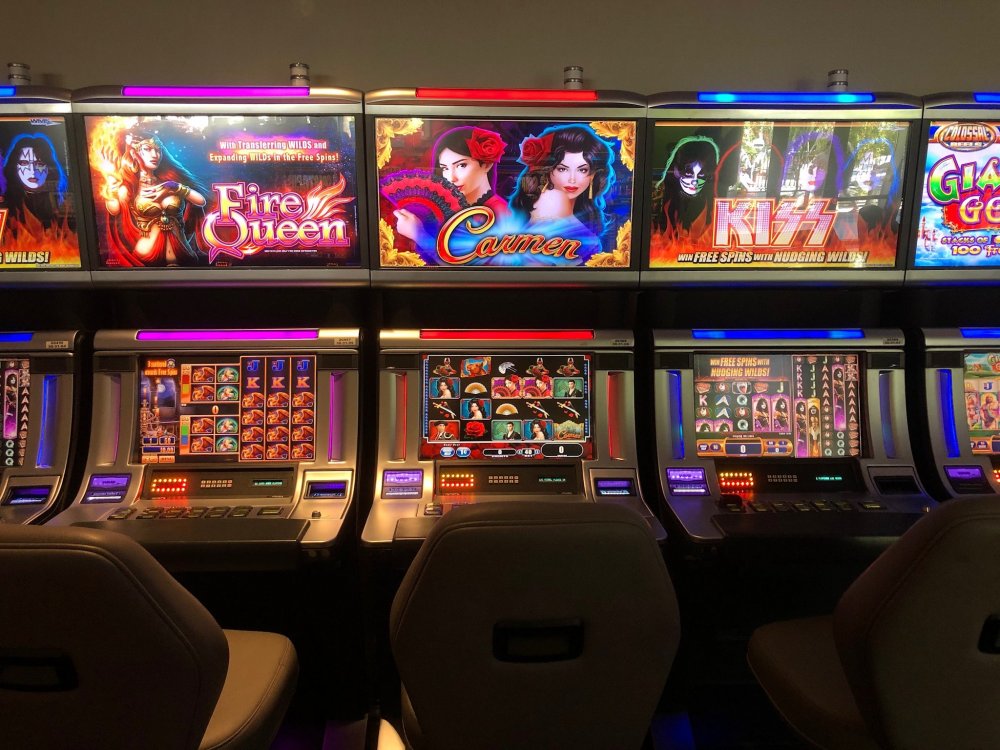
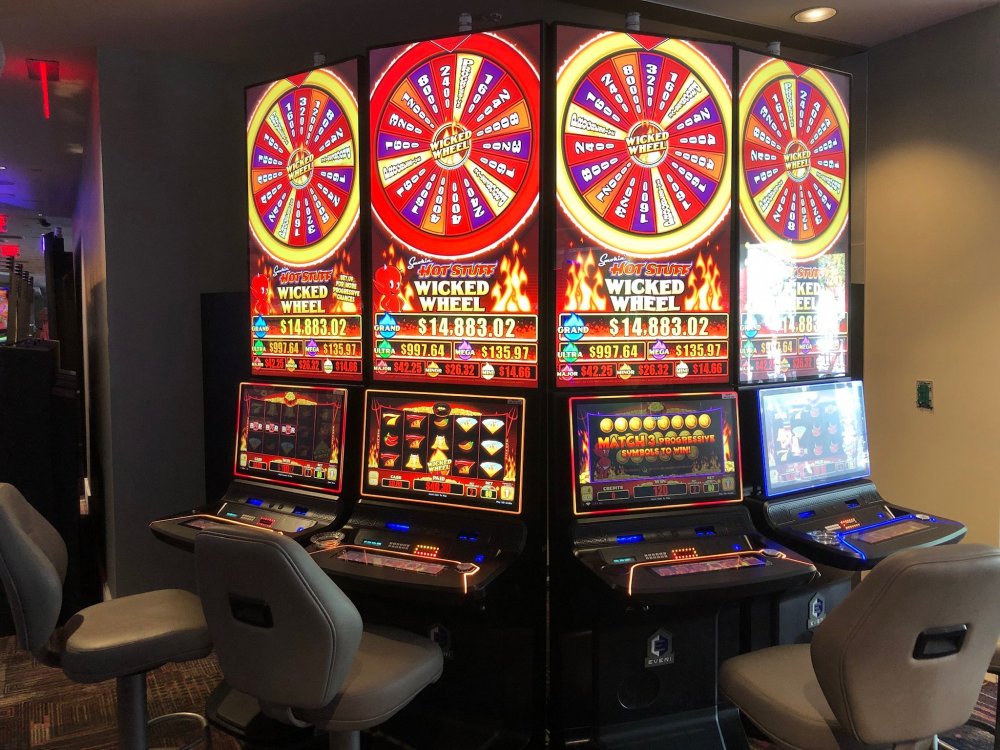
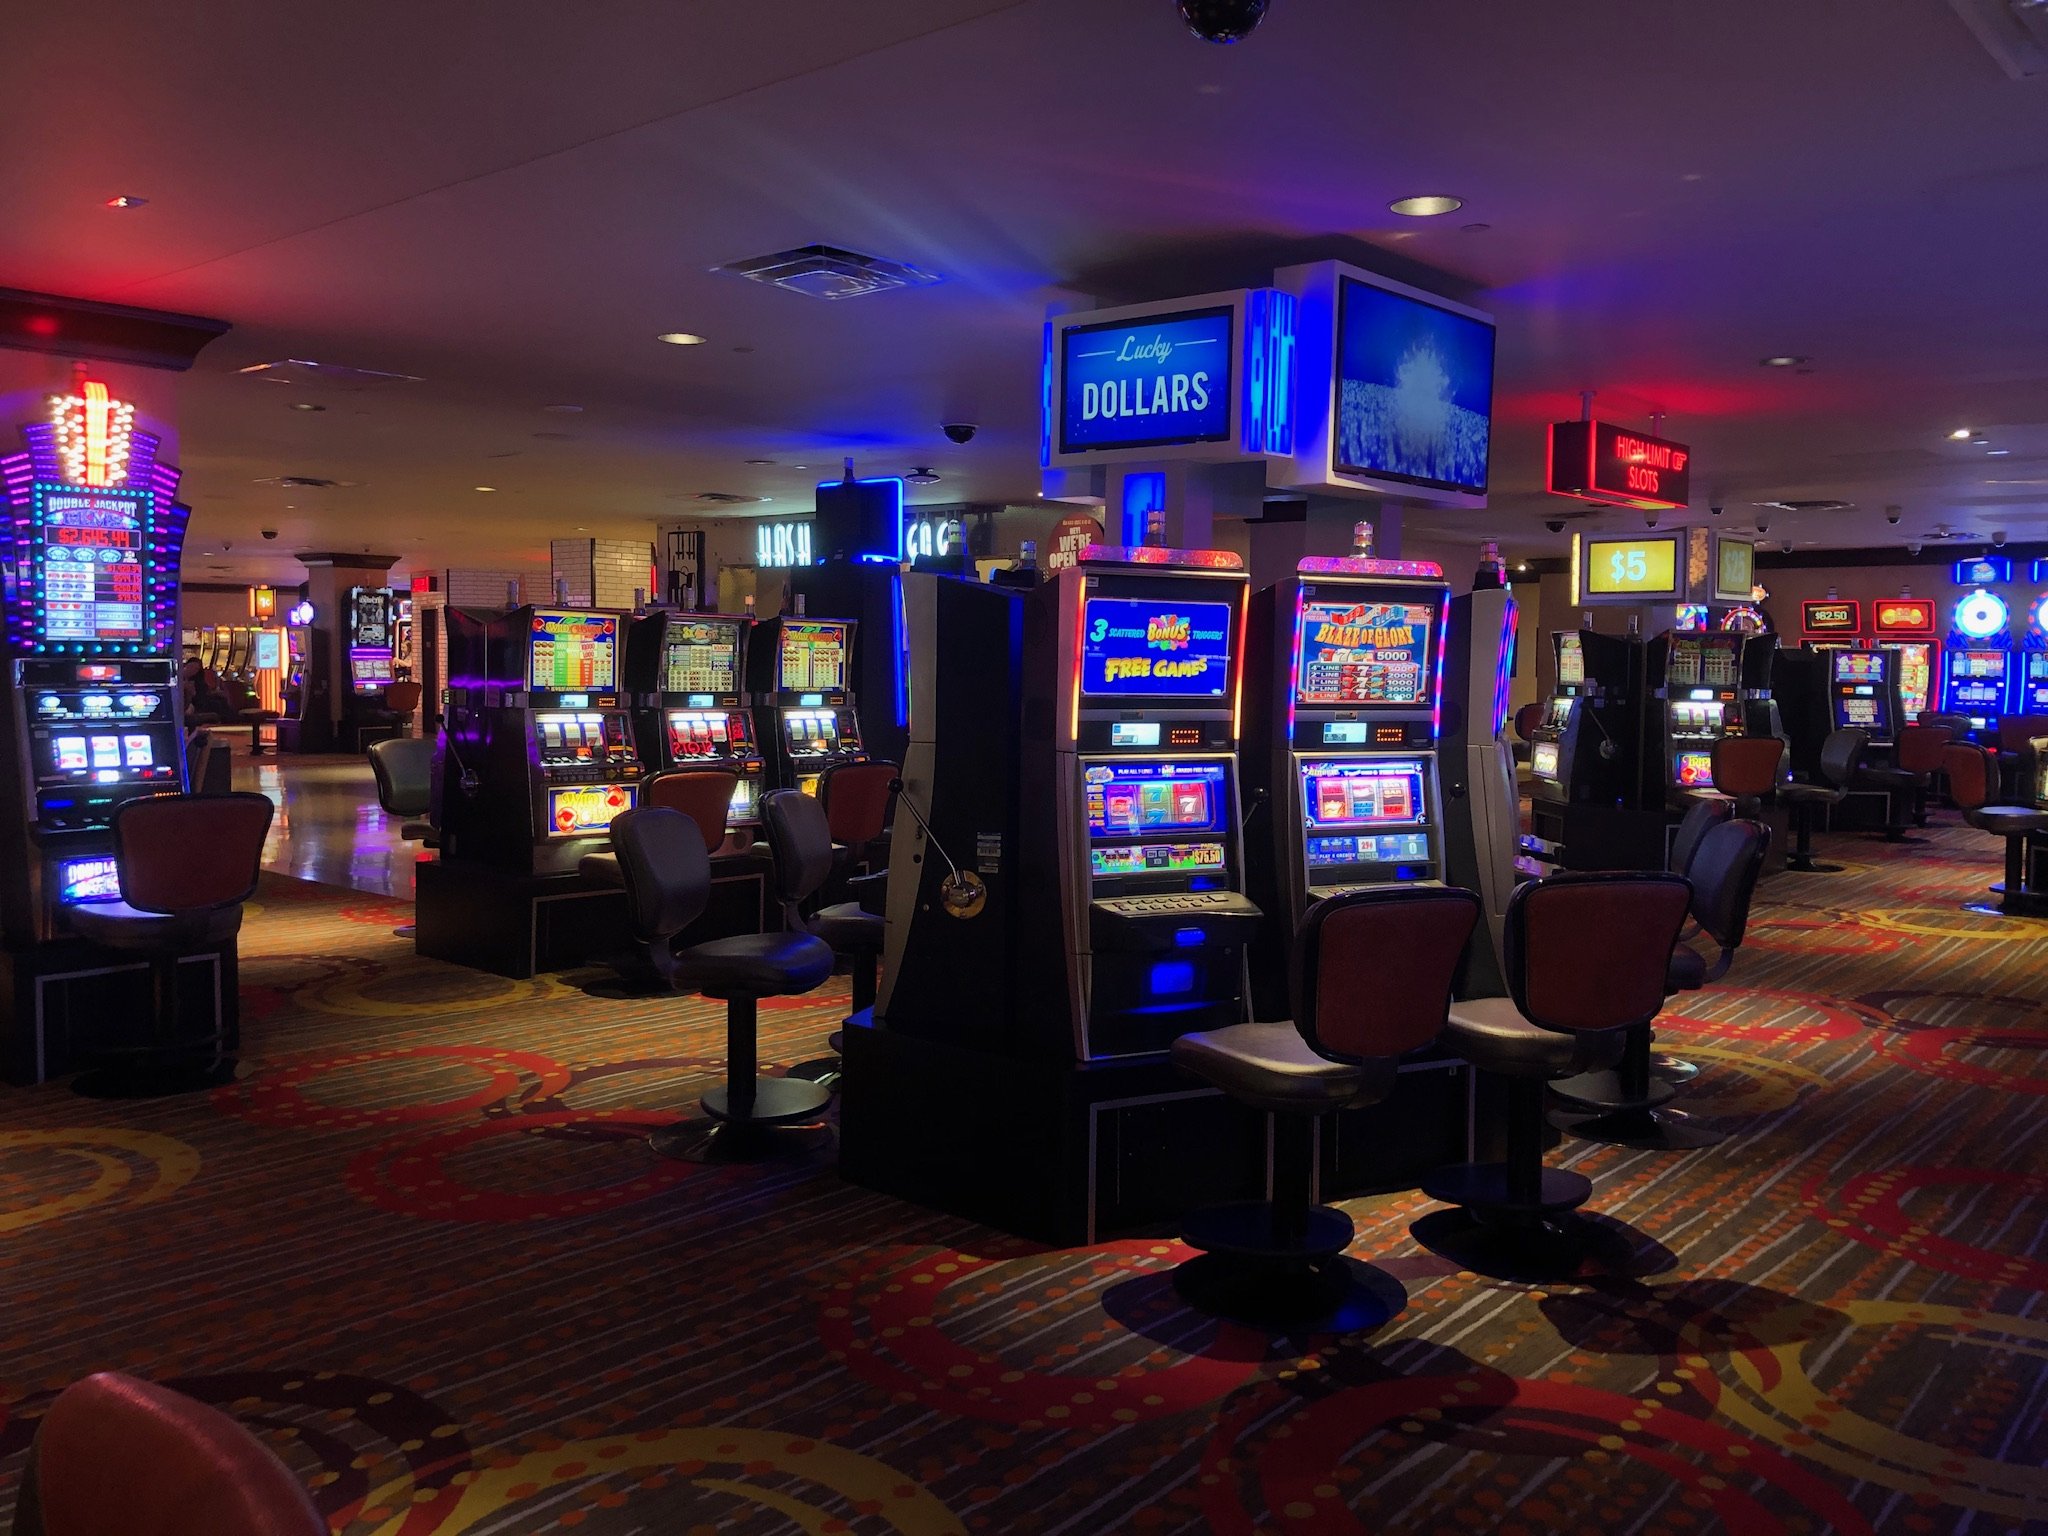
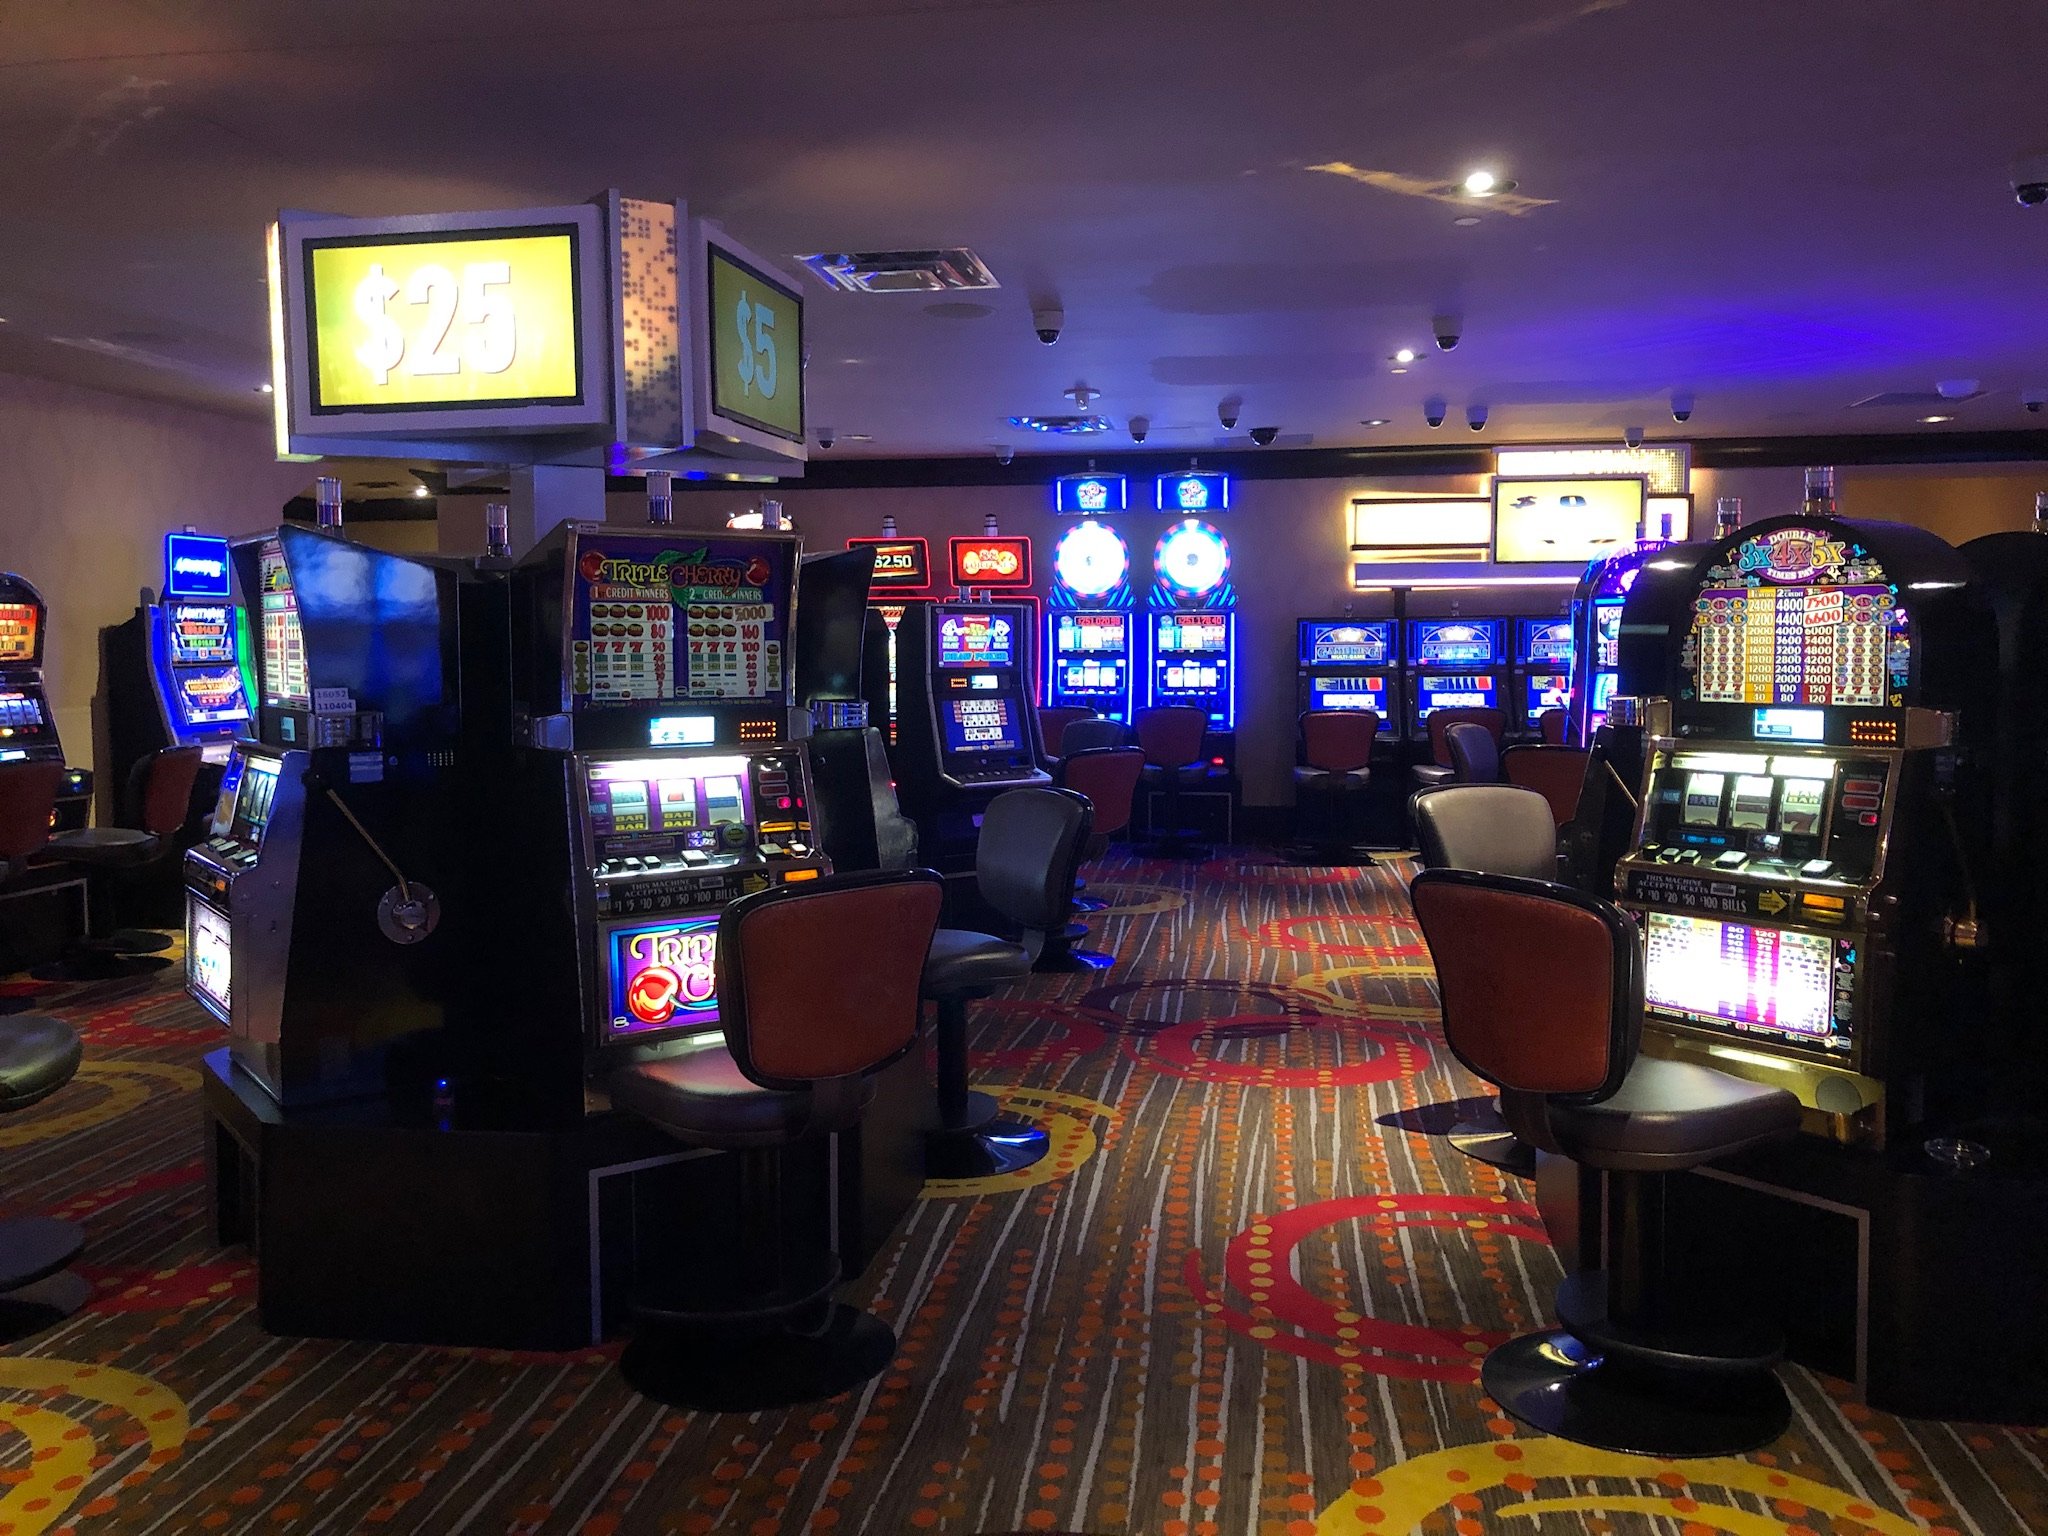
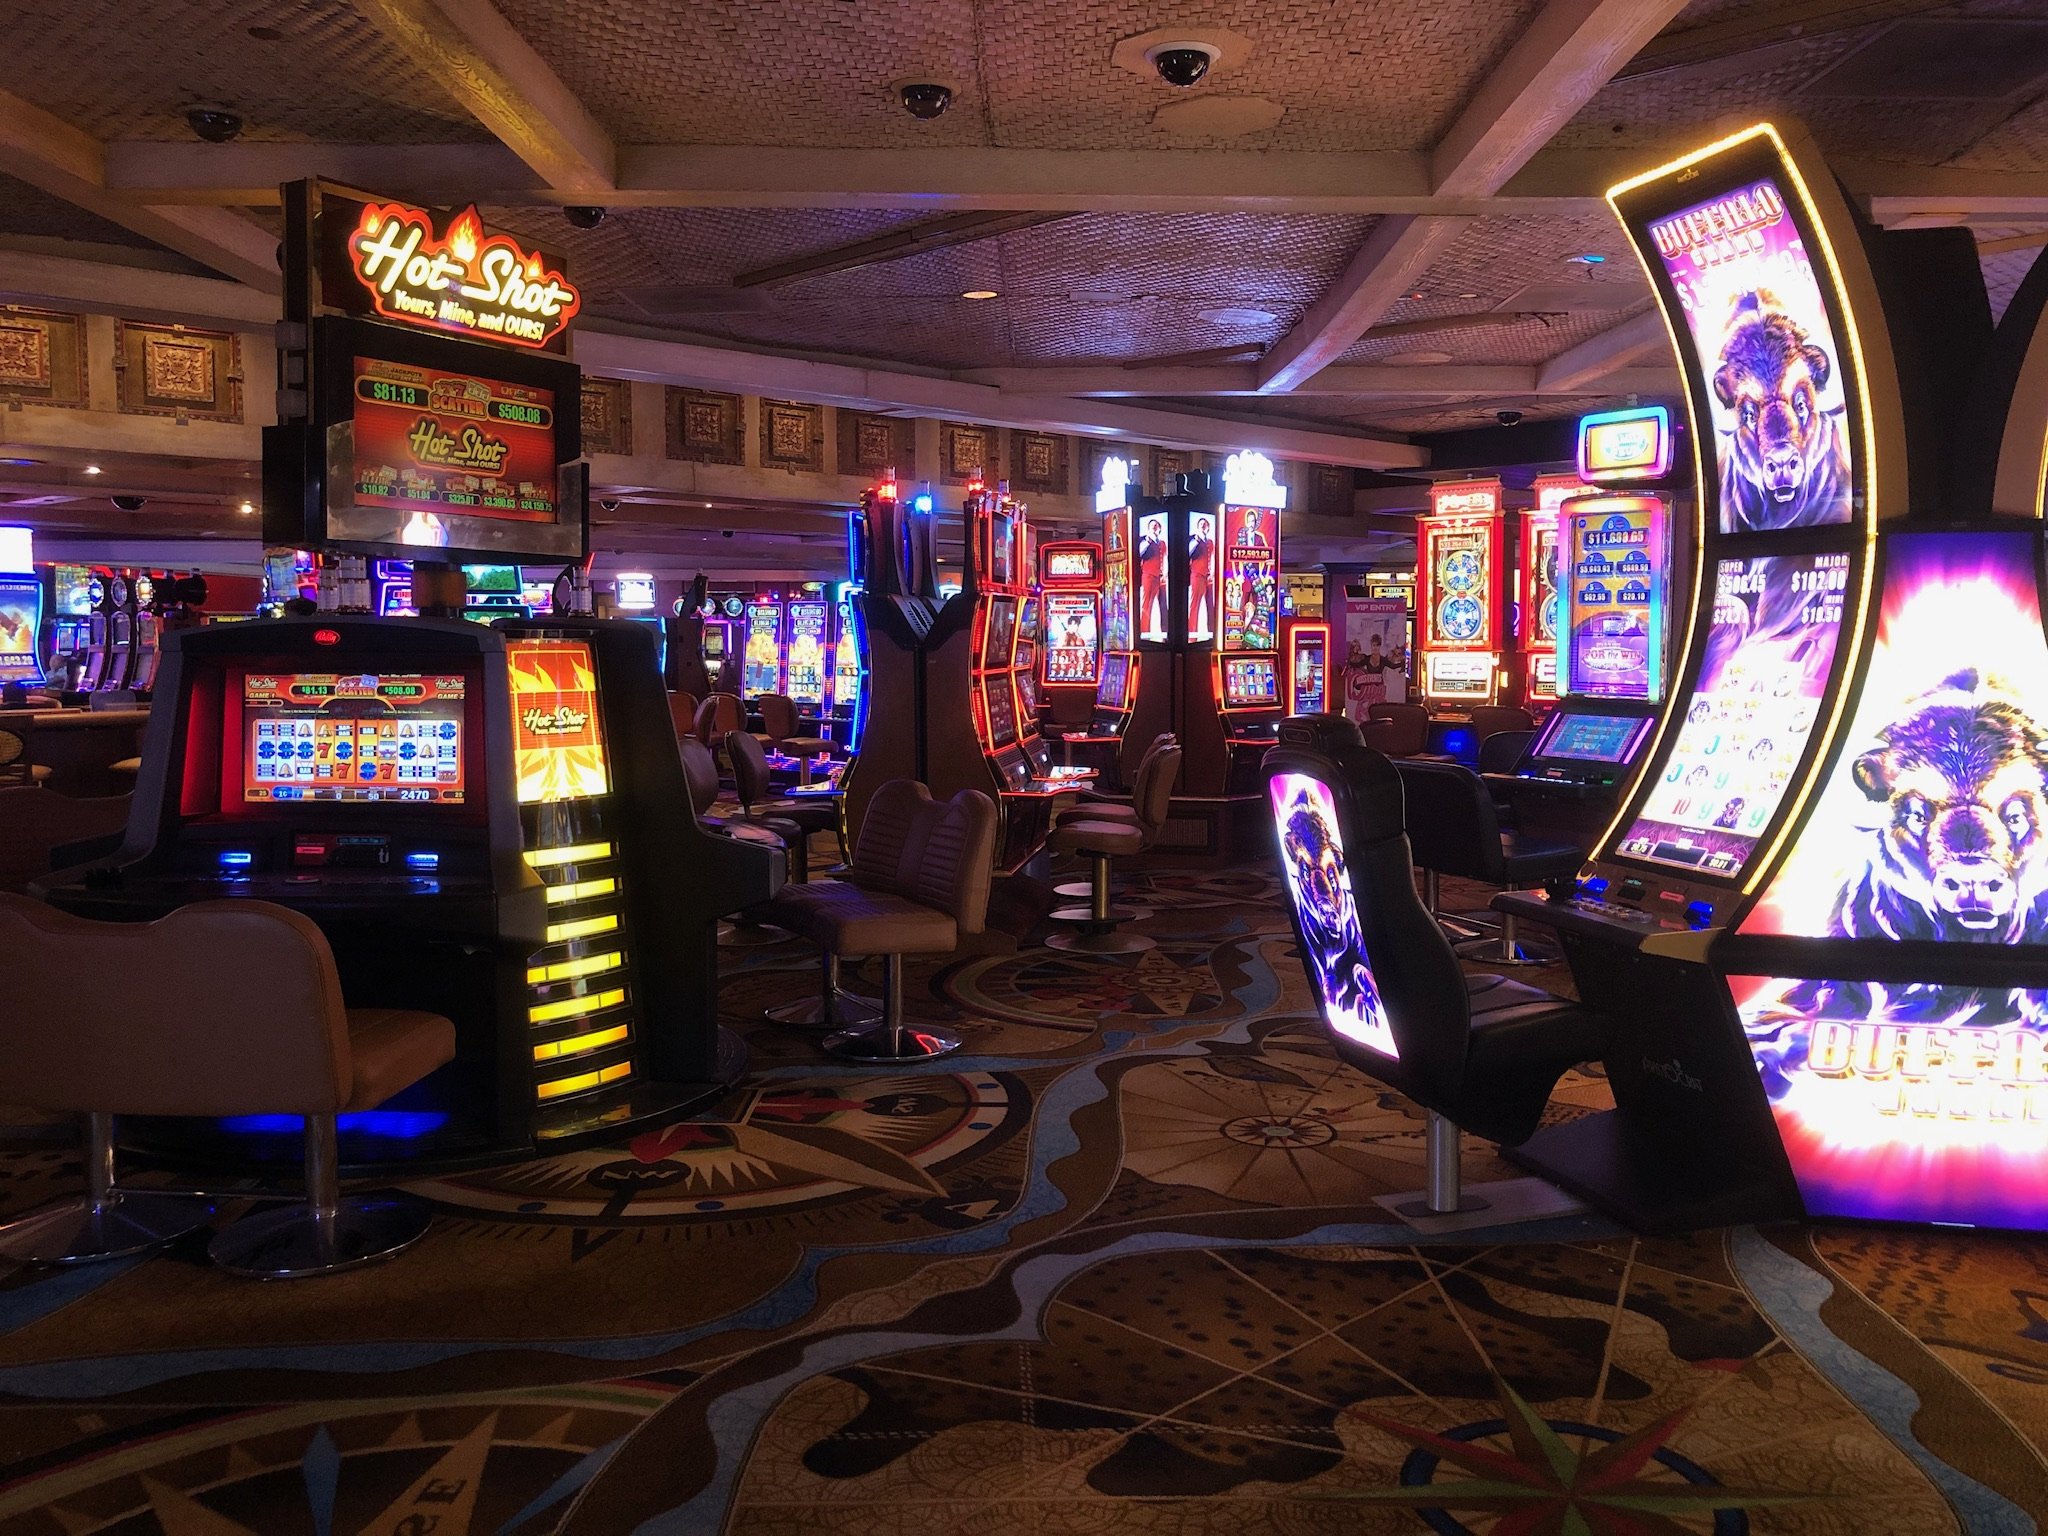
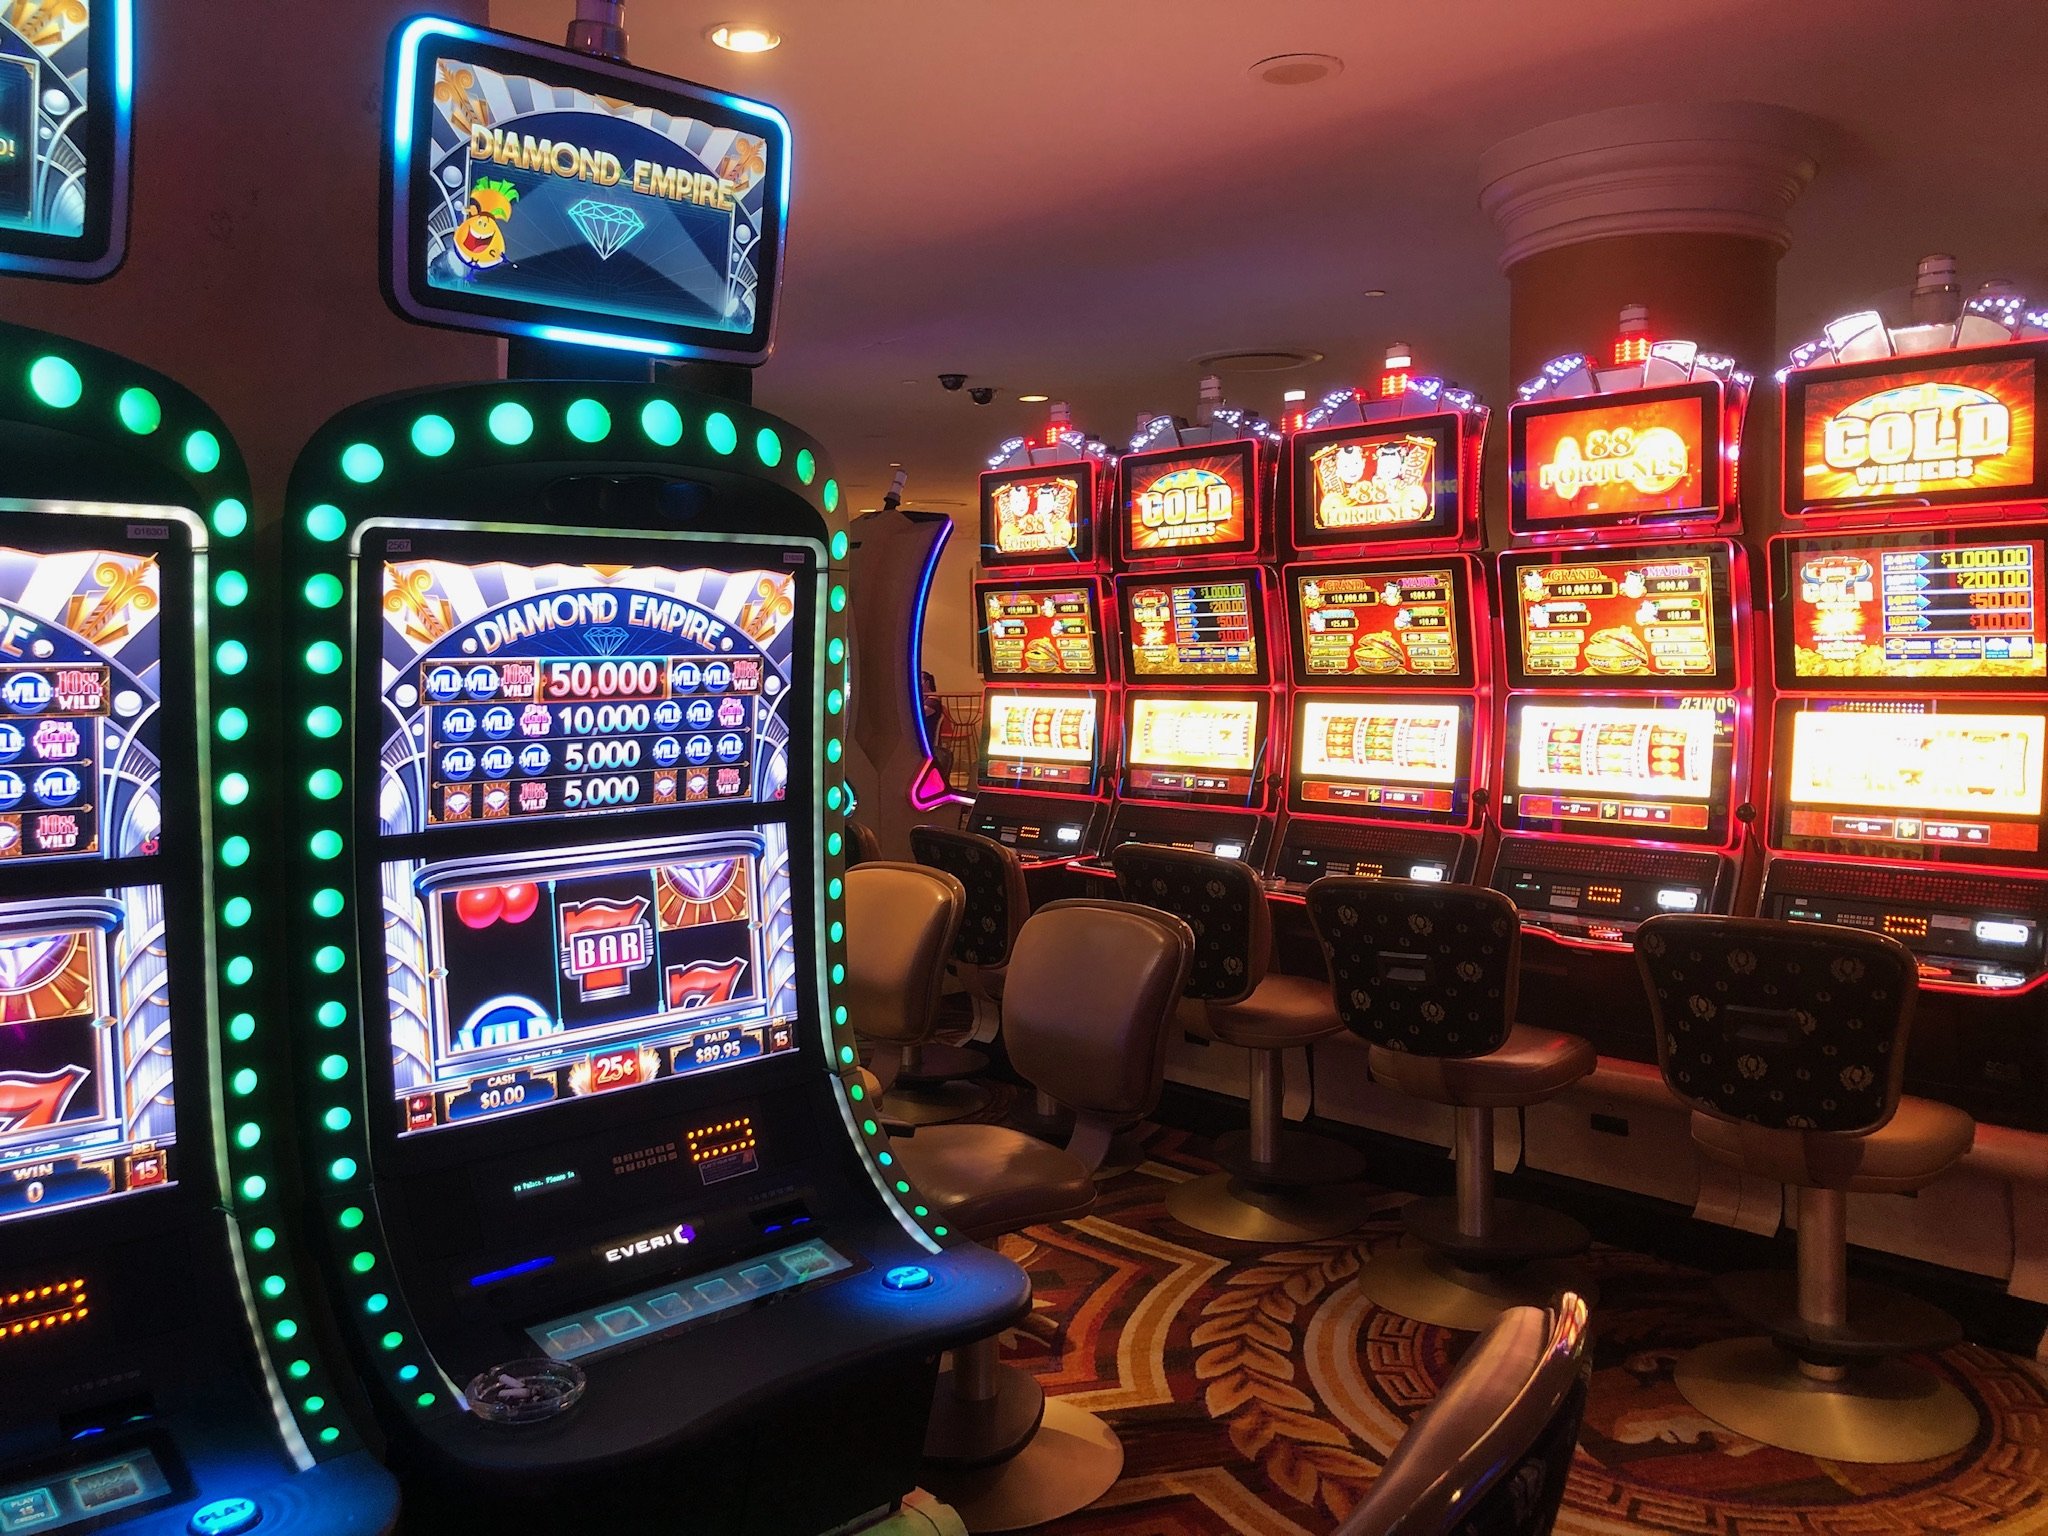
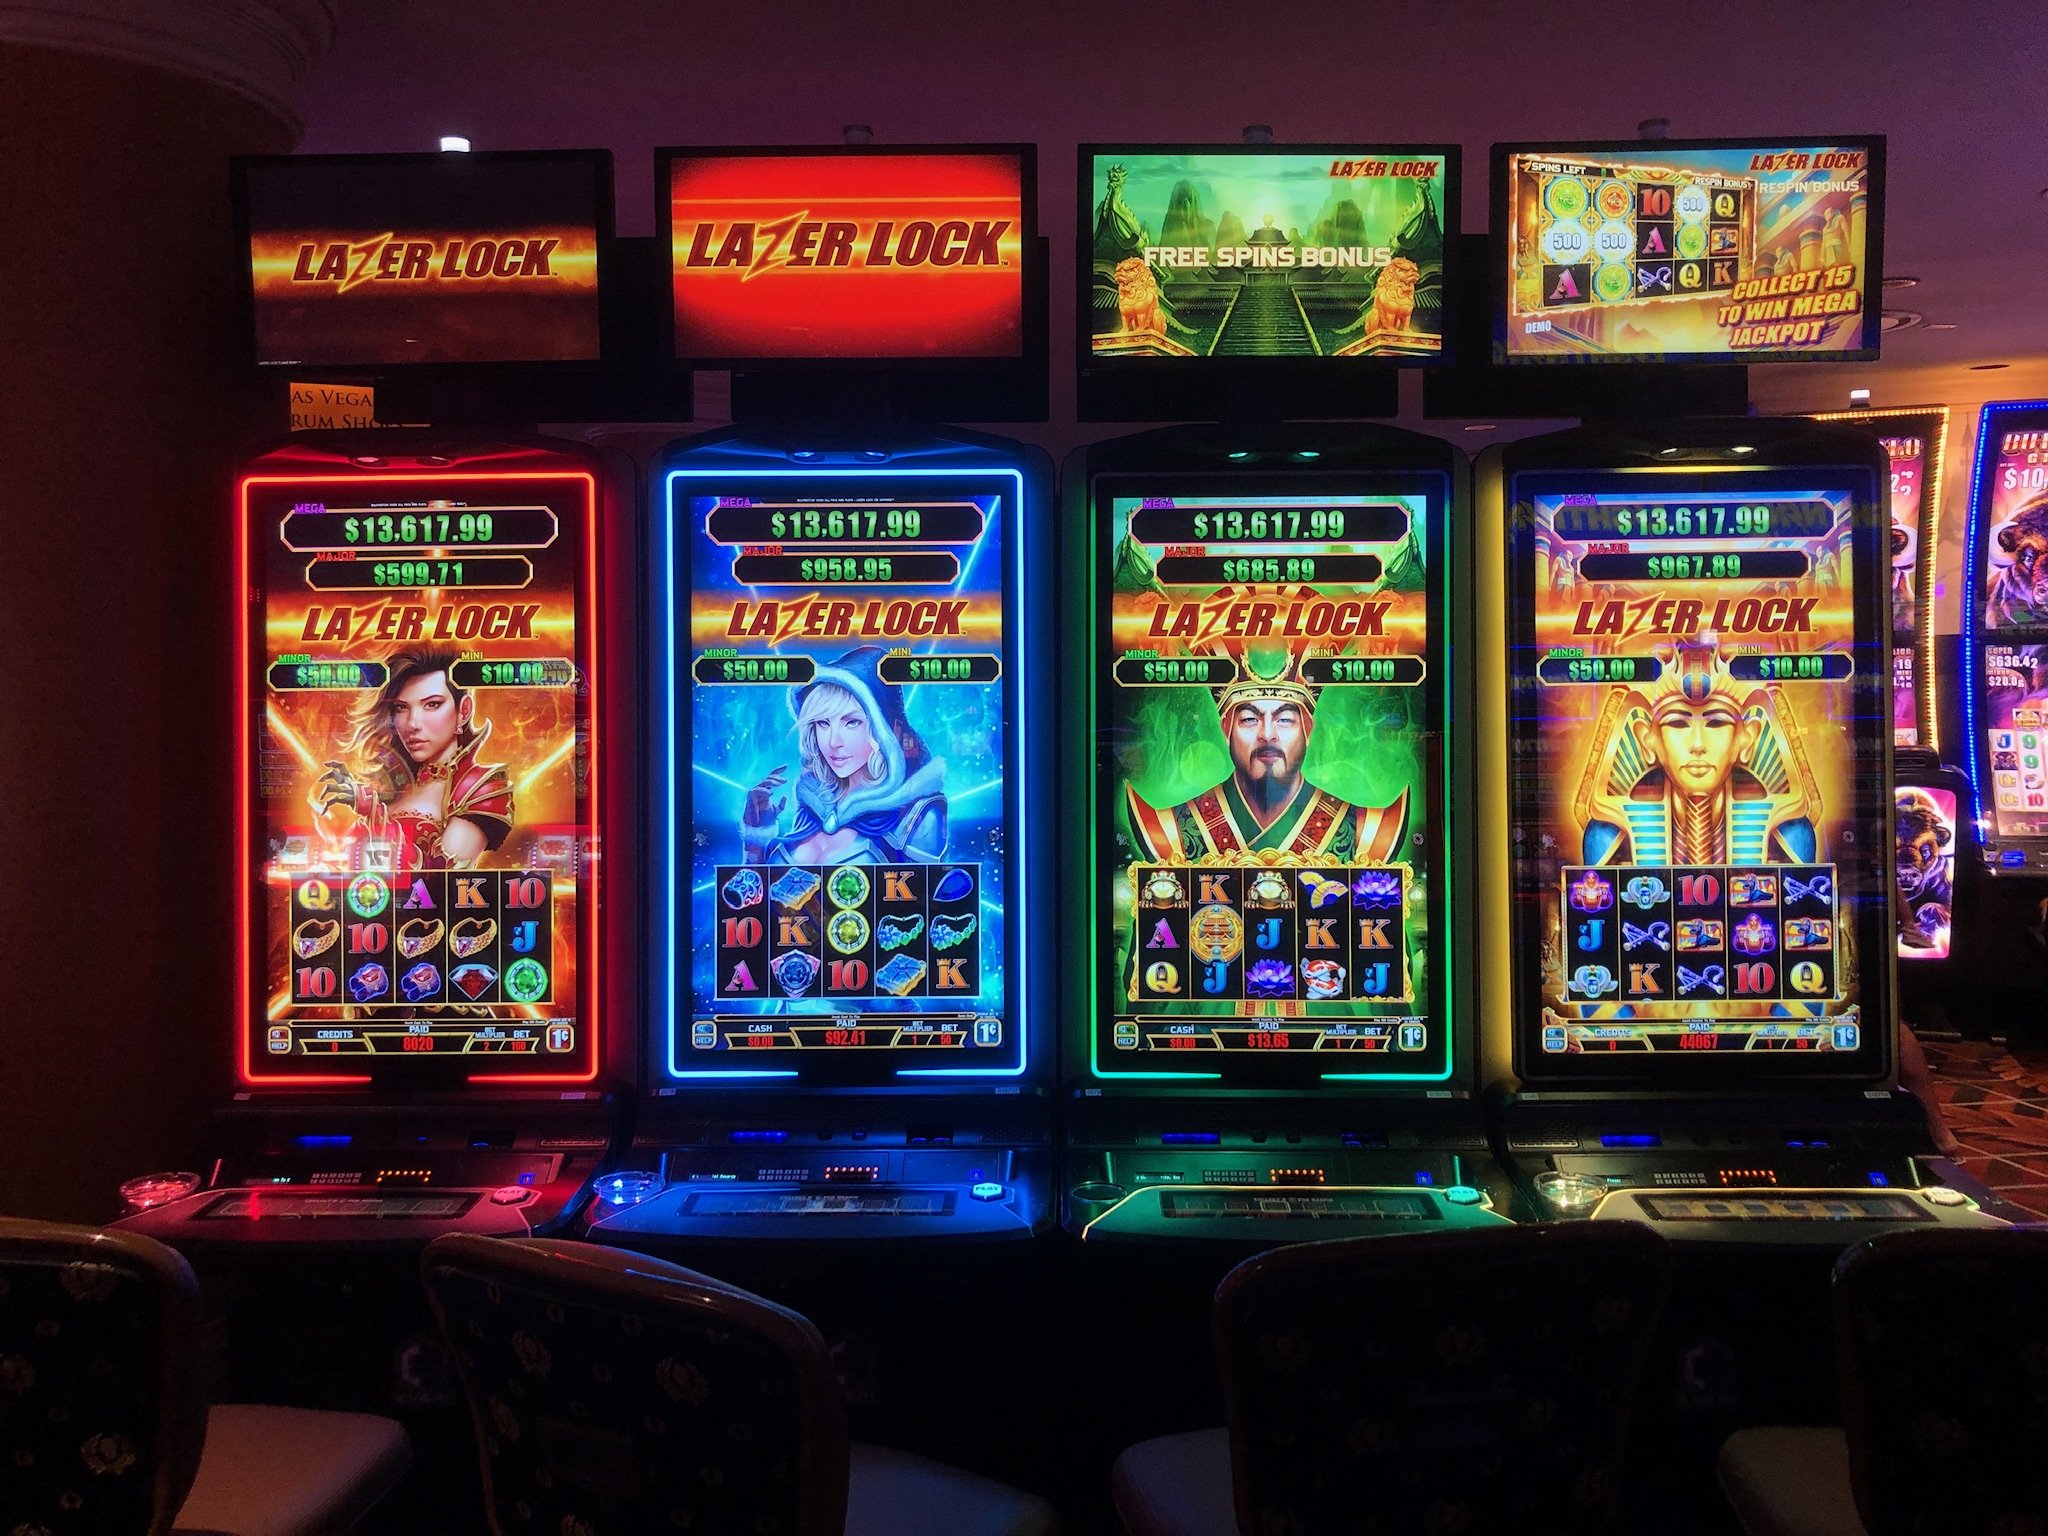
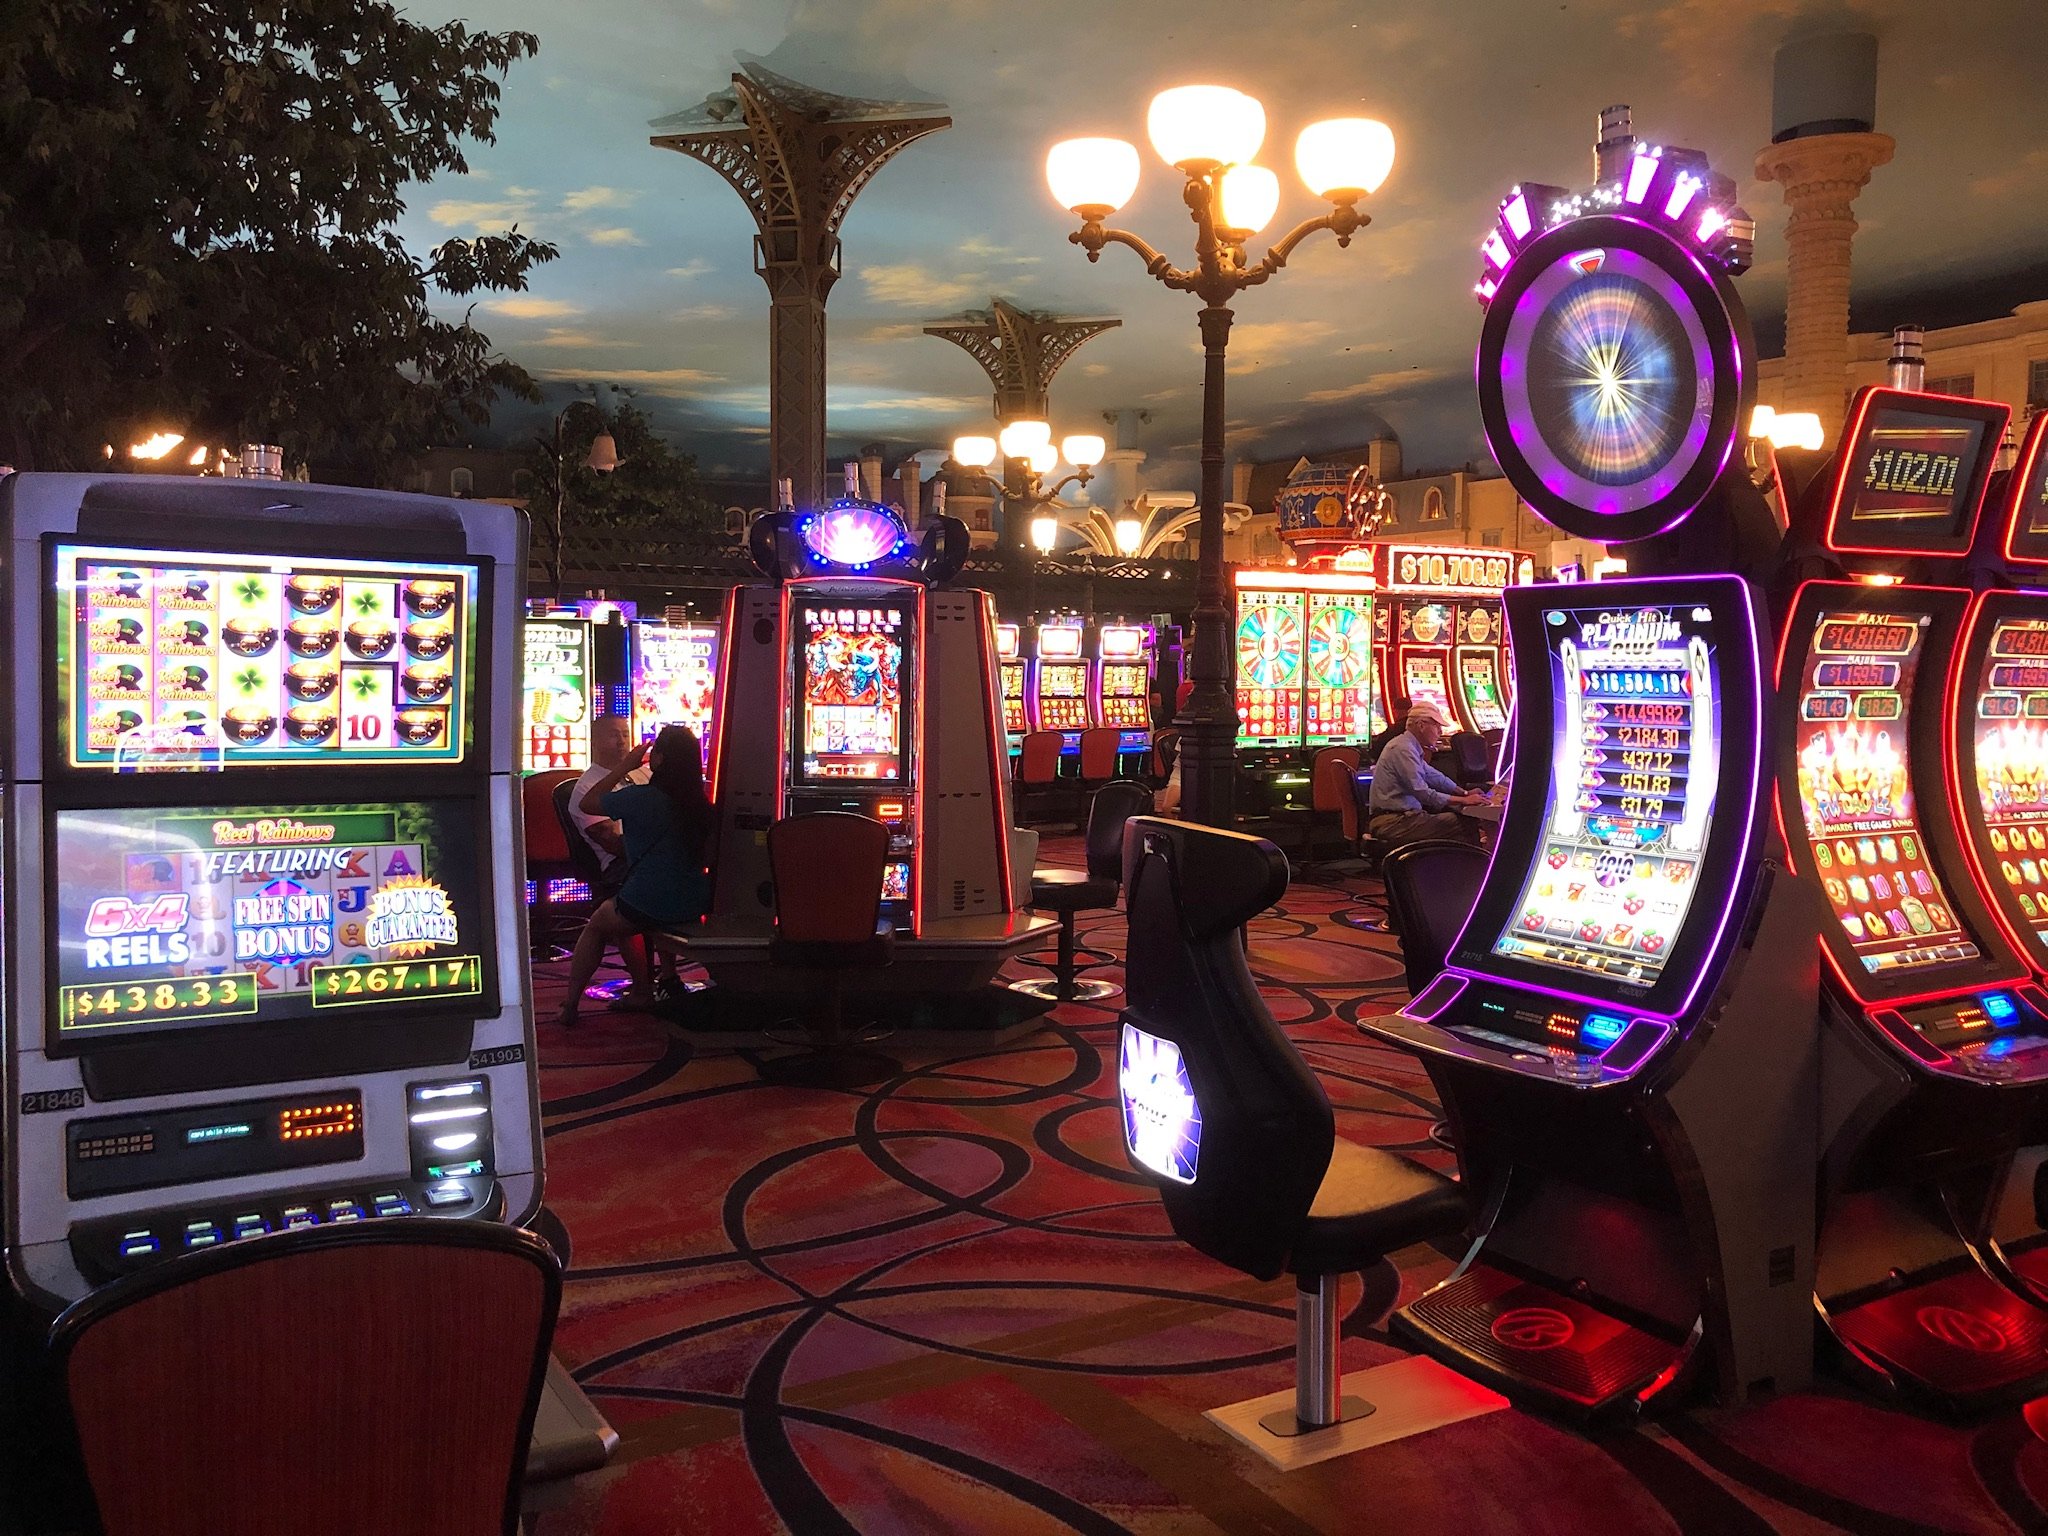
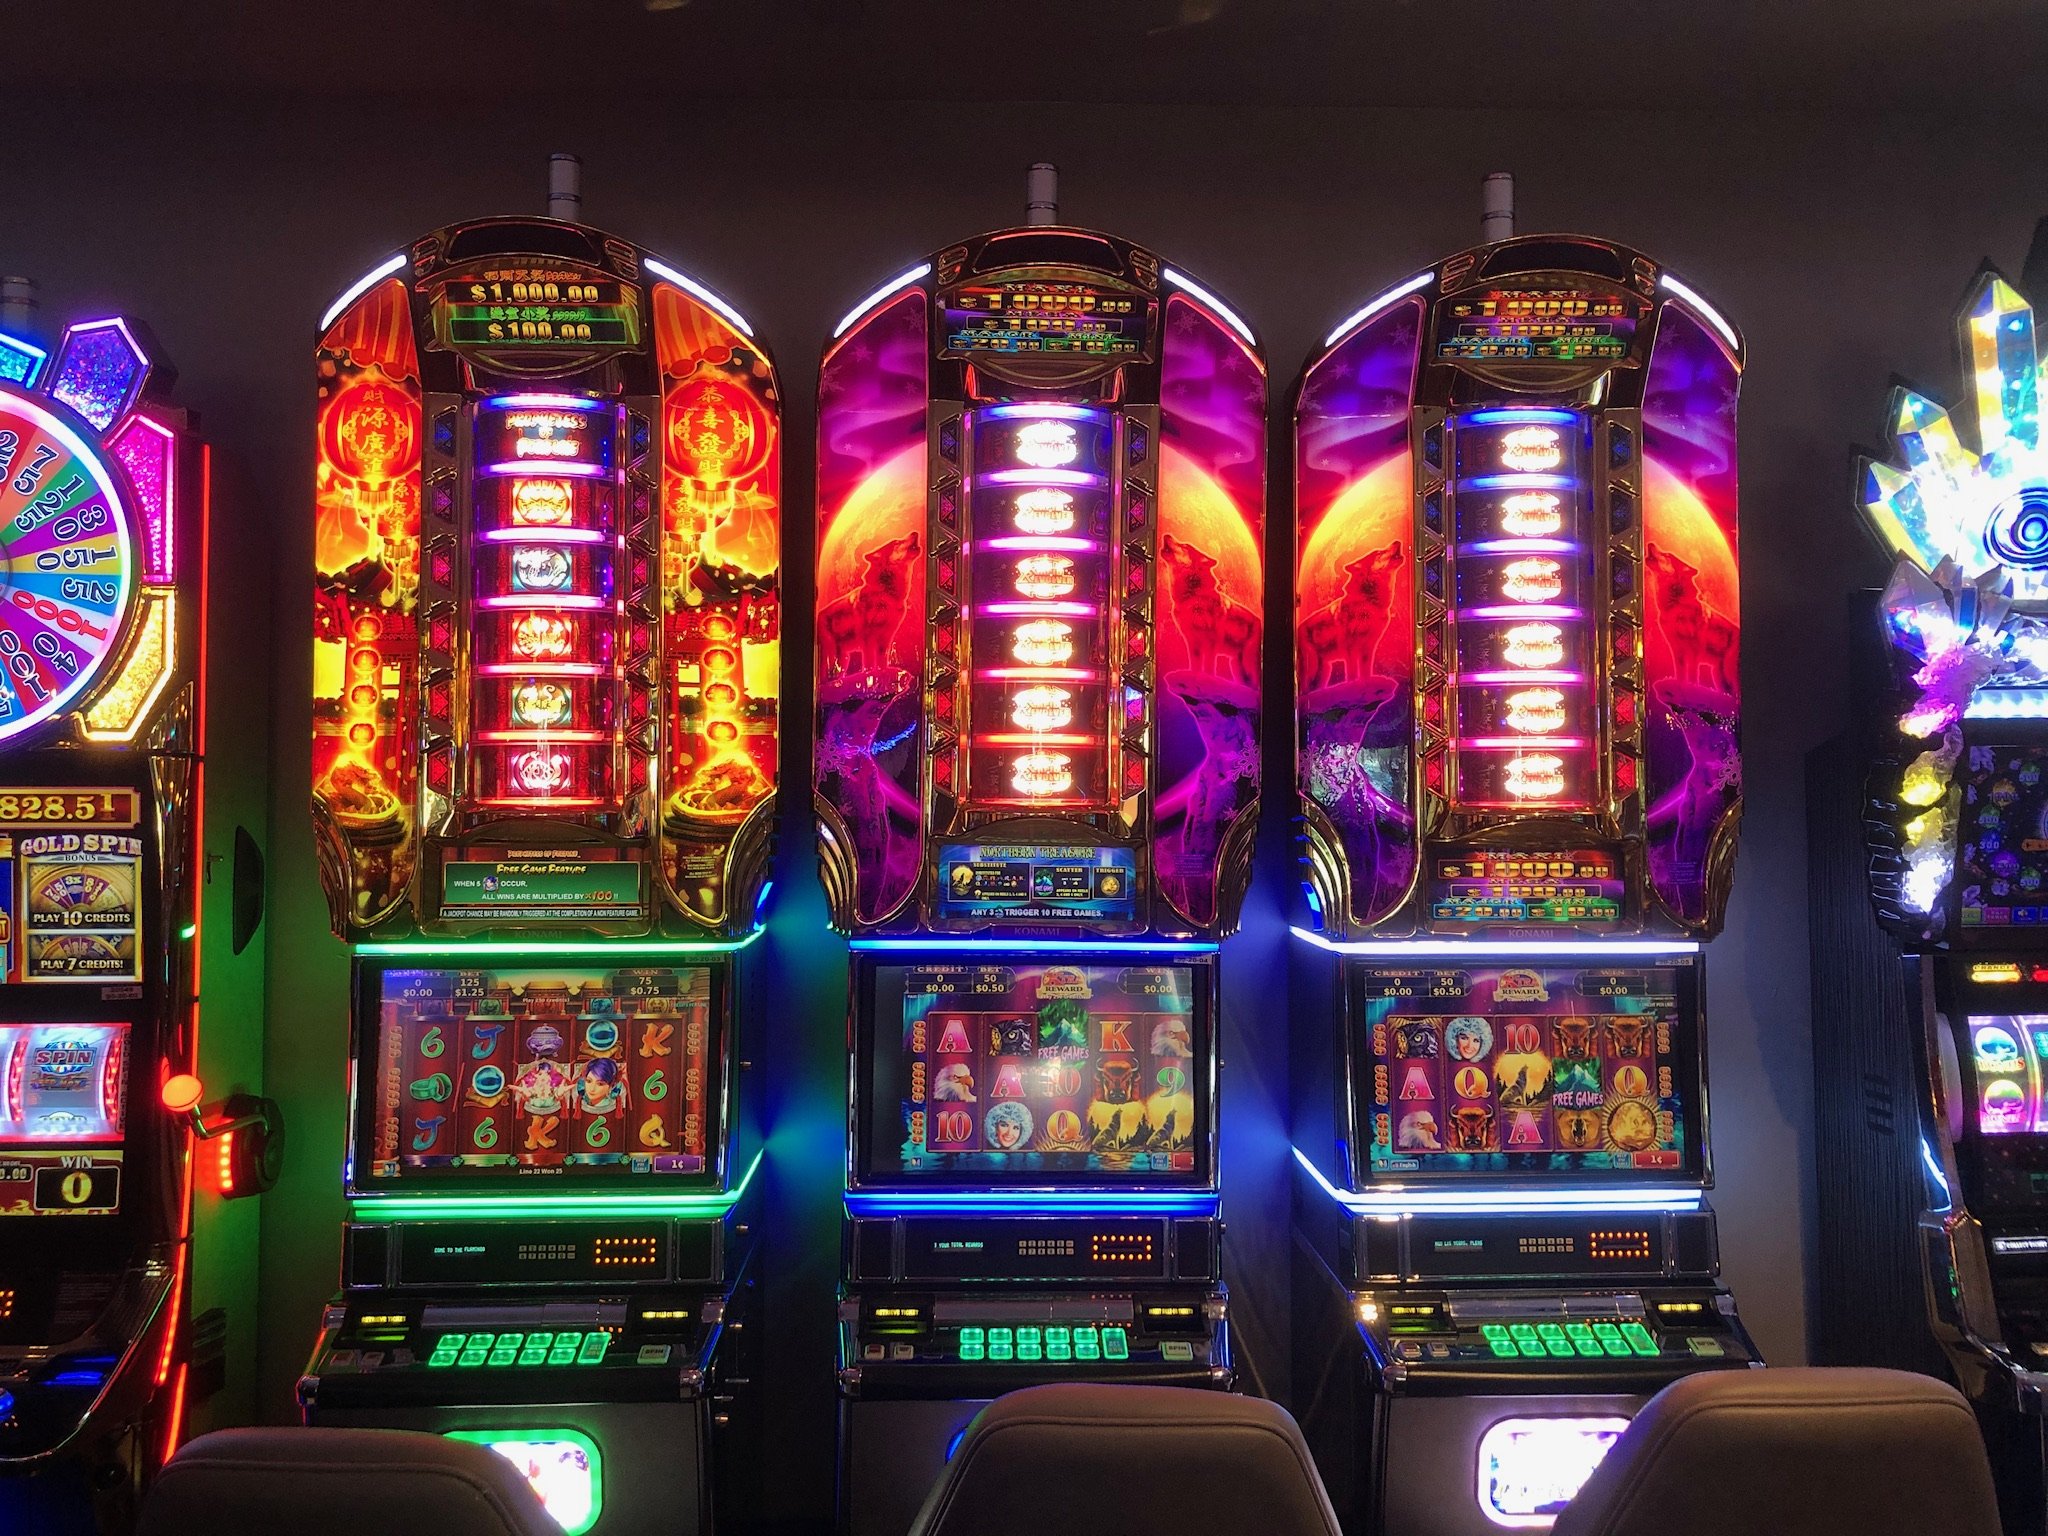
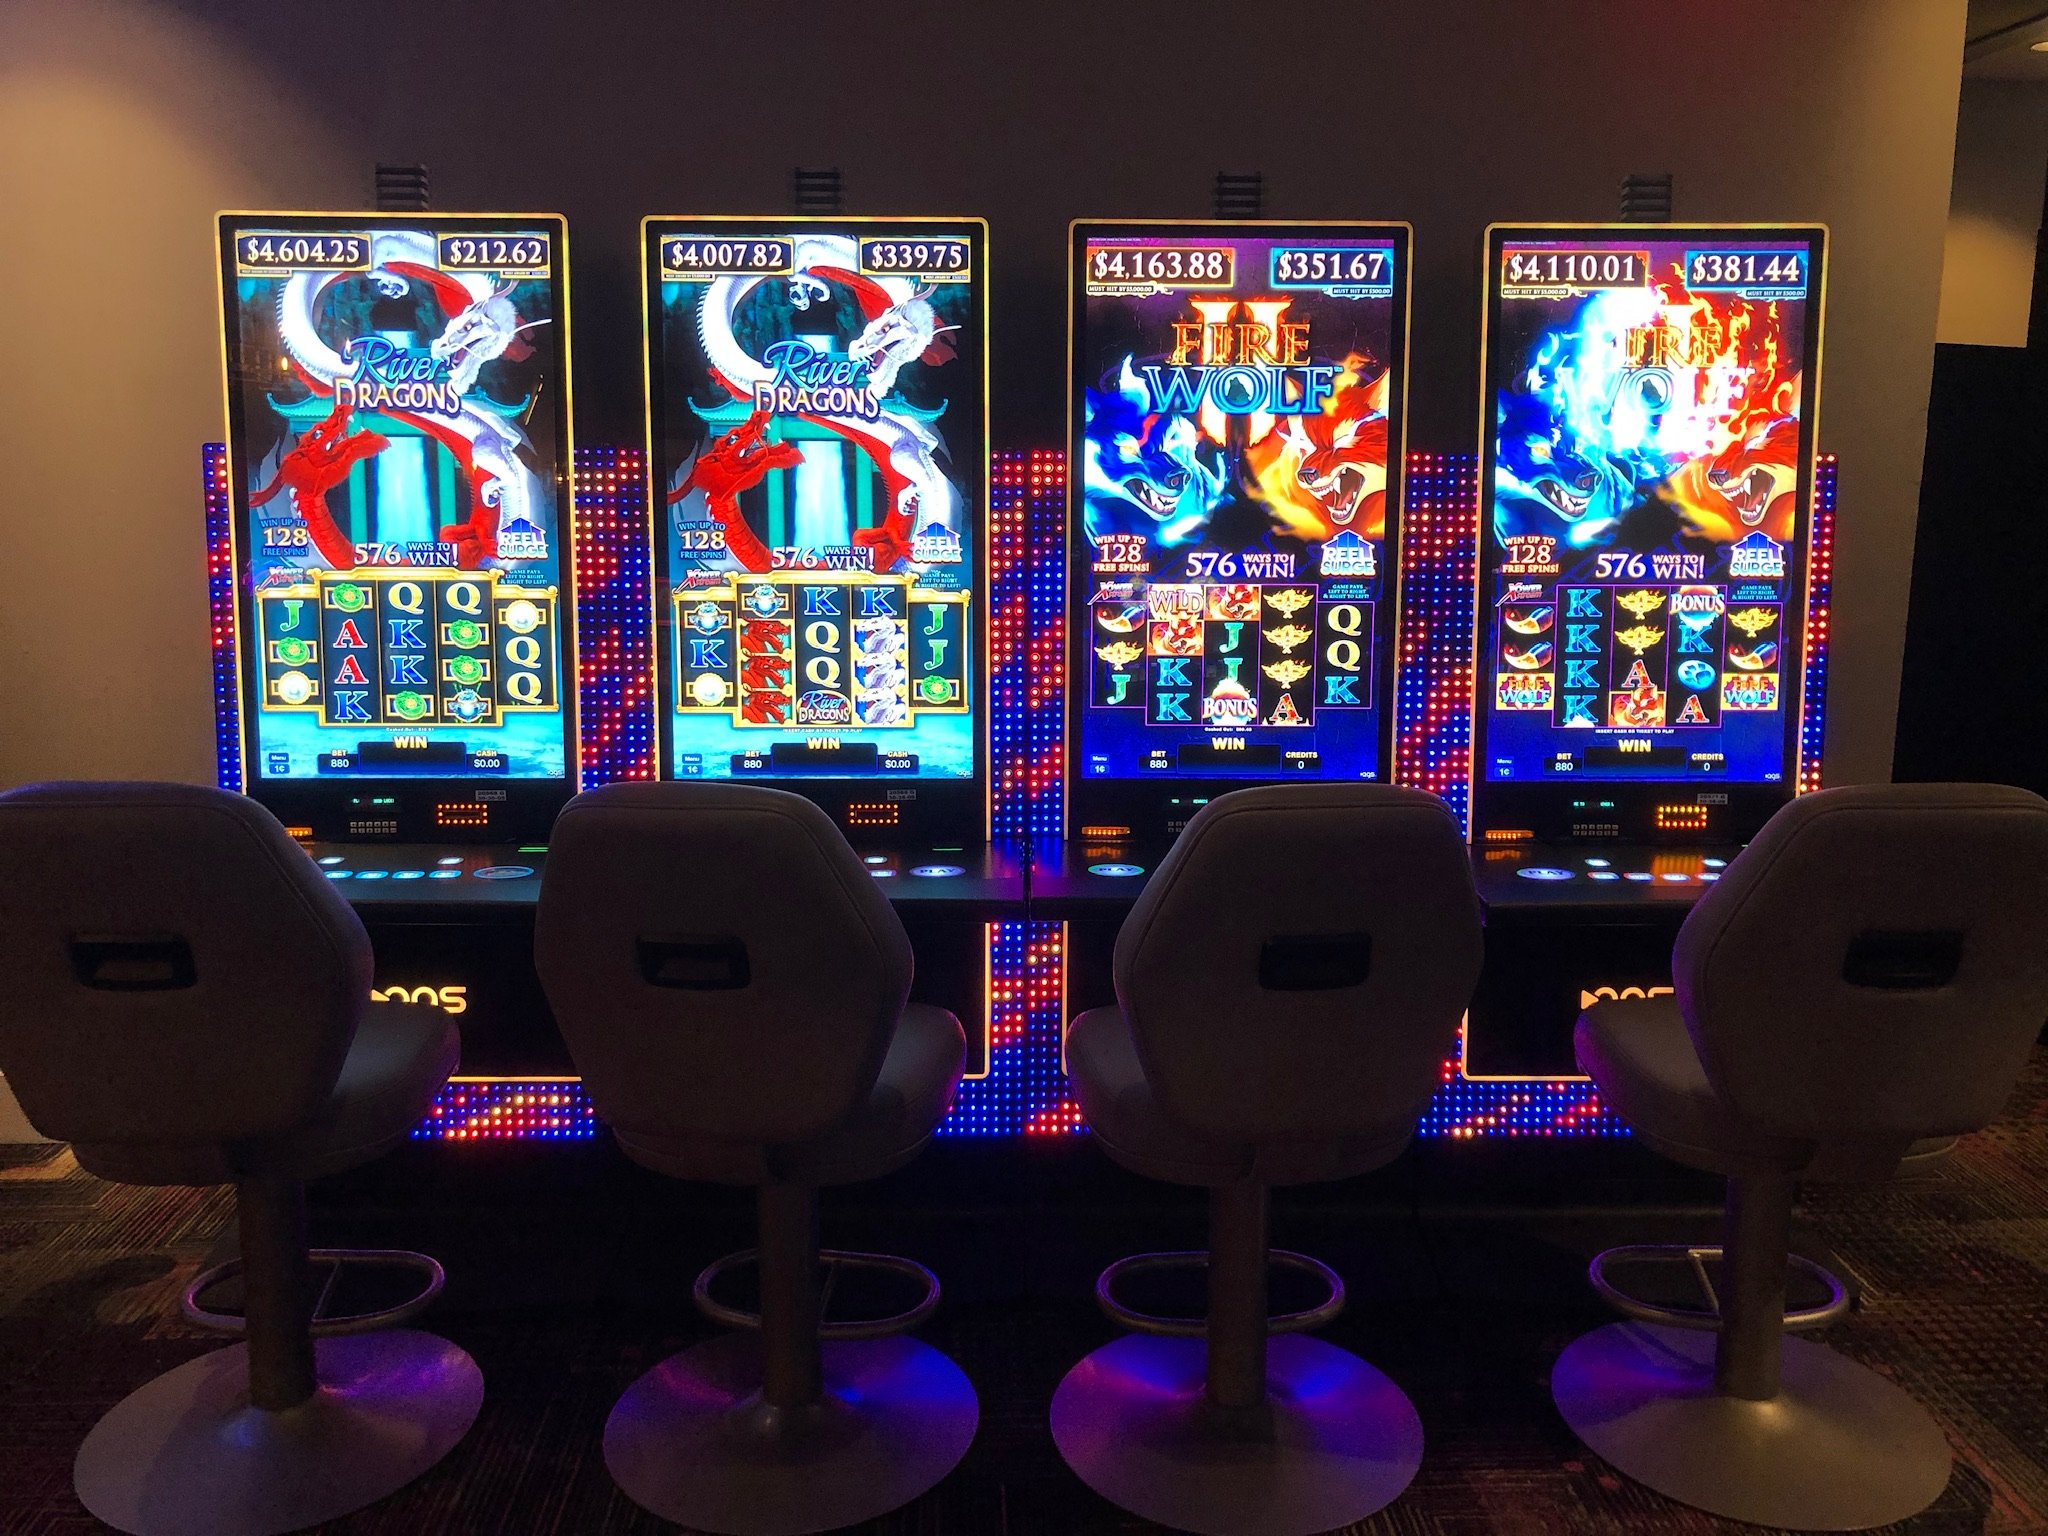
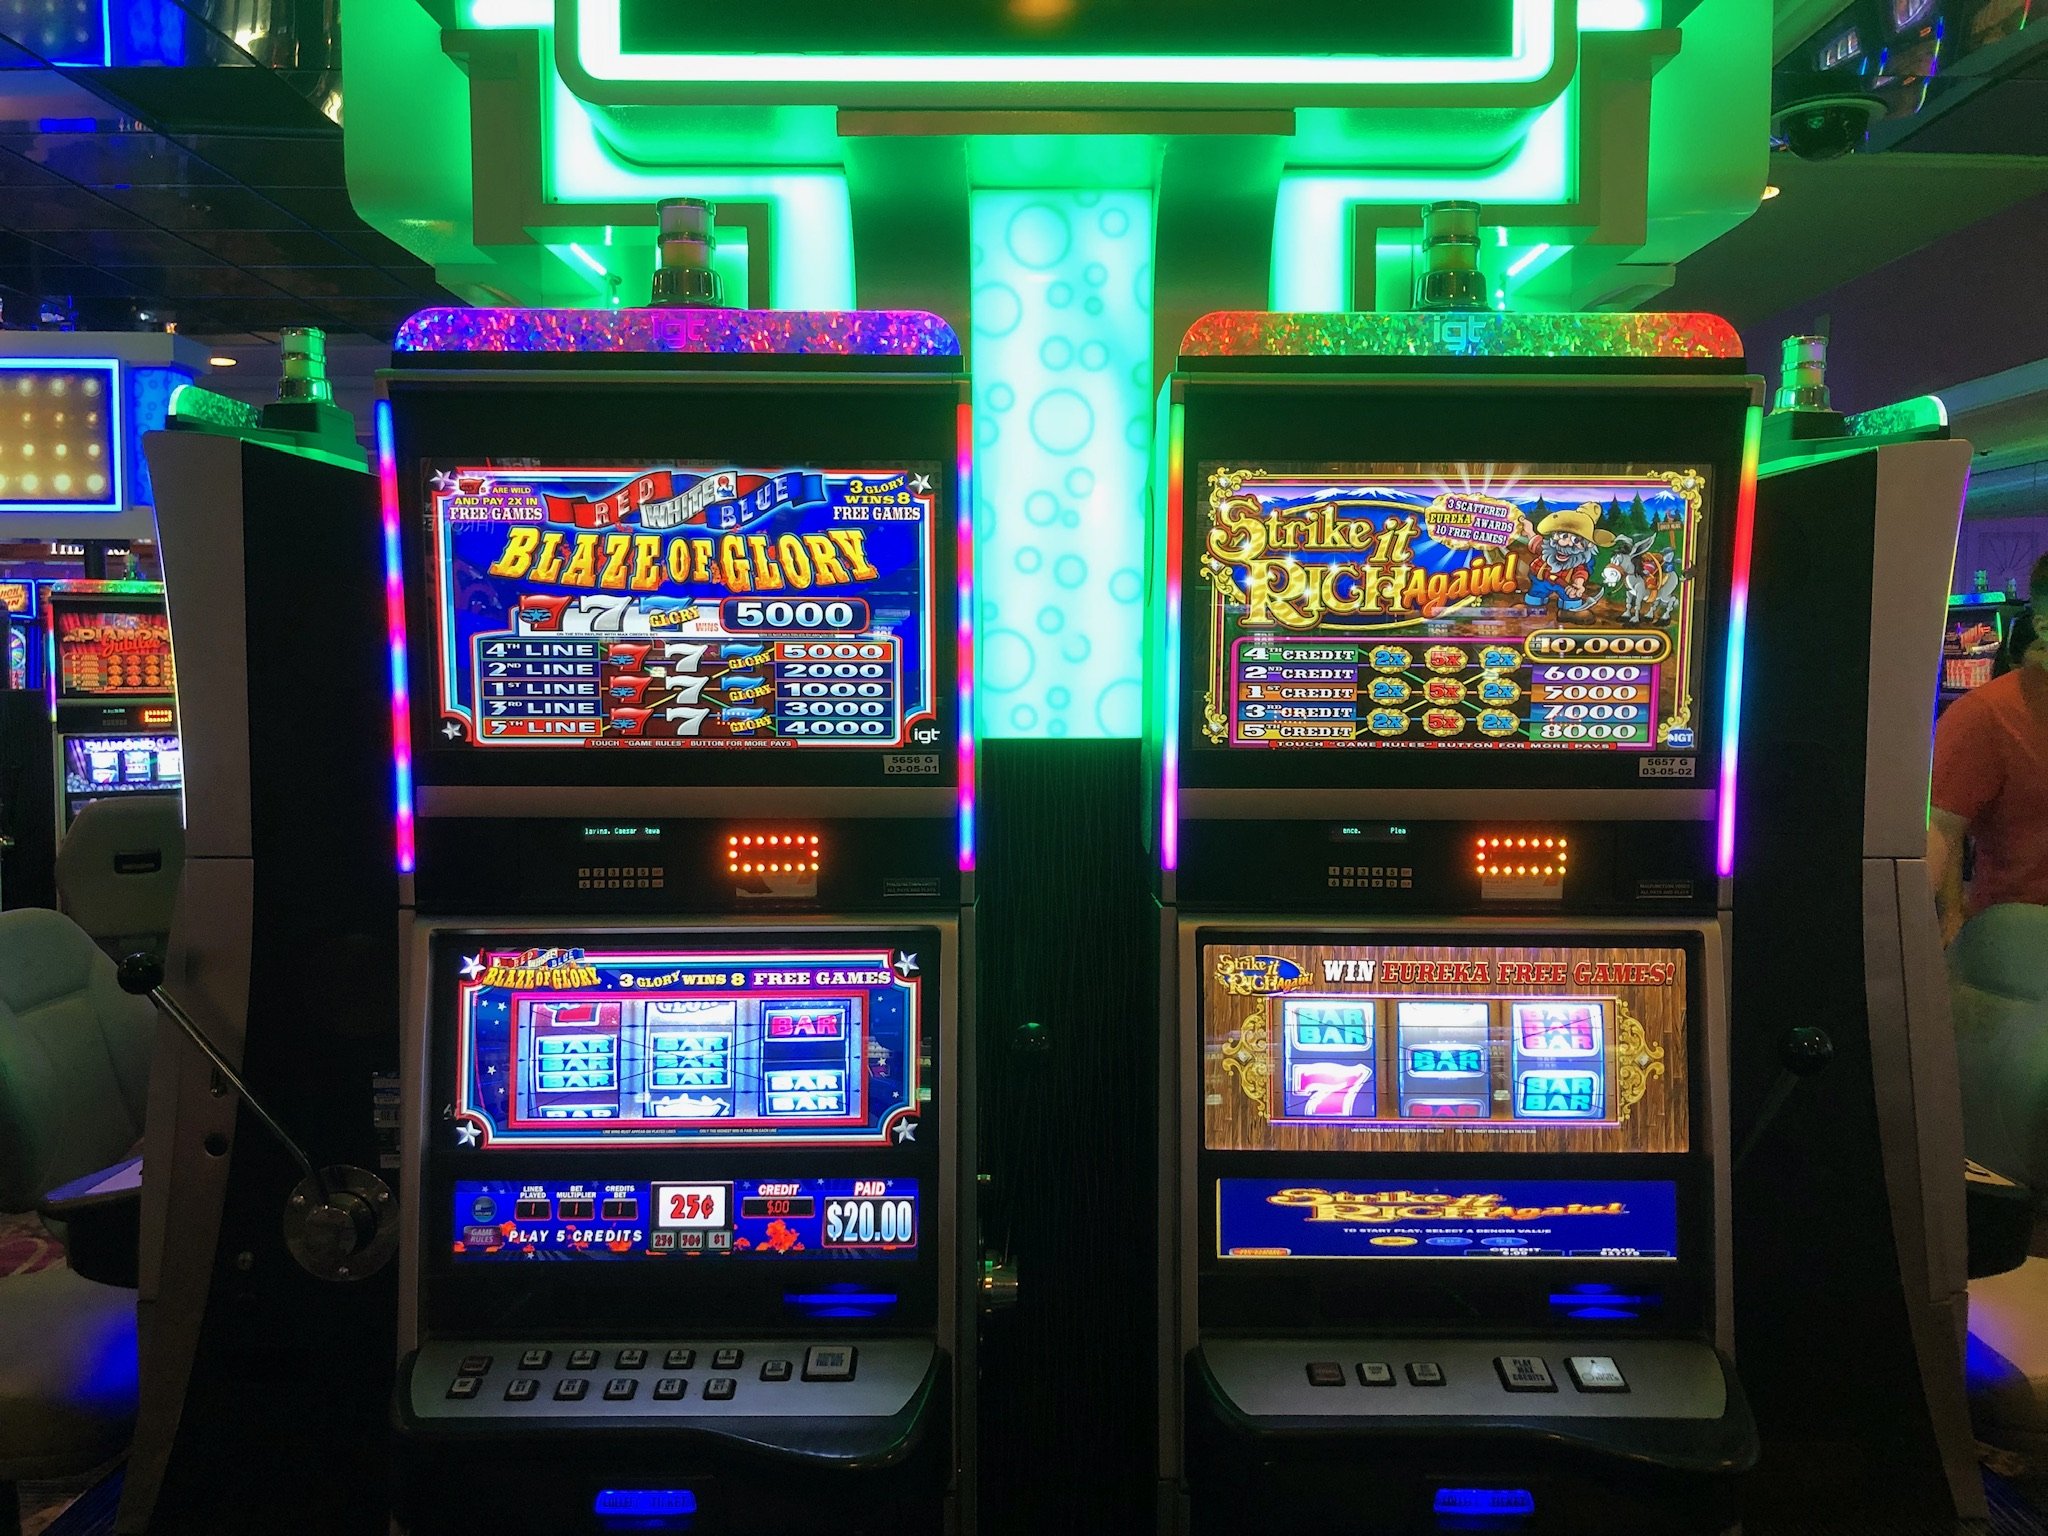
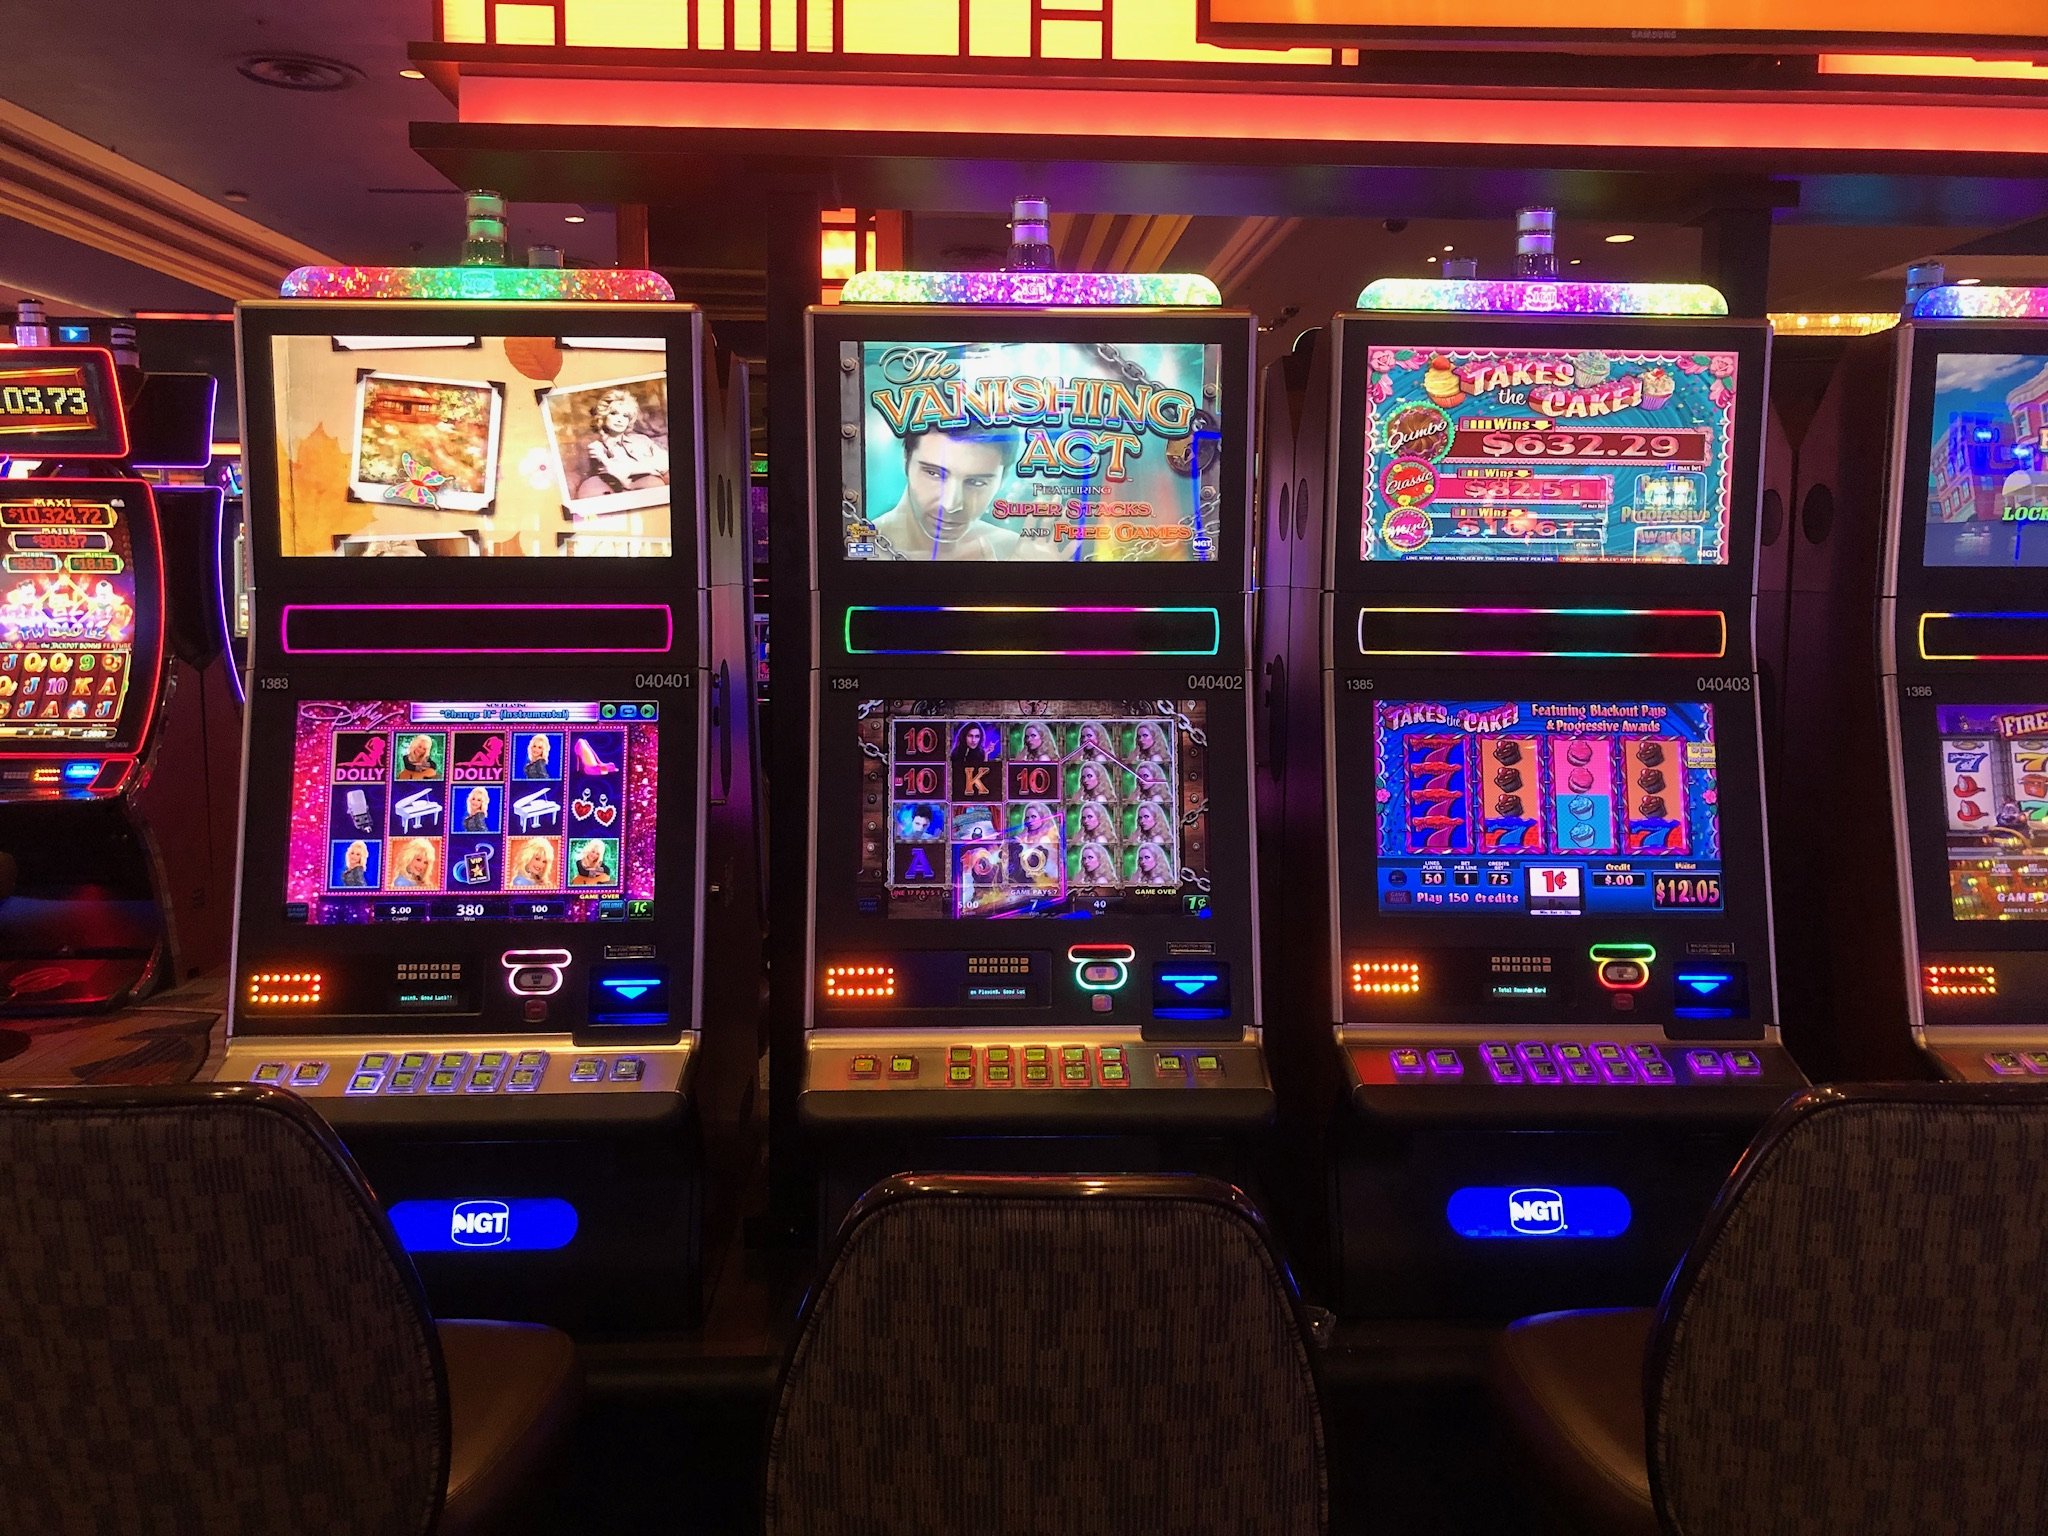
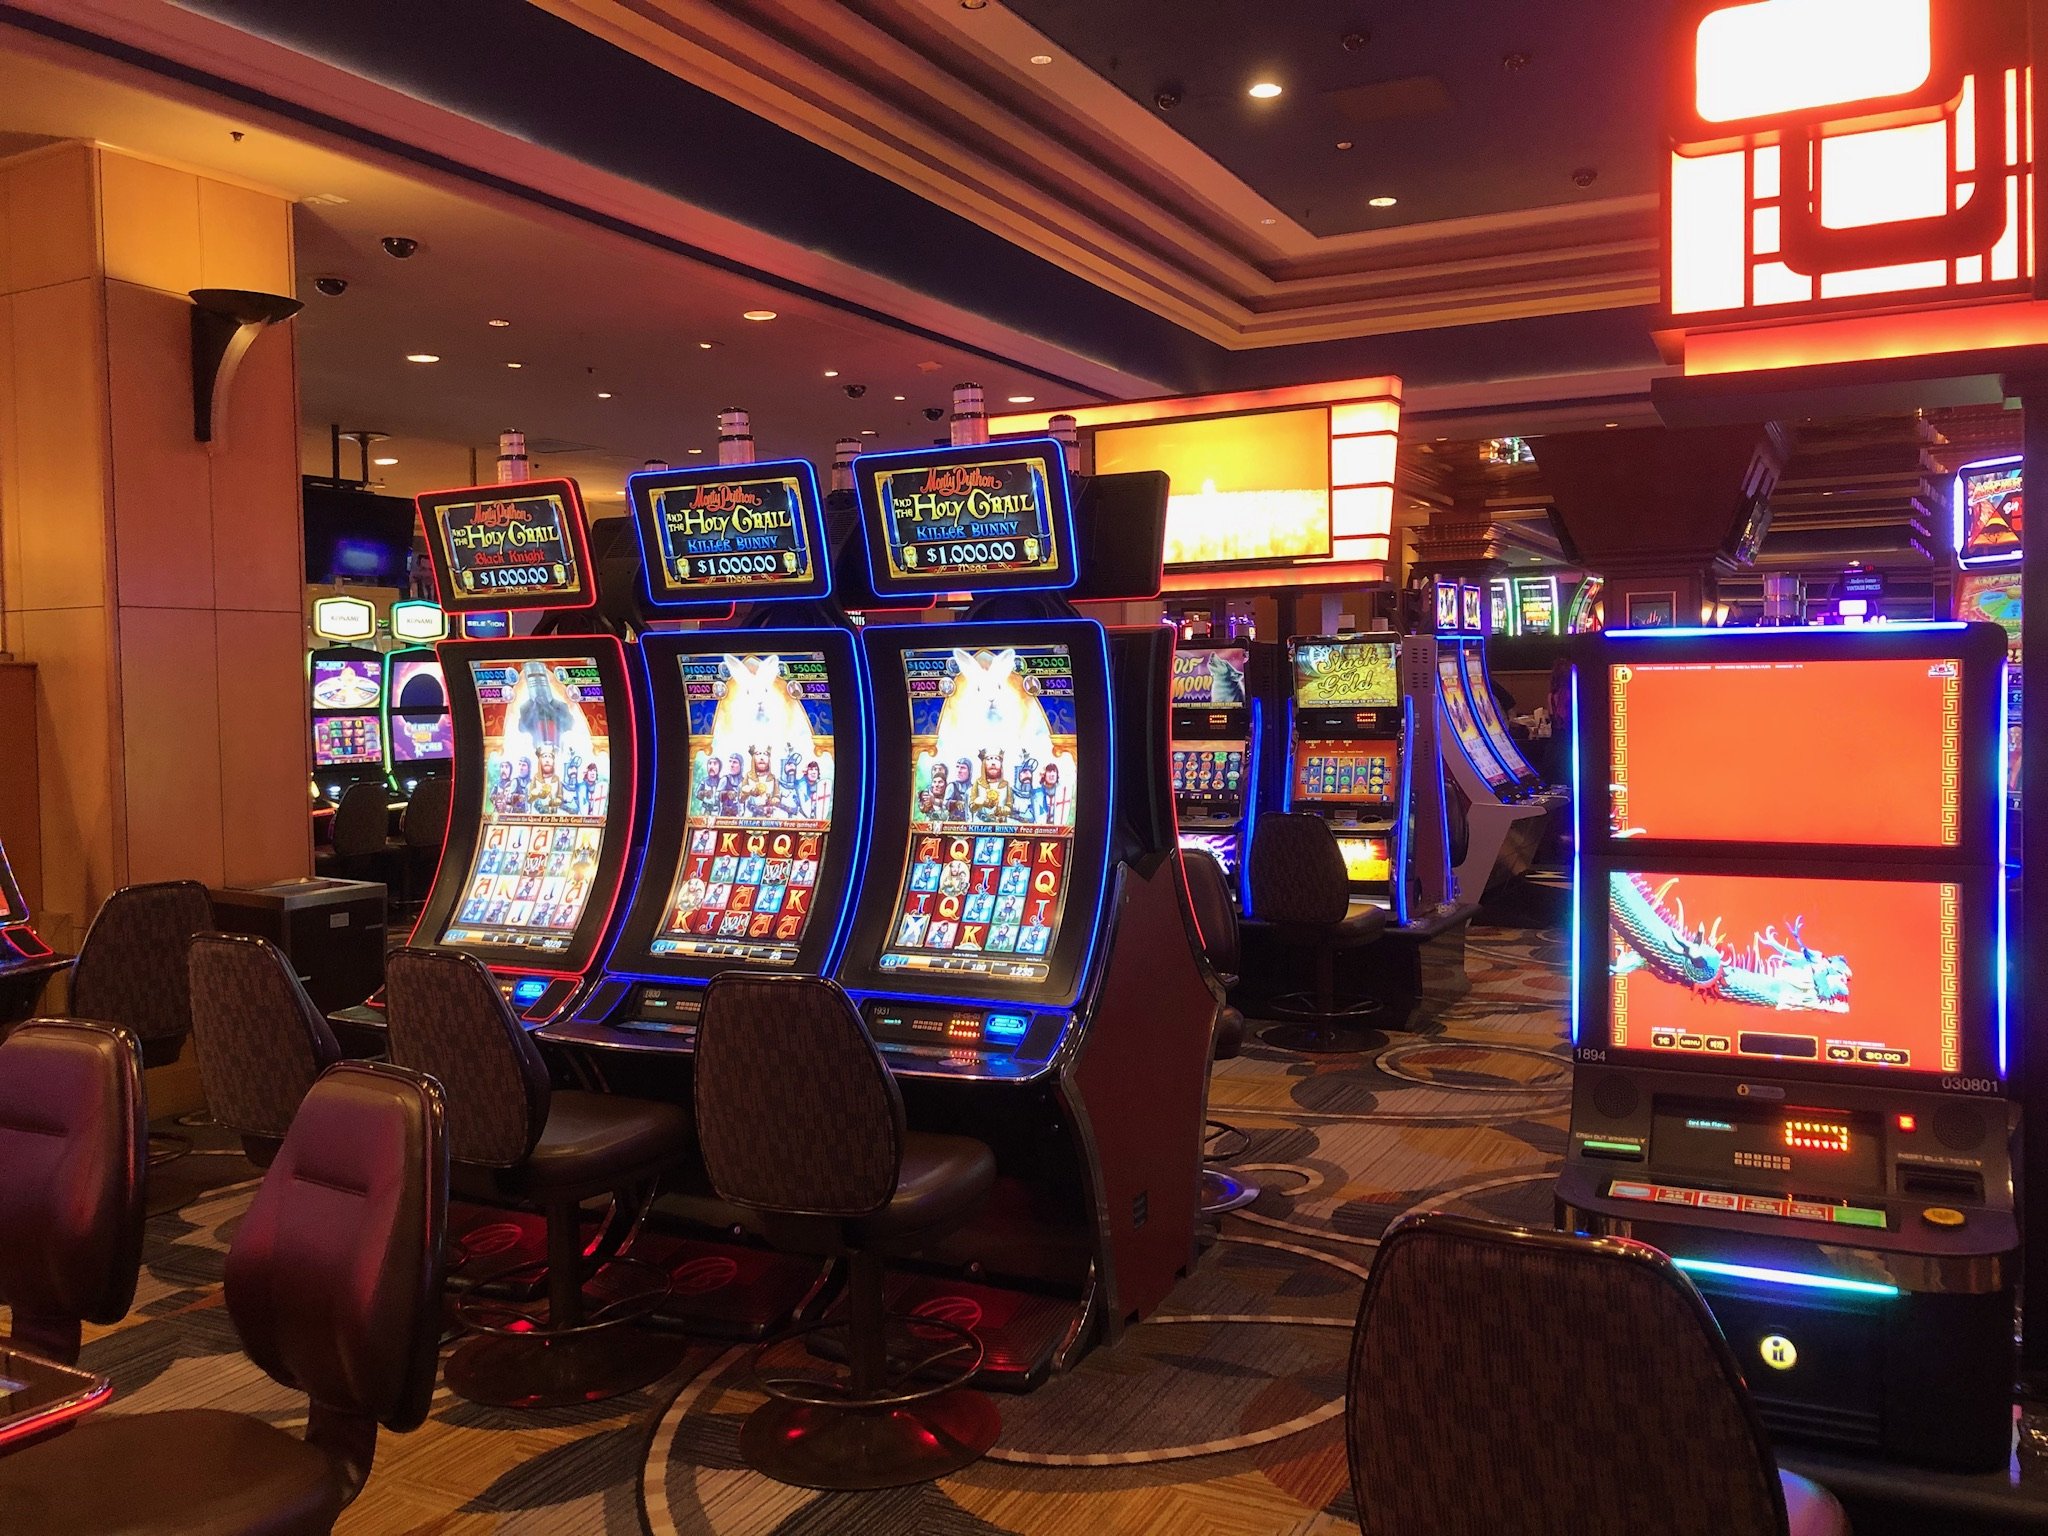
A few more, this does only scratch the surface - trying for some angles here where a DX will look good in the center as well as the general machine ones.


-
1
-
 1
1
-
-
Although I can’t tell you exactly what one at the moment in my MFME cabinet I use a Dell Optiplex Mini. I think it might be a 3150 that I got from eBay.
MFME has had some brilliant optimization work by @Wizard and this is a good thread to actually kickstart what is the best to use.By default low end PC’s are going to be lower spec as you know and I think the best marker is run DX Diag on your current PC and post the first screen with CPU etc.
Then detail your budget and that gives the criteria that is needed, better than what you already have, mini PC and top level cost.
That will help I hope in others giving a better response.
-
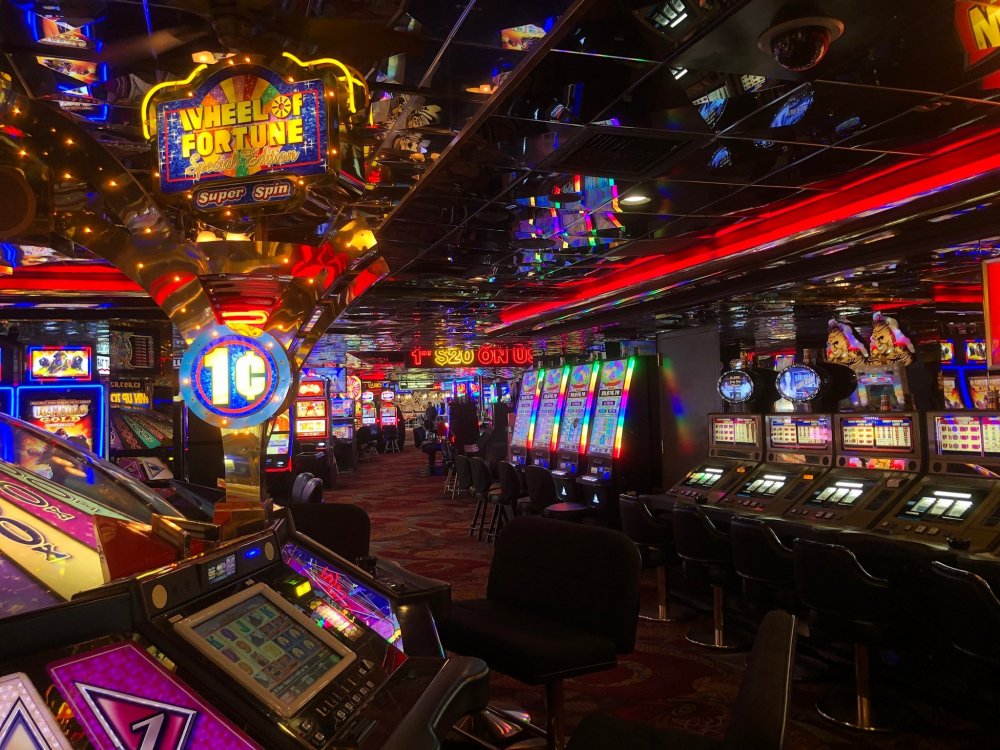
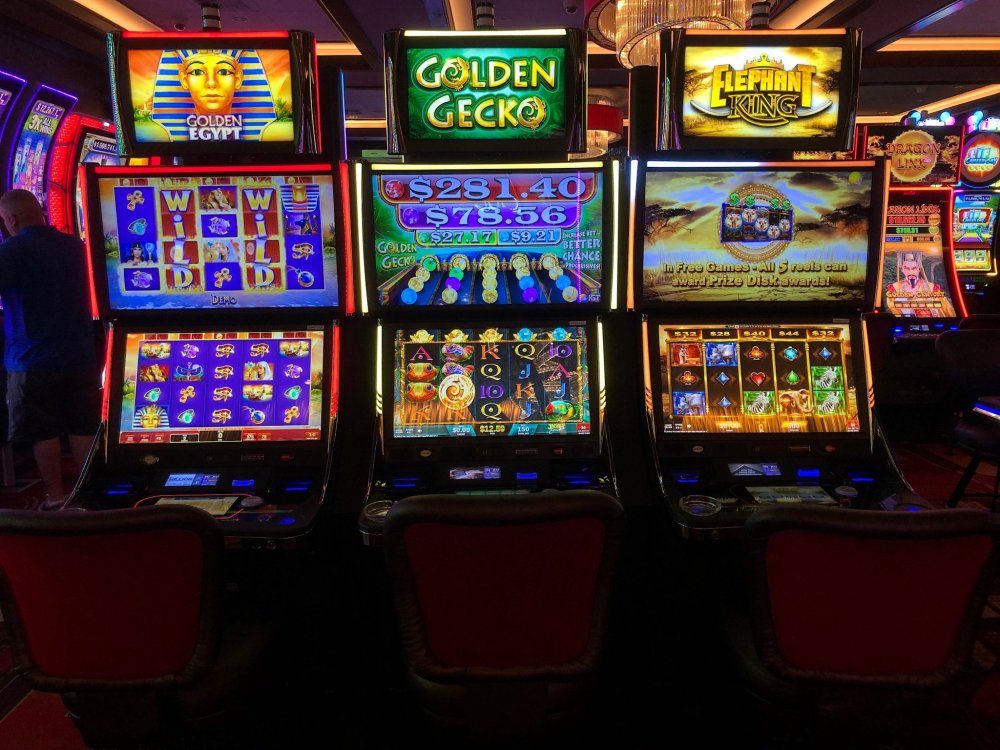
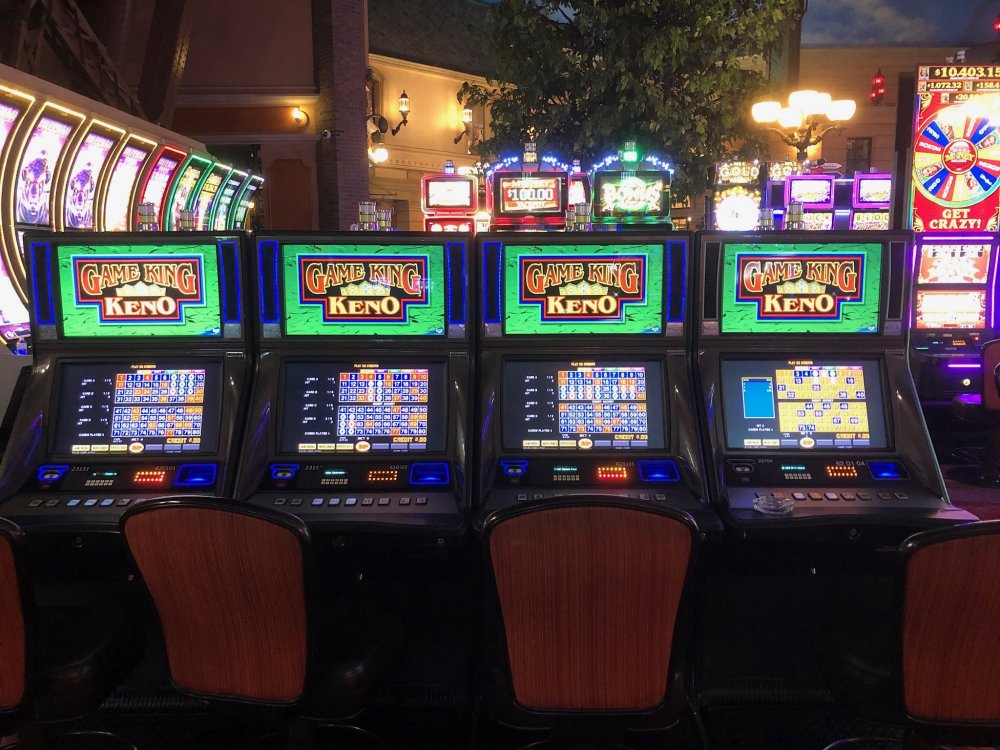
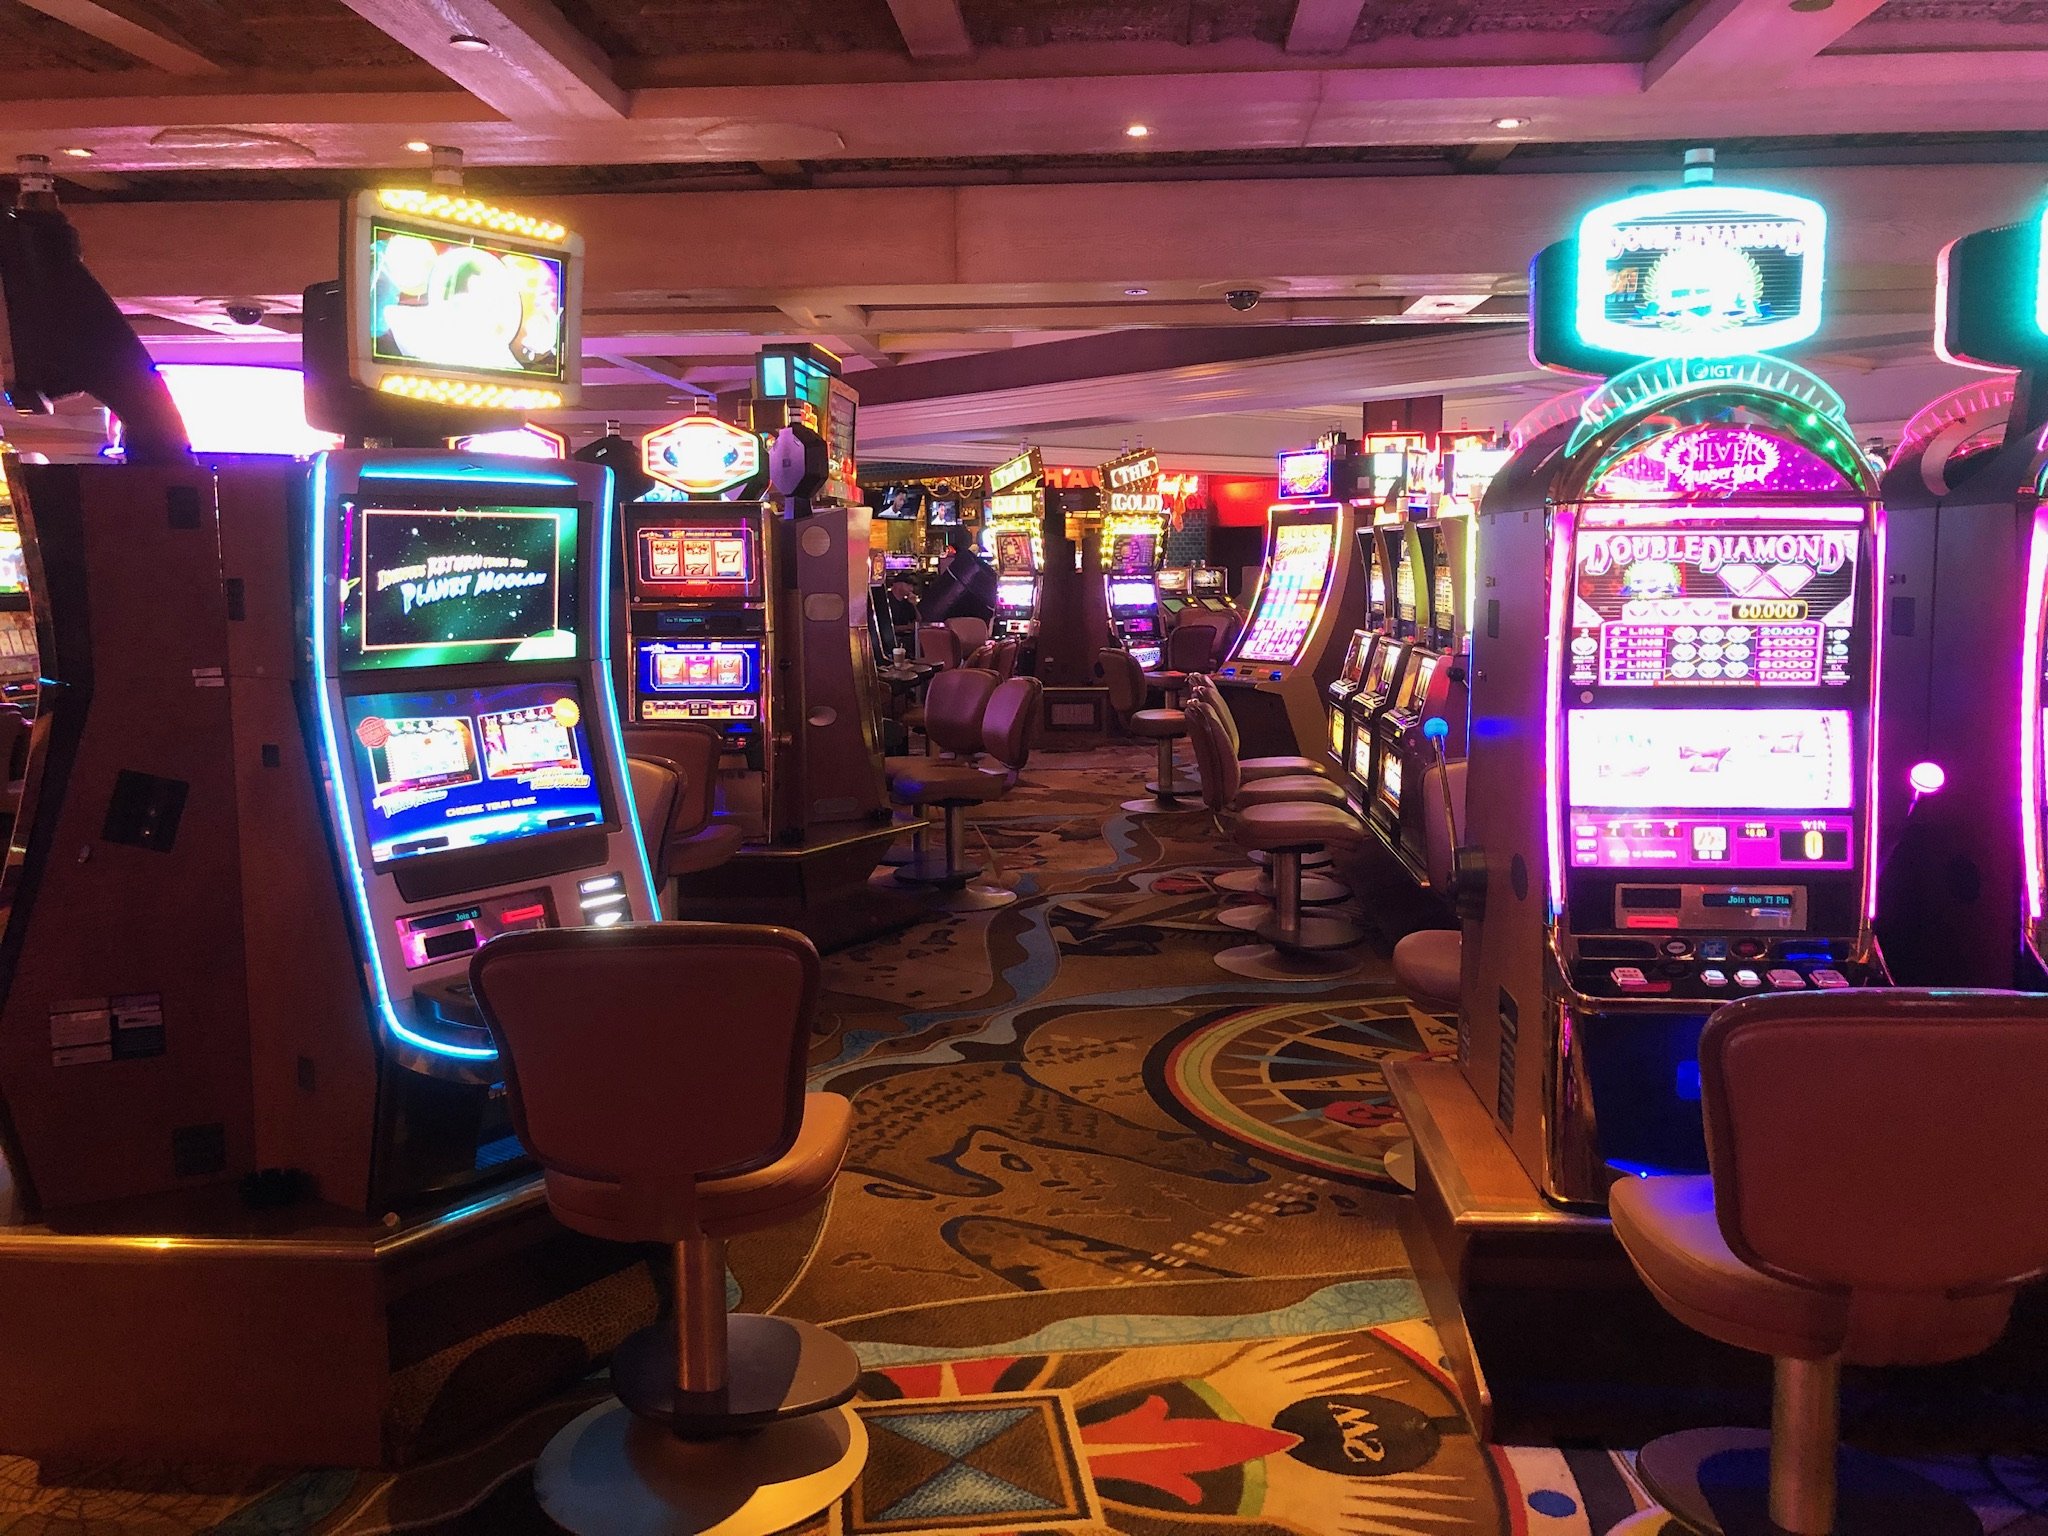
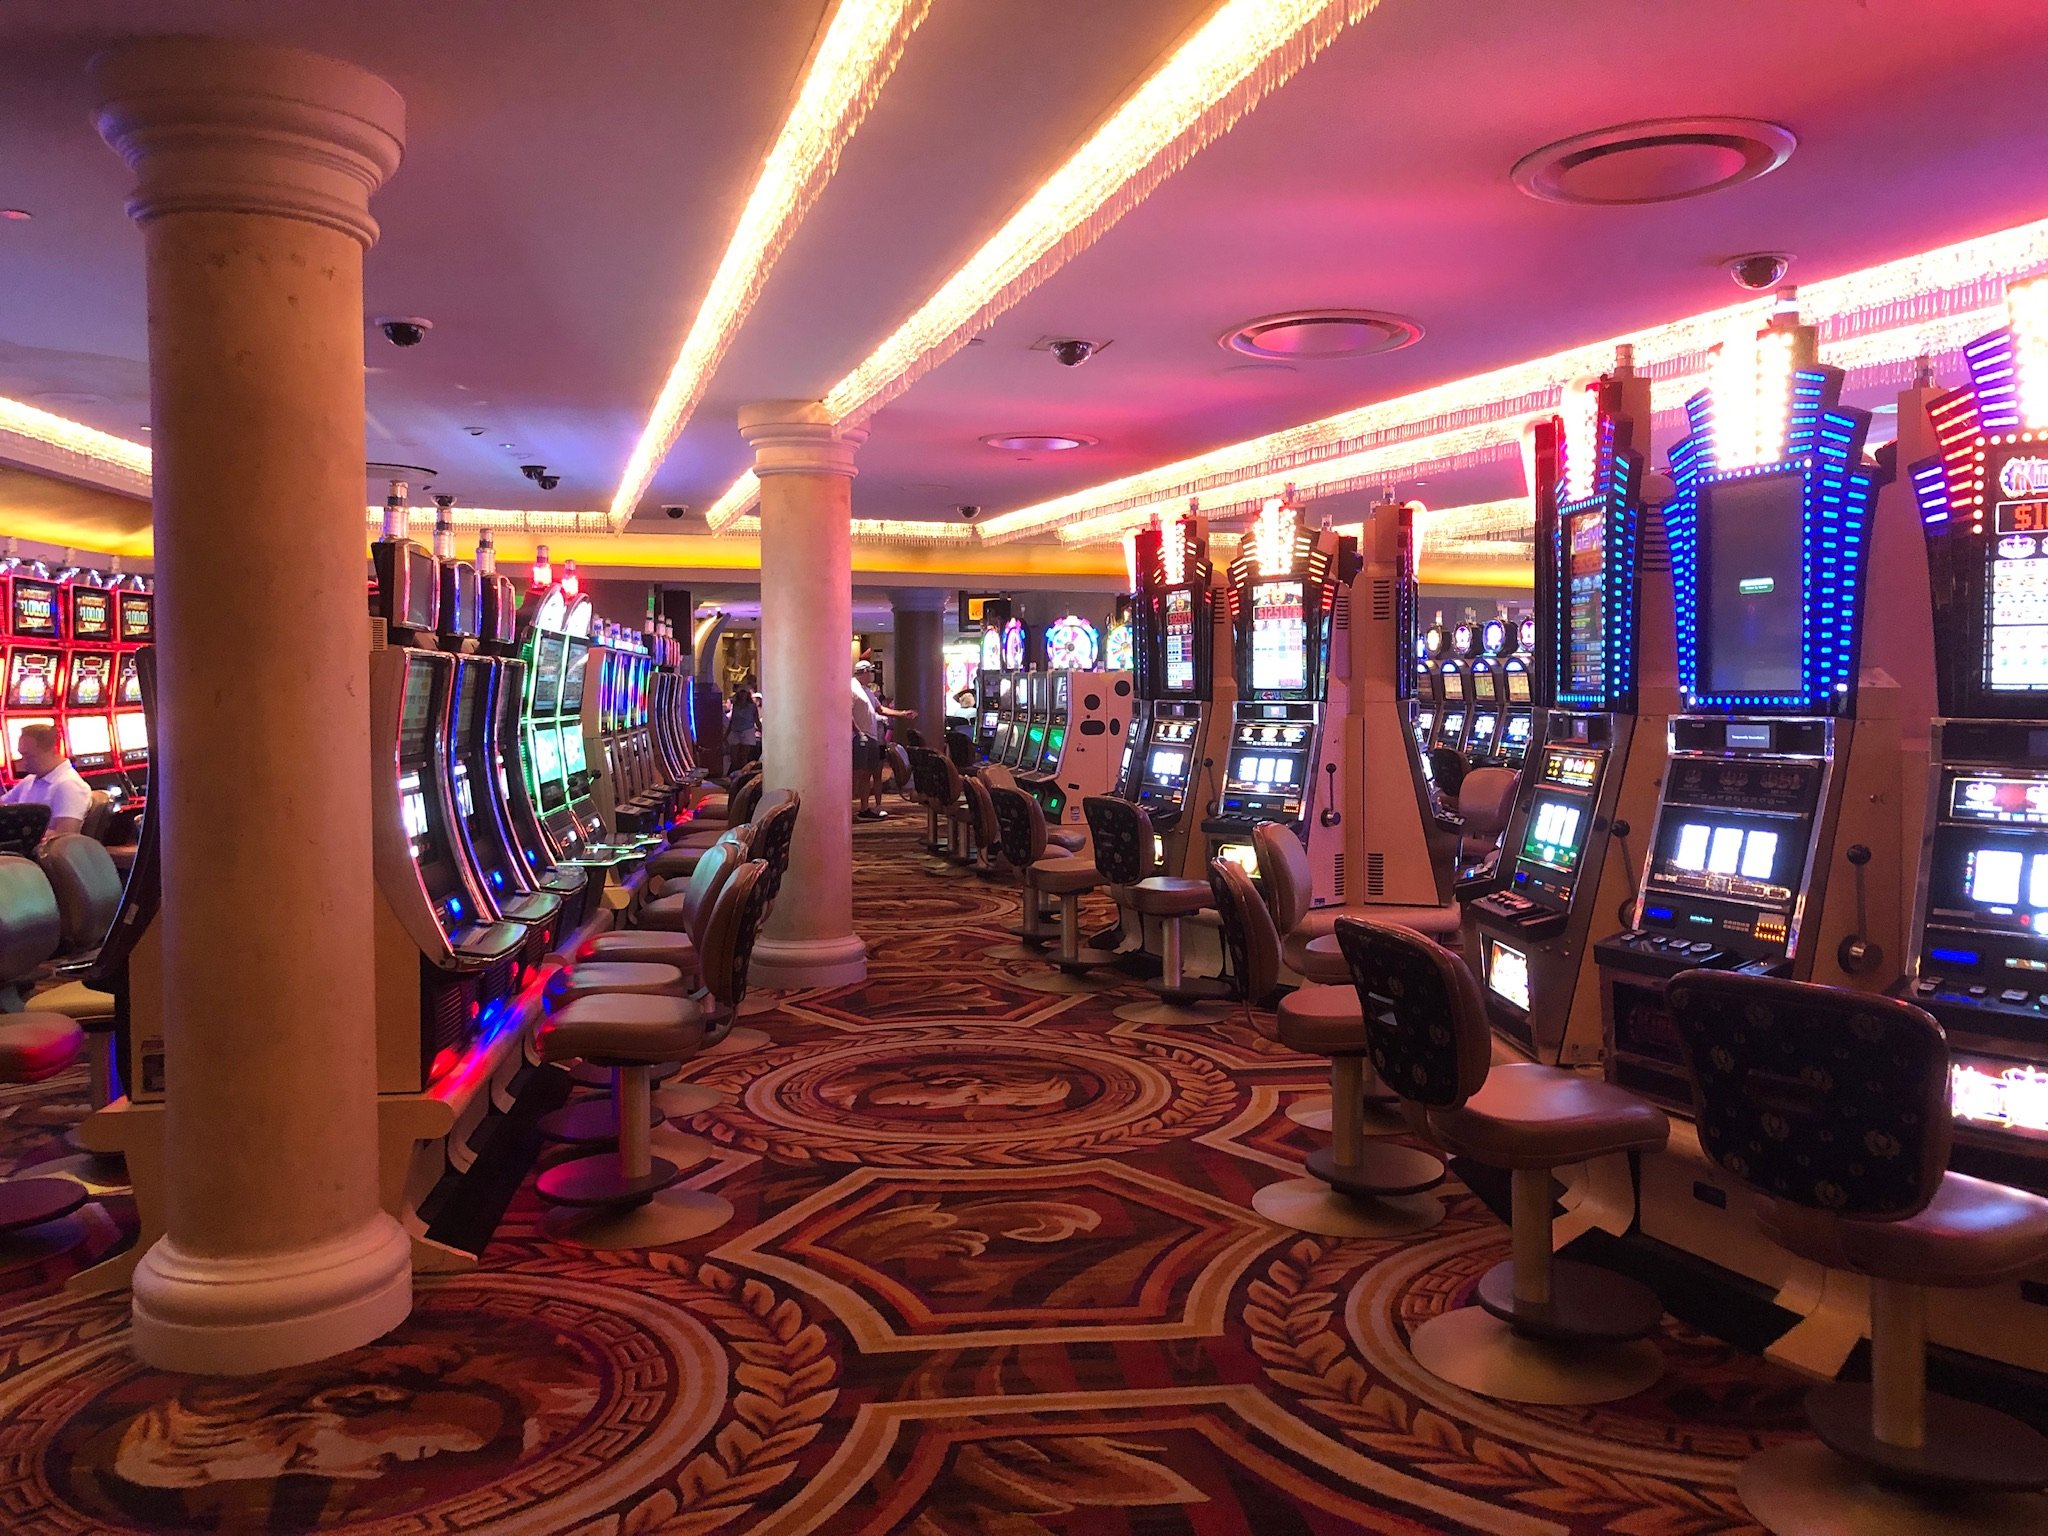
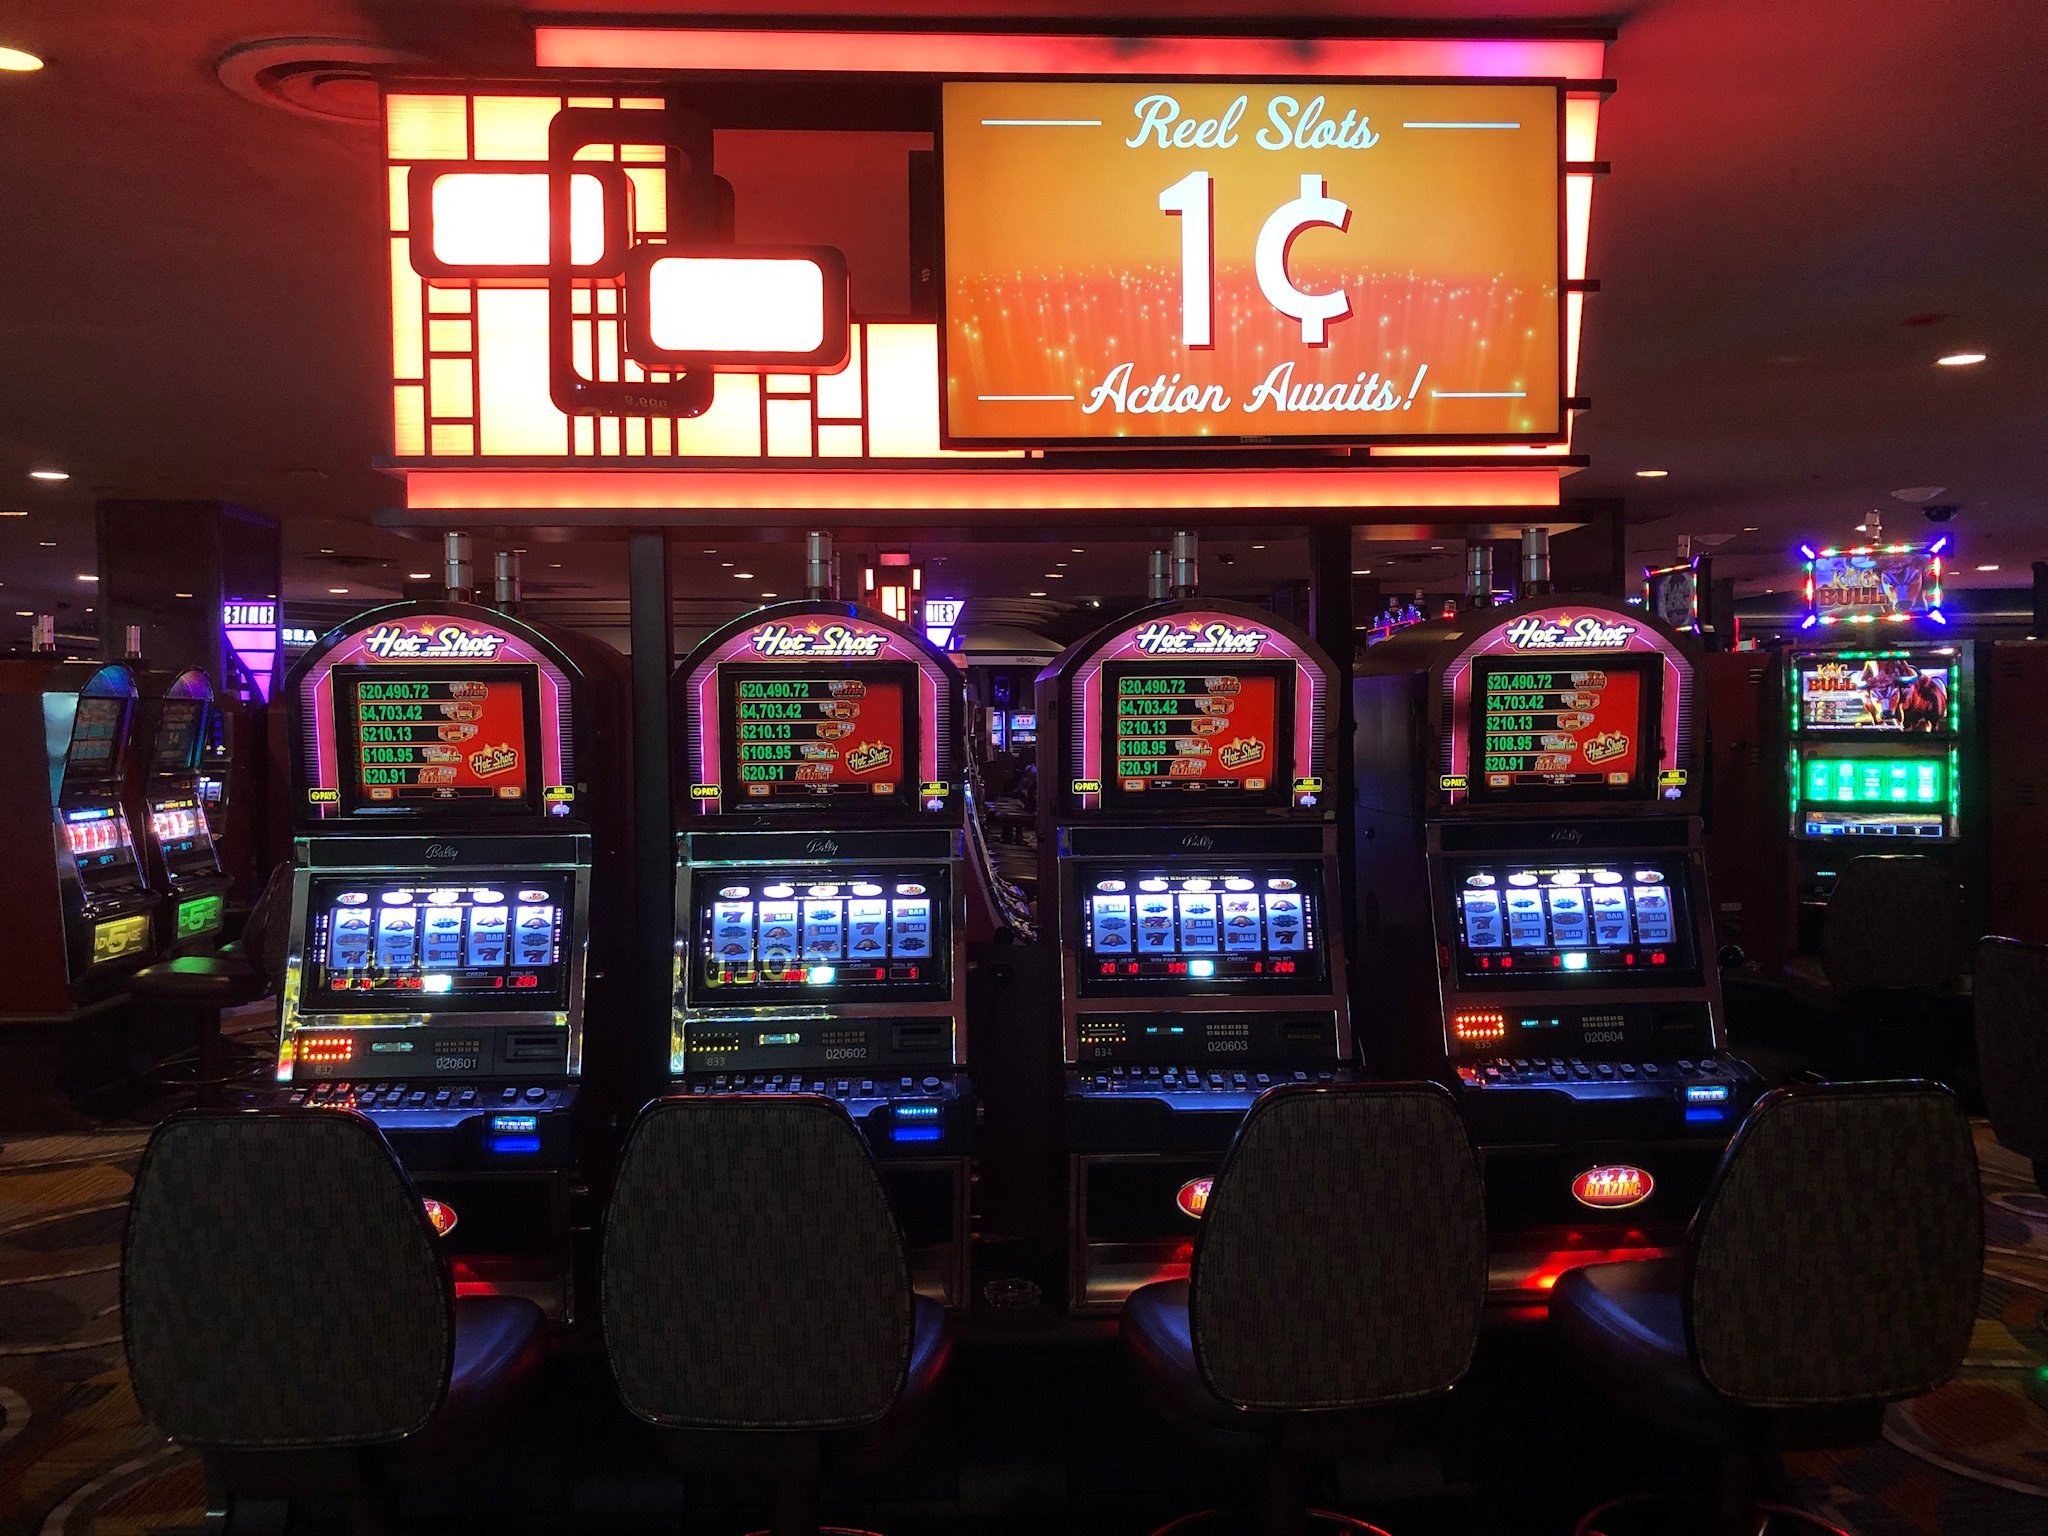
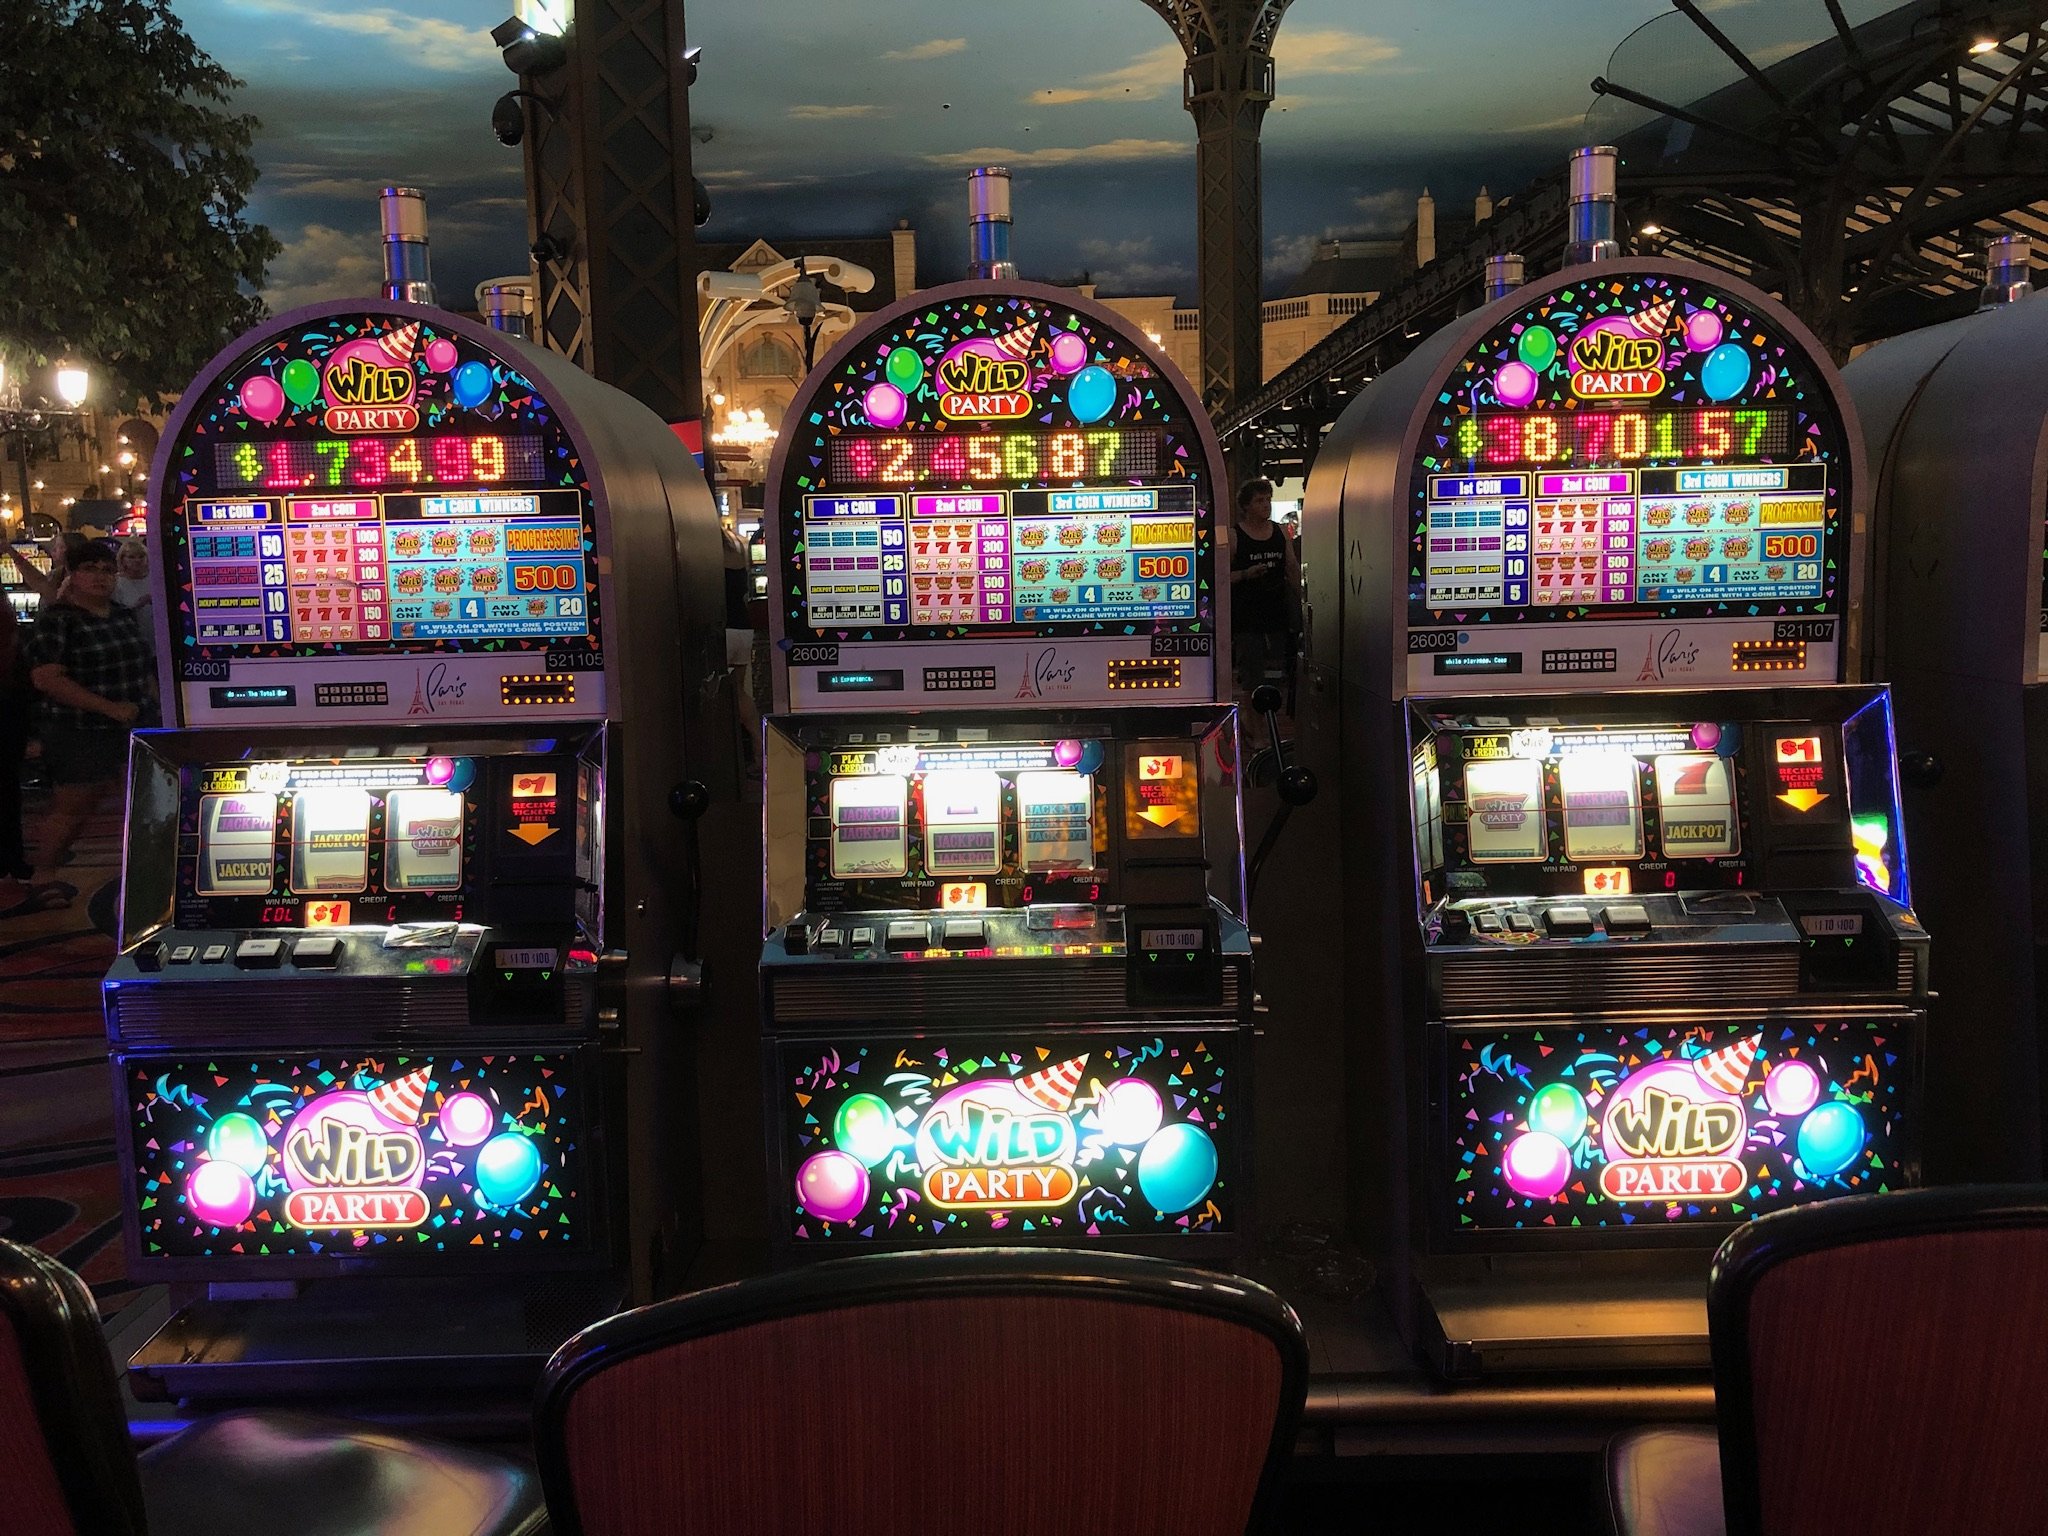
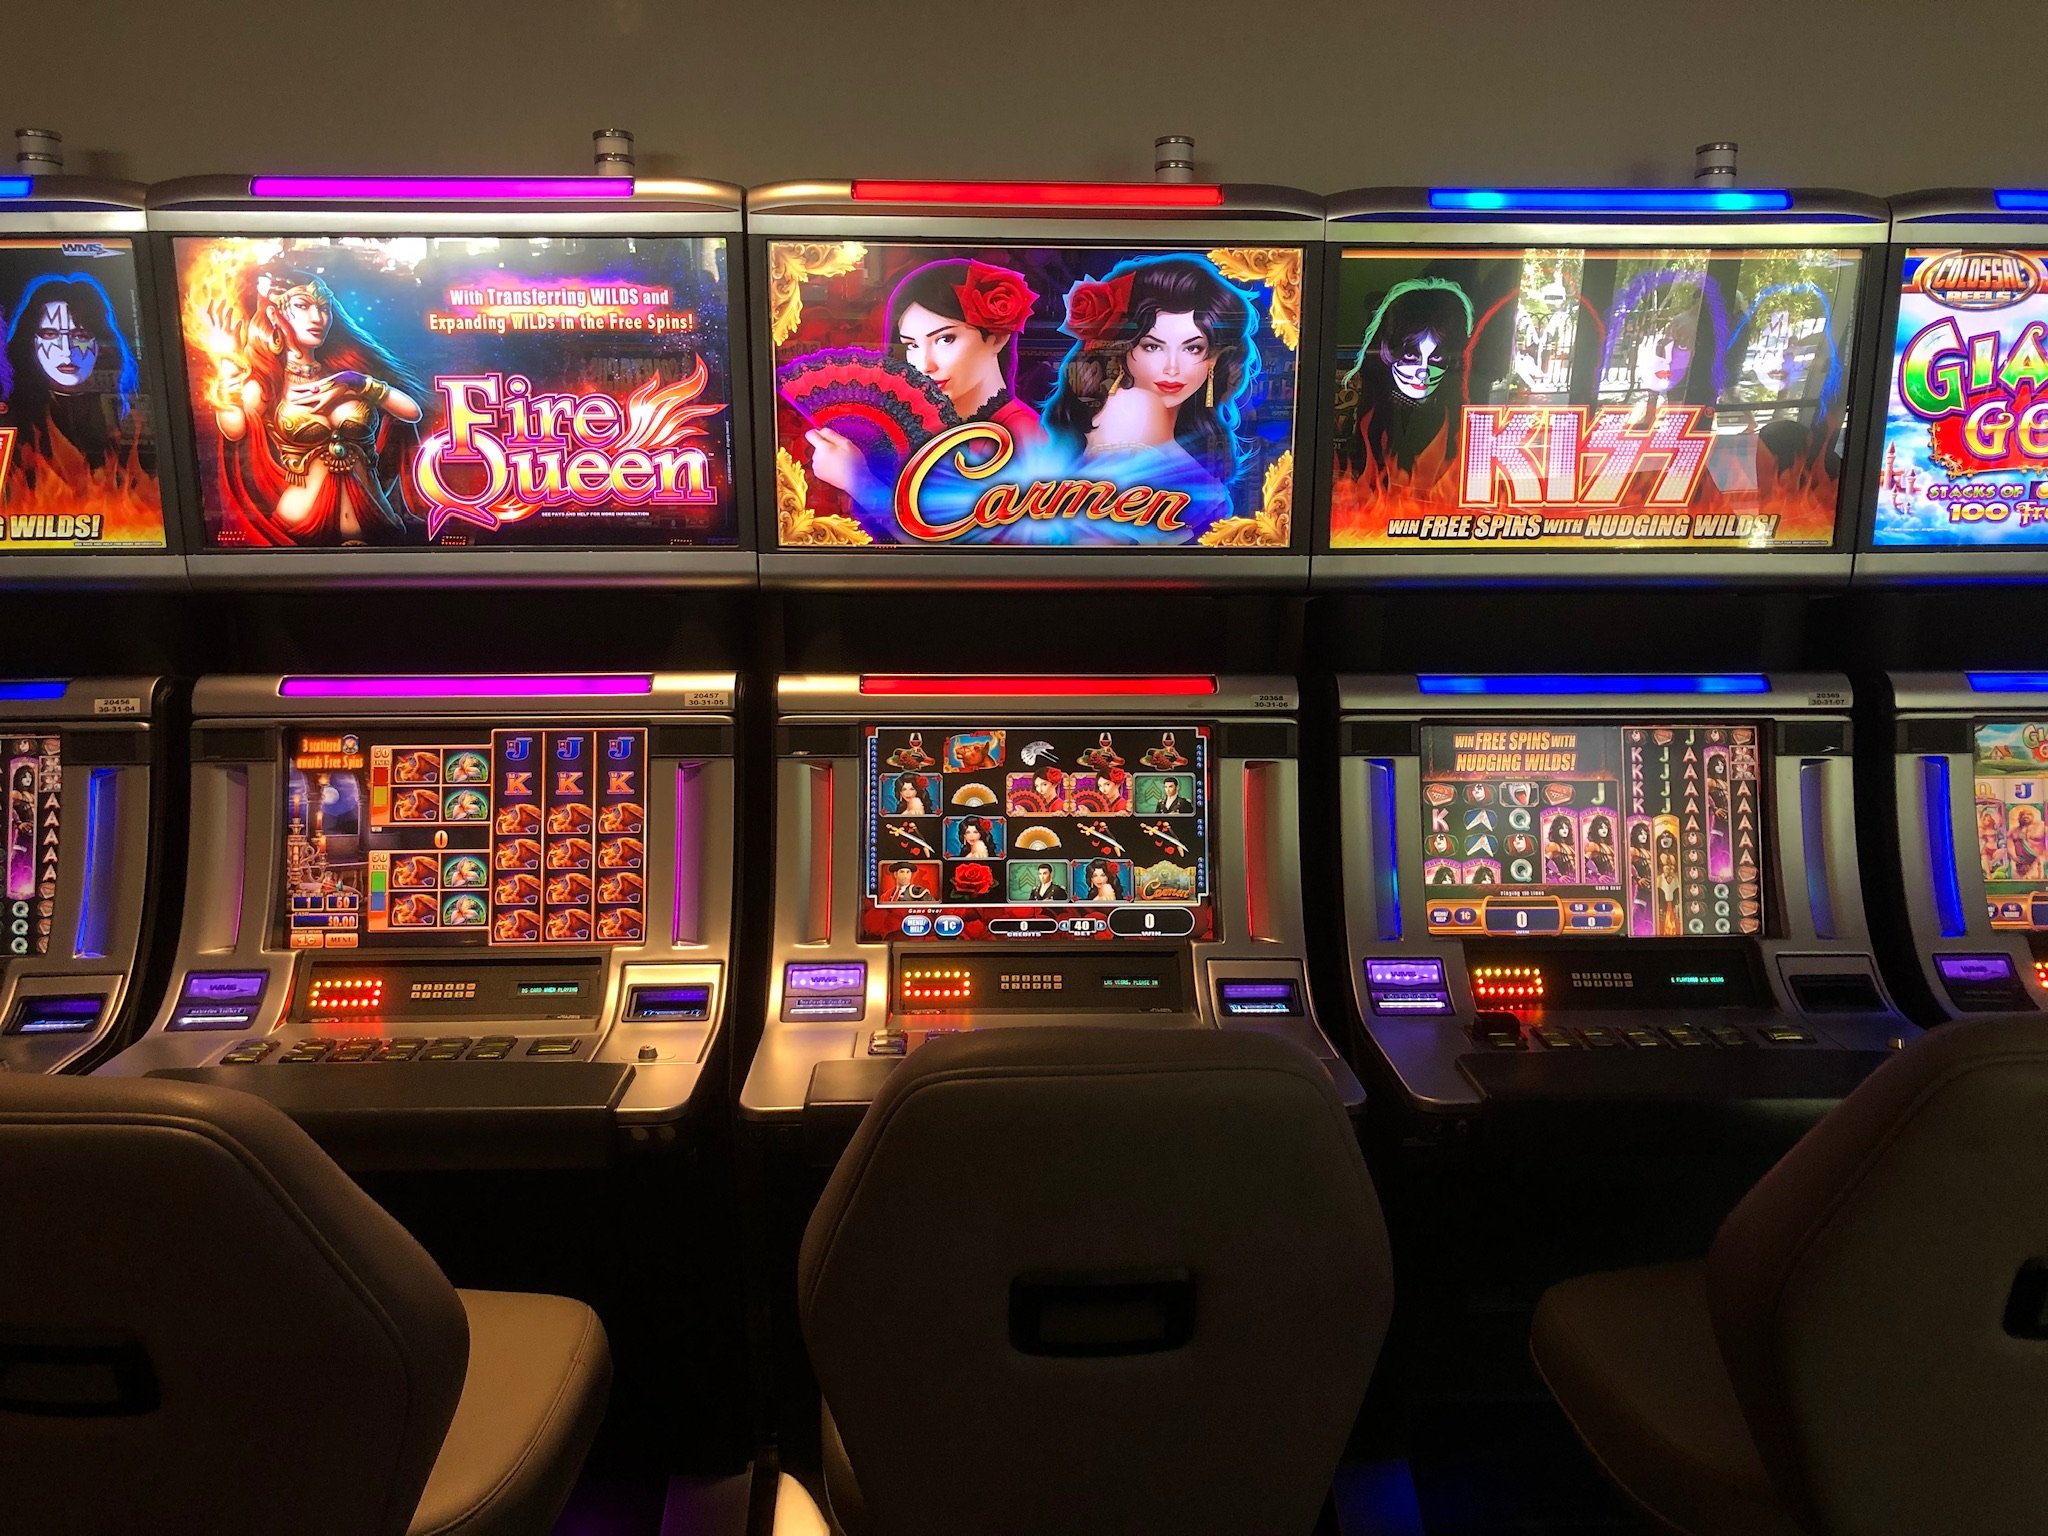
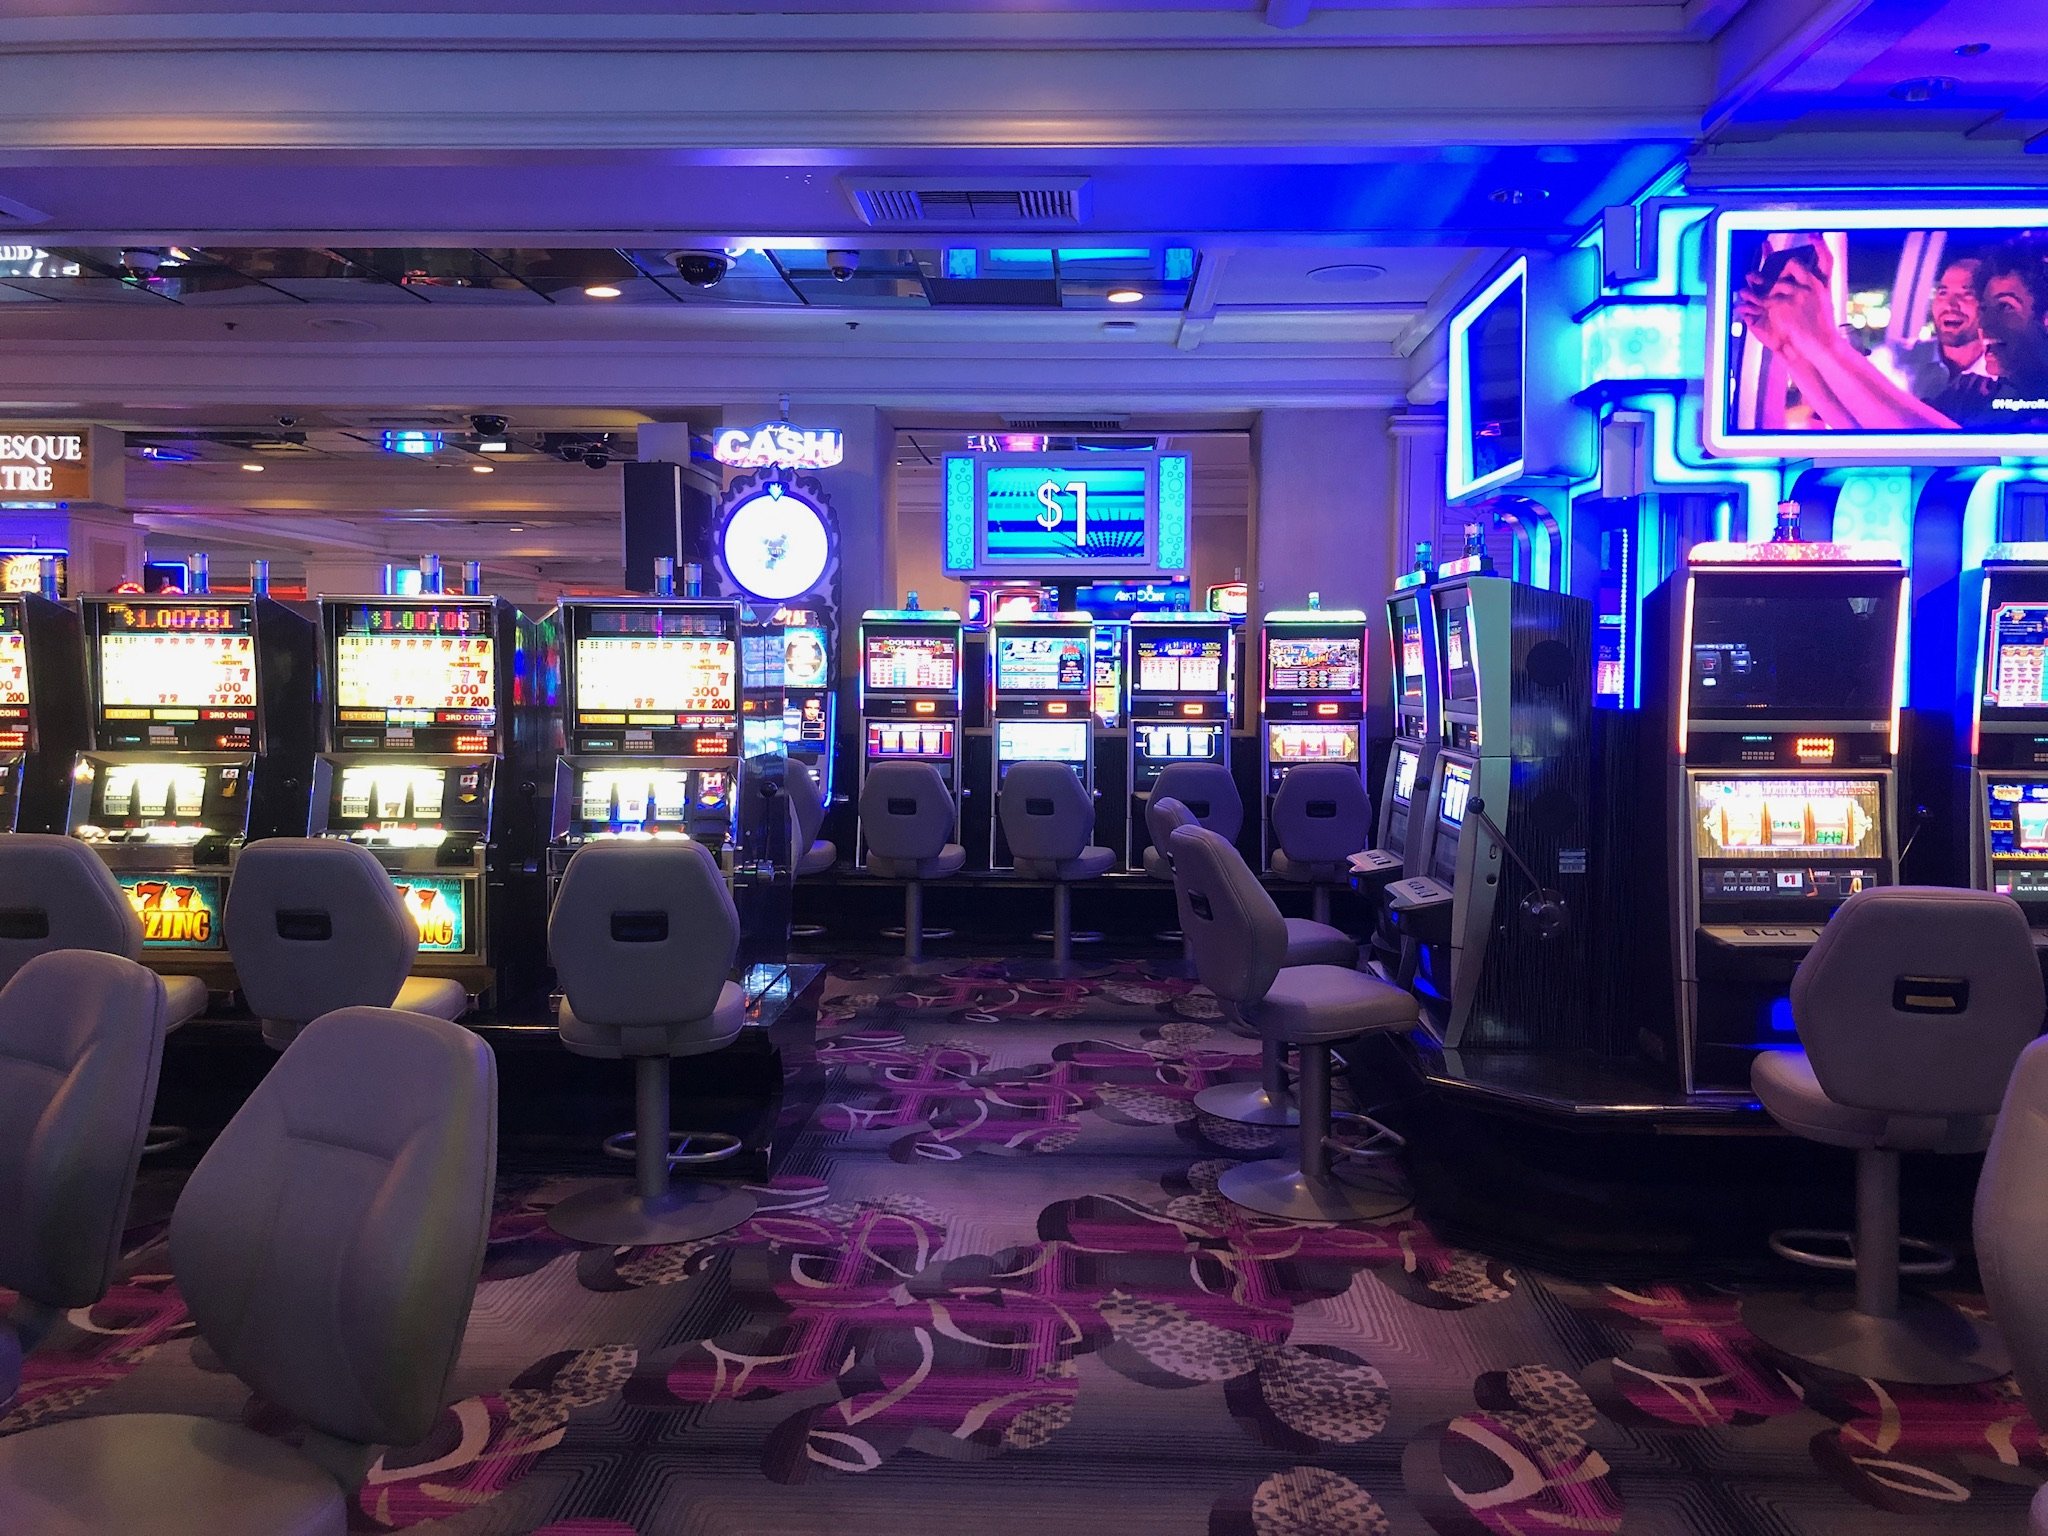
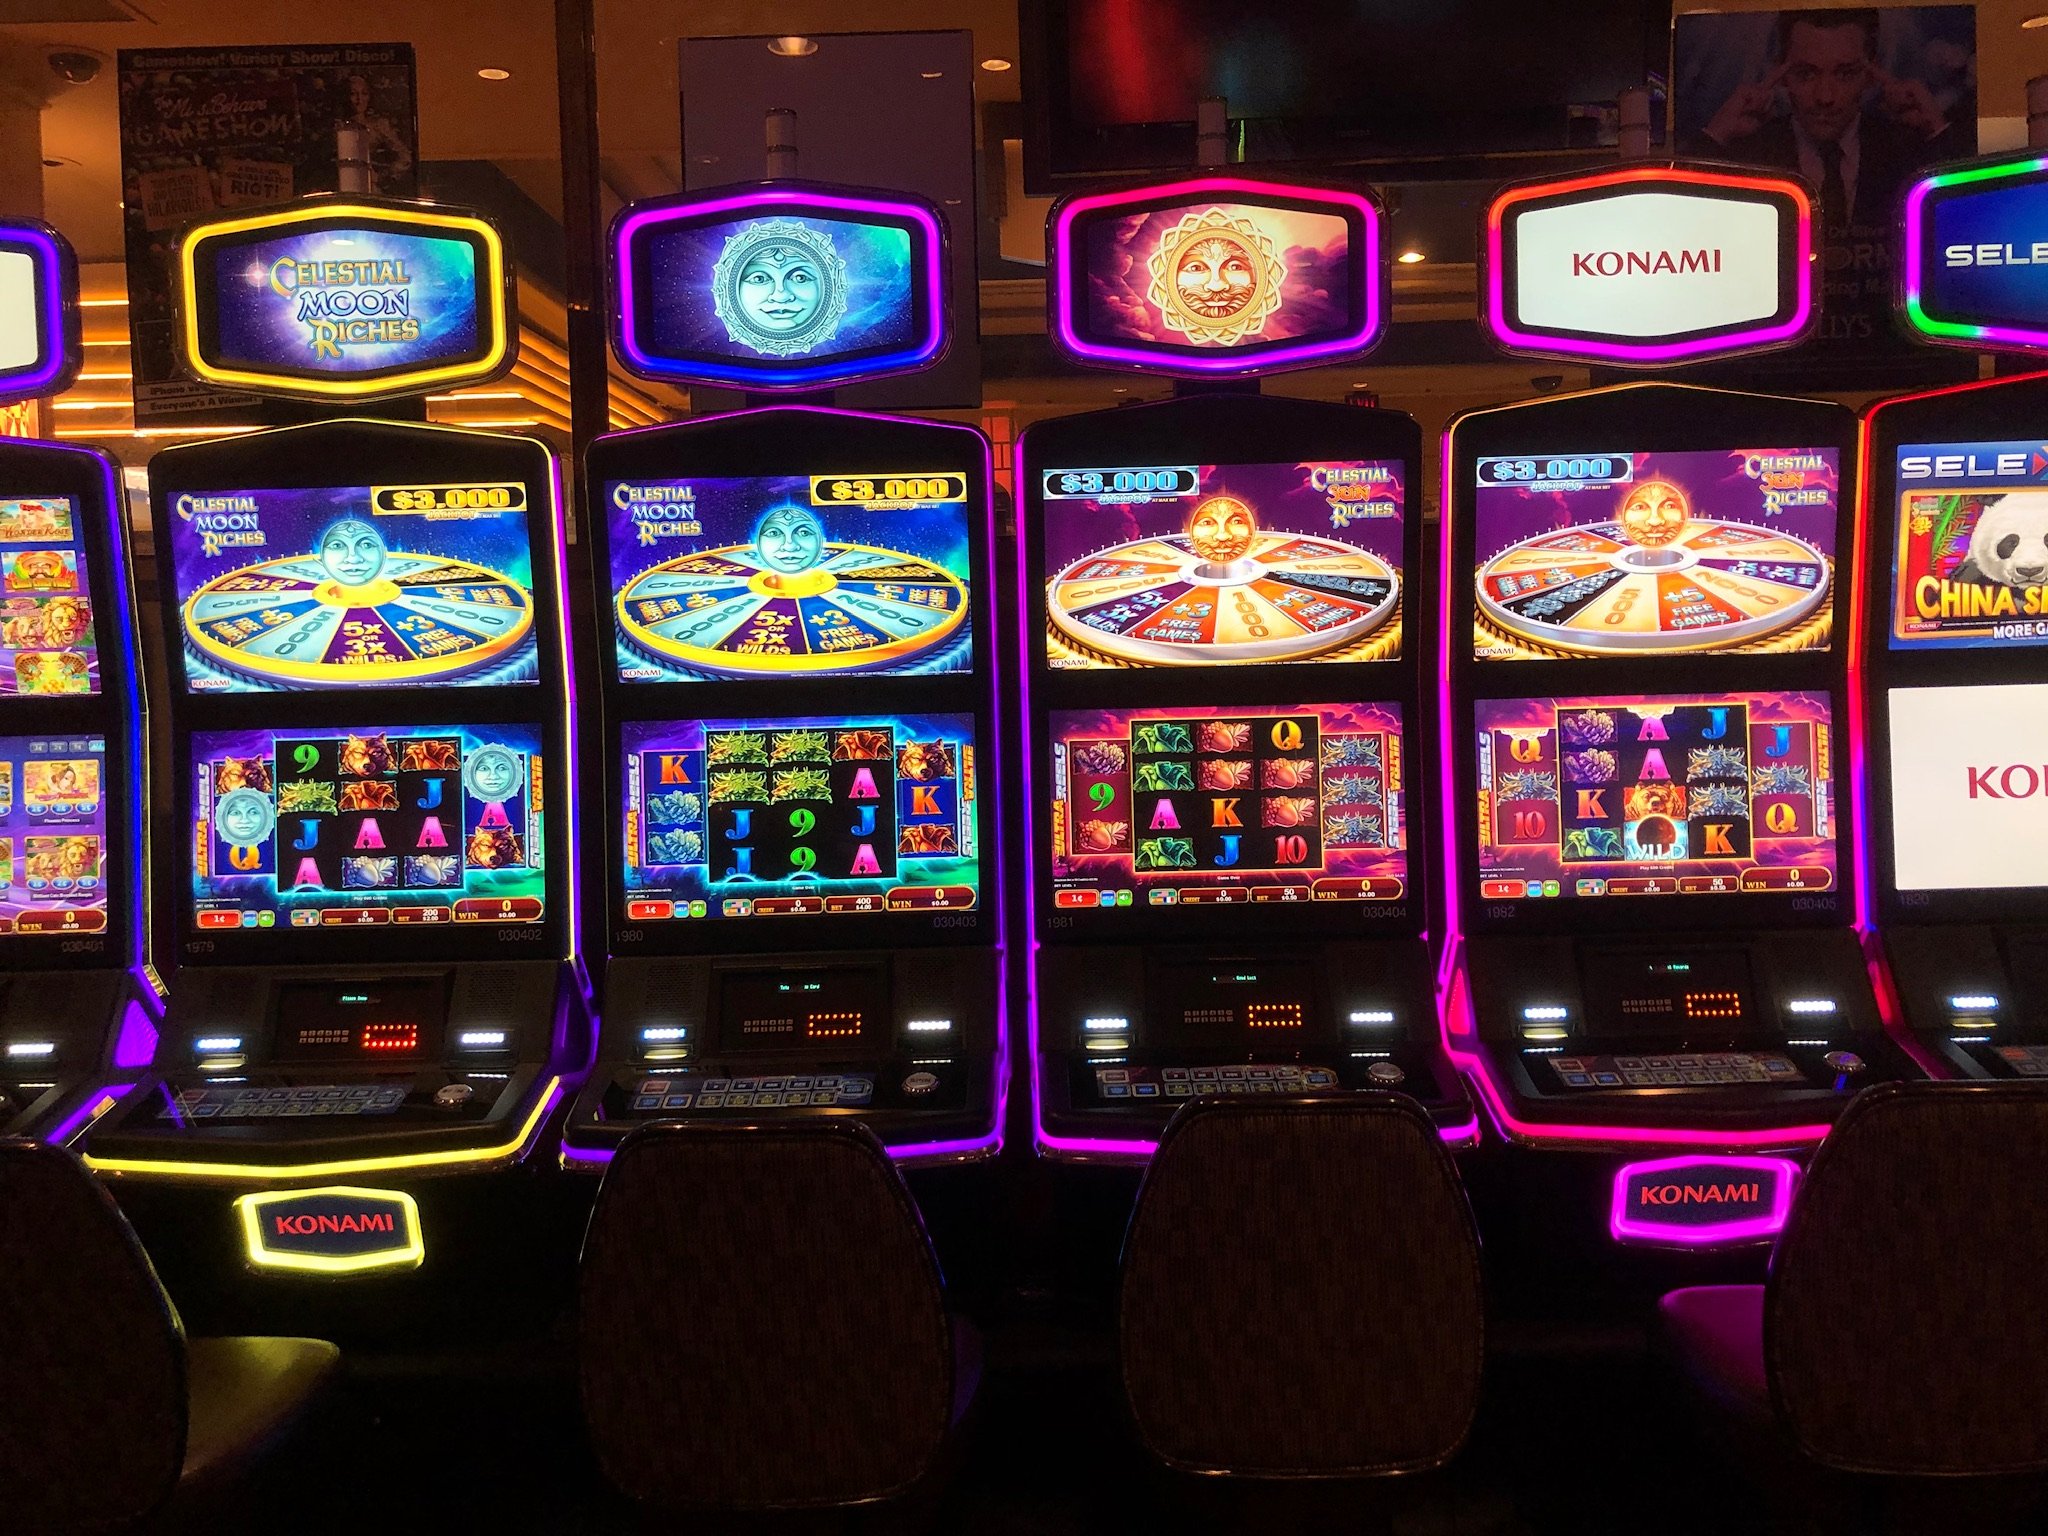
A few more...


-
2
-
-
-
Following on from this thread, this is where I am going to post some pics.
Open for feedback on some or things that you may want - I am just trying to stay as generic as I can for my personal taste but this isn’t all about me and I’ll try to support as when I leave, I am gone from here possibly for good as I doubt I’ll be back next year.
Obviously maybe a slight crop or straighten might be needed but feel free to use them for personal use.
-
Damn - why was that not showing on mine - yes I had forgot and now I need to see why I could not see that on Game Manager.
Thank you - list edited...
-
39 minutes ago, wearecity said:
This is a great edition.
Be good if members visit UK arcades we could get some pictures inside.
Particularly inside MR Ps or similar retro arcades would be very nice.
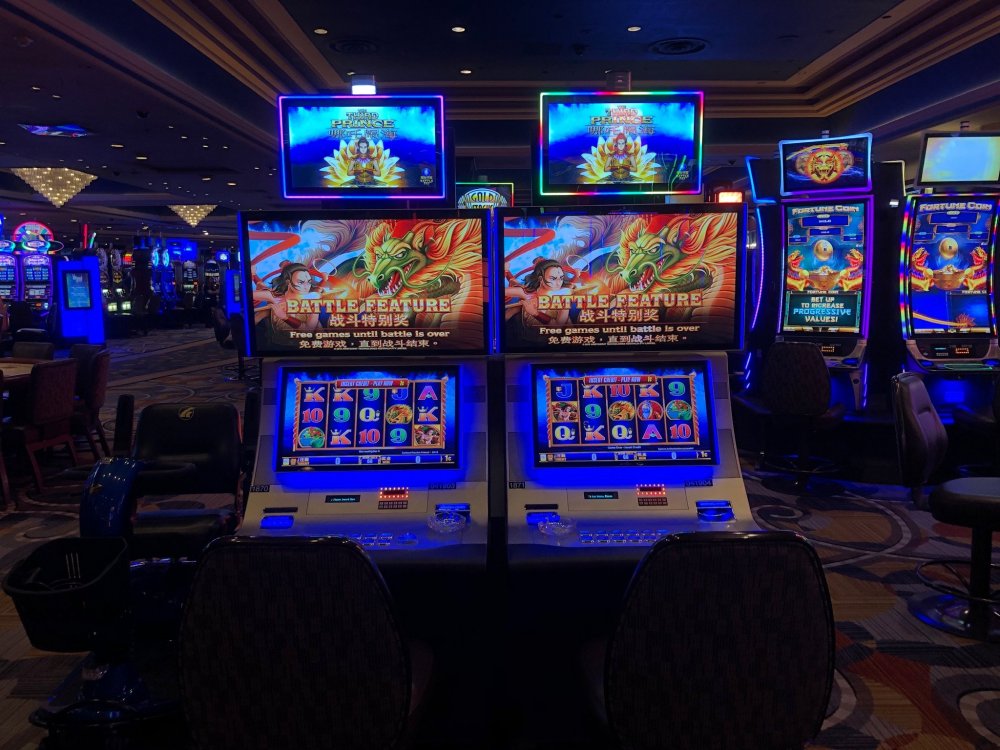
Having put the above picture in the background of a few layouts it still gives that arcade atmosphere. Perhaps I'll bring back a few when I go to Vegas in November.
This will be a good thread to post them to...
")
-
1
-
-
Layout: Eastenders - Albert Square
Tech: M1AB
Original Designer: @Pook
New Layout Thread: Not sure - but there is a great looking version kicking around by @Retrofruit
Requested by: @Reg
Layout: Eastenders - Queen Vic
Tech: M1AB
Original Designer: @Pook
New Layout Thread: N/A
Requested by: @Reg -
None of us have all the time in the world, including myself here.
With the release of v19 I thought that I'd start a thread here to capture a couple of personal favs that I would love to see re-done with resources that are of todays quality ( and that's the catch ! ).
These are both layouts that @Pook once did and they are:
- Eastenders - Albert Square
- Eastenders - Queen Vic
Do not think under any circumstances I am not delighted and happy with everything that we have - I really am, but these are just a couple of suggestions of legacy layouts that personally I would love to add to the list below.
Feel free to add to this thread and I will keep the post updated below. This does not mean that we will ever see them redone - this is just a thread with suggestions for the great .FML Designers we have as their time is not free and it all depends on if they have the resources and want to do the machine. It is very hard to do machines that you don't like !
-
2
-
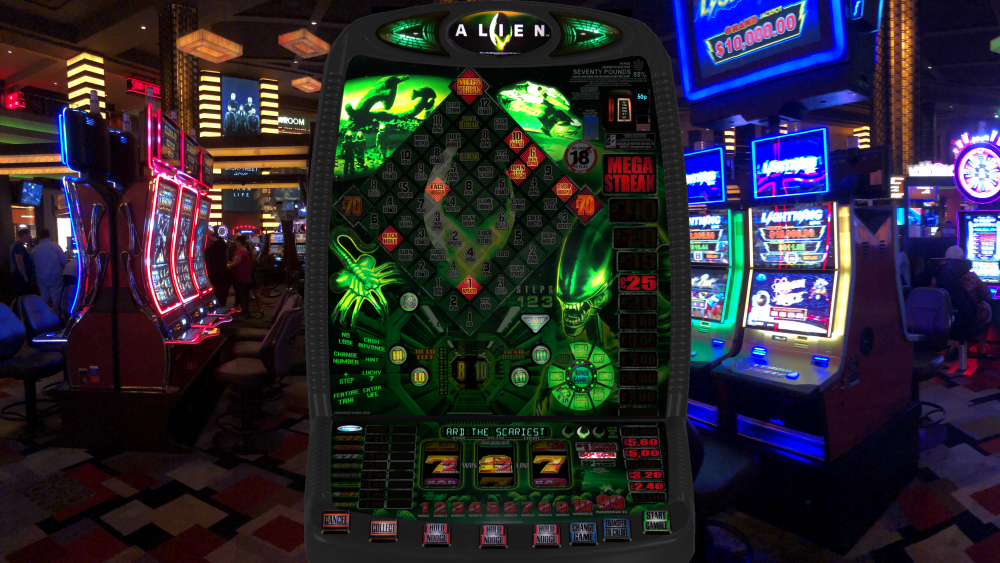
Last year while in LV I took this picture, not a very good one - but still a picture...

Taking Aliens by @Tommy c, I wanted to have some full screen immersion.
Originally the background properties looked like this...
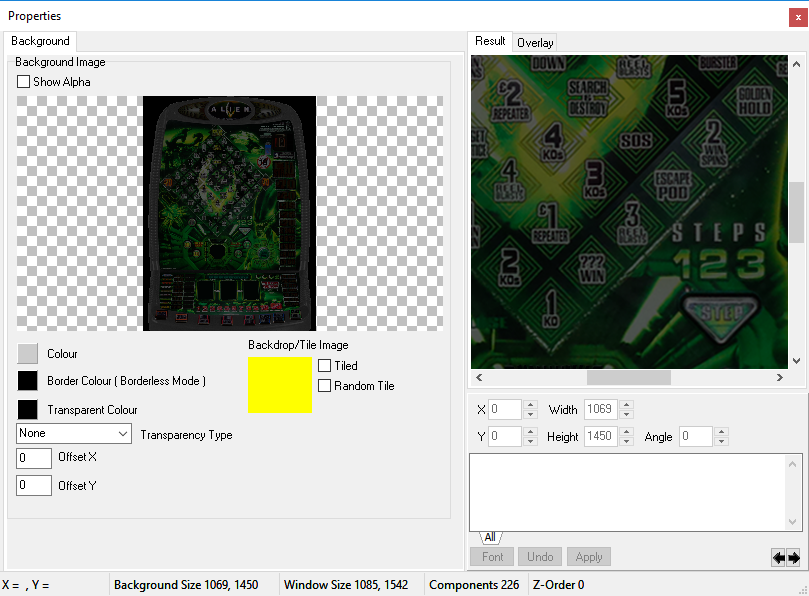
...by changing it to the below...
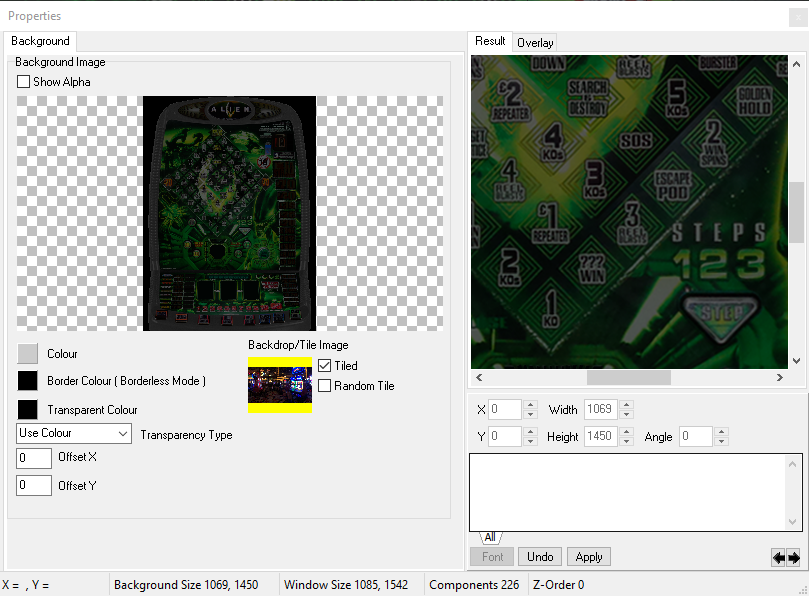
...when you hit F3 once you have left edit mode, welcome to Aliens in Las Vegas !
-
5
-
1
-
-
16 hours ago, Chopaholic said:
Be my guest!
Thank you sir, added...
-
May I post a link to this on the thread I often point people to - this is great ?
-
This has now been submitted.
-
2
-
-
MFME 6.1 is the latest one form here.
This guide should help...
-
...I have to see this.
This was back then...
...and now...
-
1
-
-
Ok nice.
You Channel is now on the "FME Video" tab at the top of the forum page, ( http://www.desertislandfruits.com/forum/index.php?/videos/ ).
-
1
-
-
6 minutes ago, John said:
Into Chat. Thank you Reg.
NP.
When you've got five or six videos up, drop me a PM and I'll add you to the video wall as well. Just want to see a nice row of them...
-
1
-
-
33 minutes ago, John said:
Started a new topic and it put it here. Didn't know it was development. Point me in the right direction please?
Moved !
-
 1
1
-
-
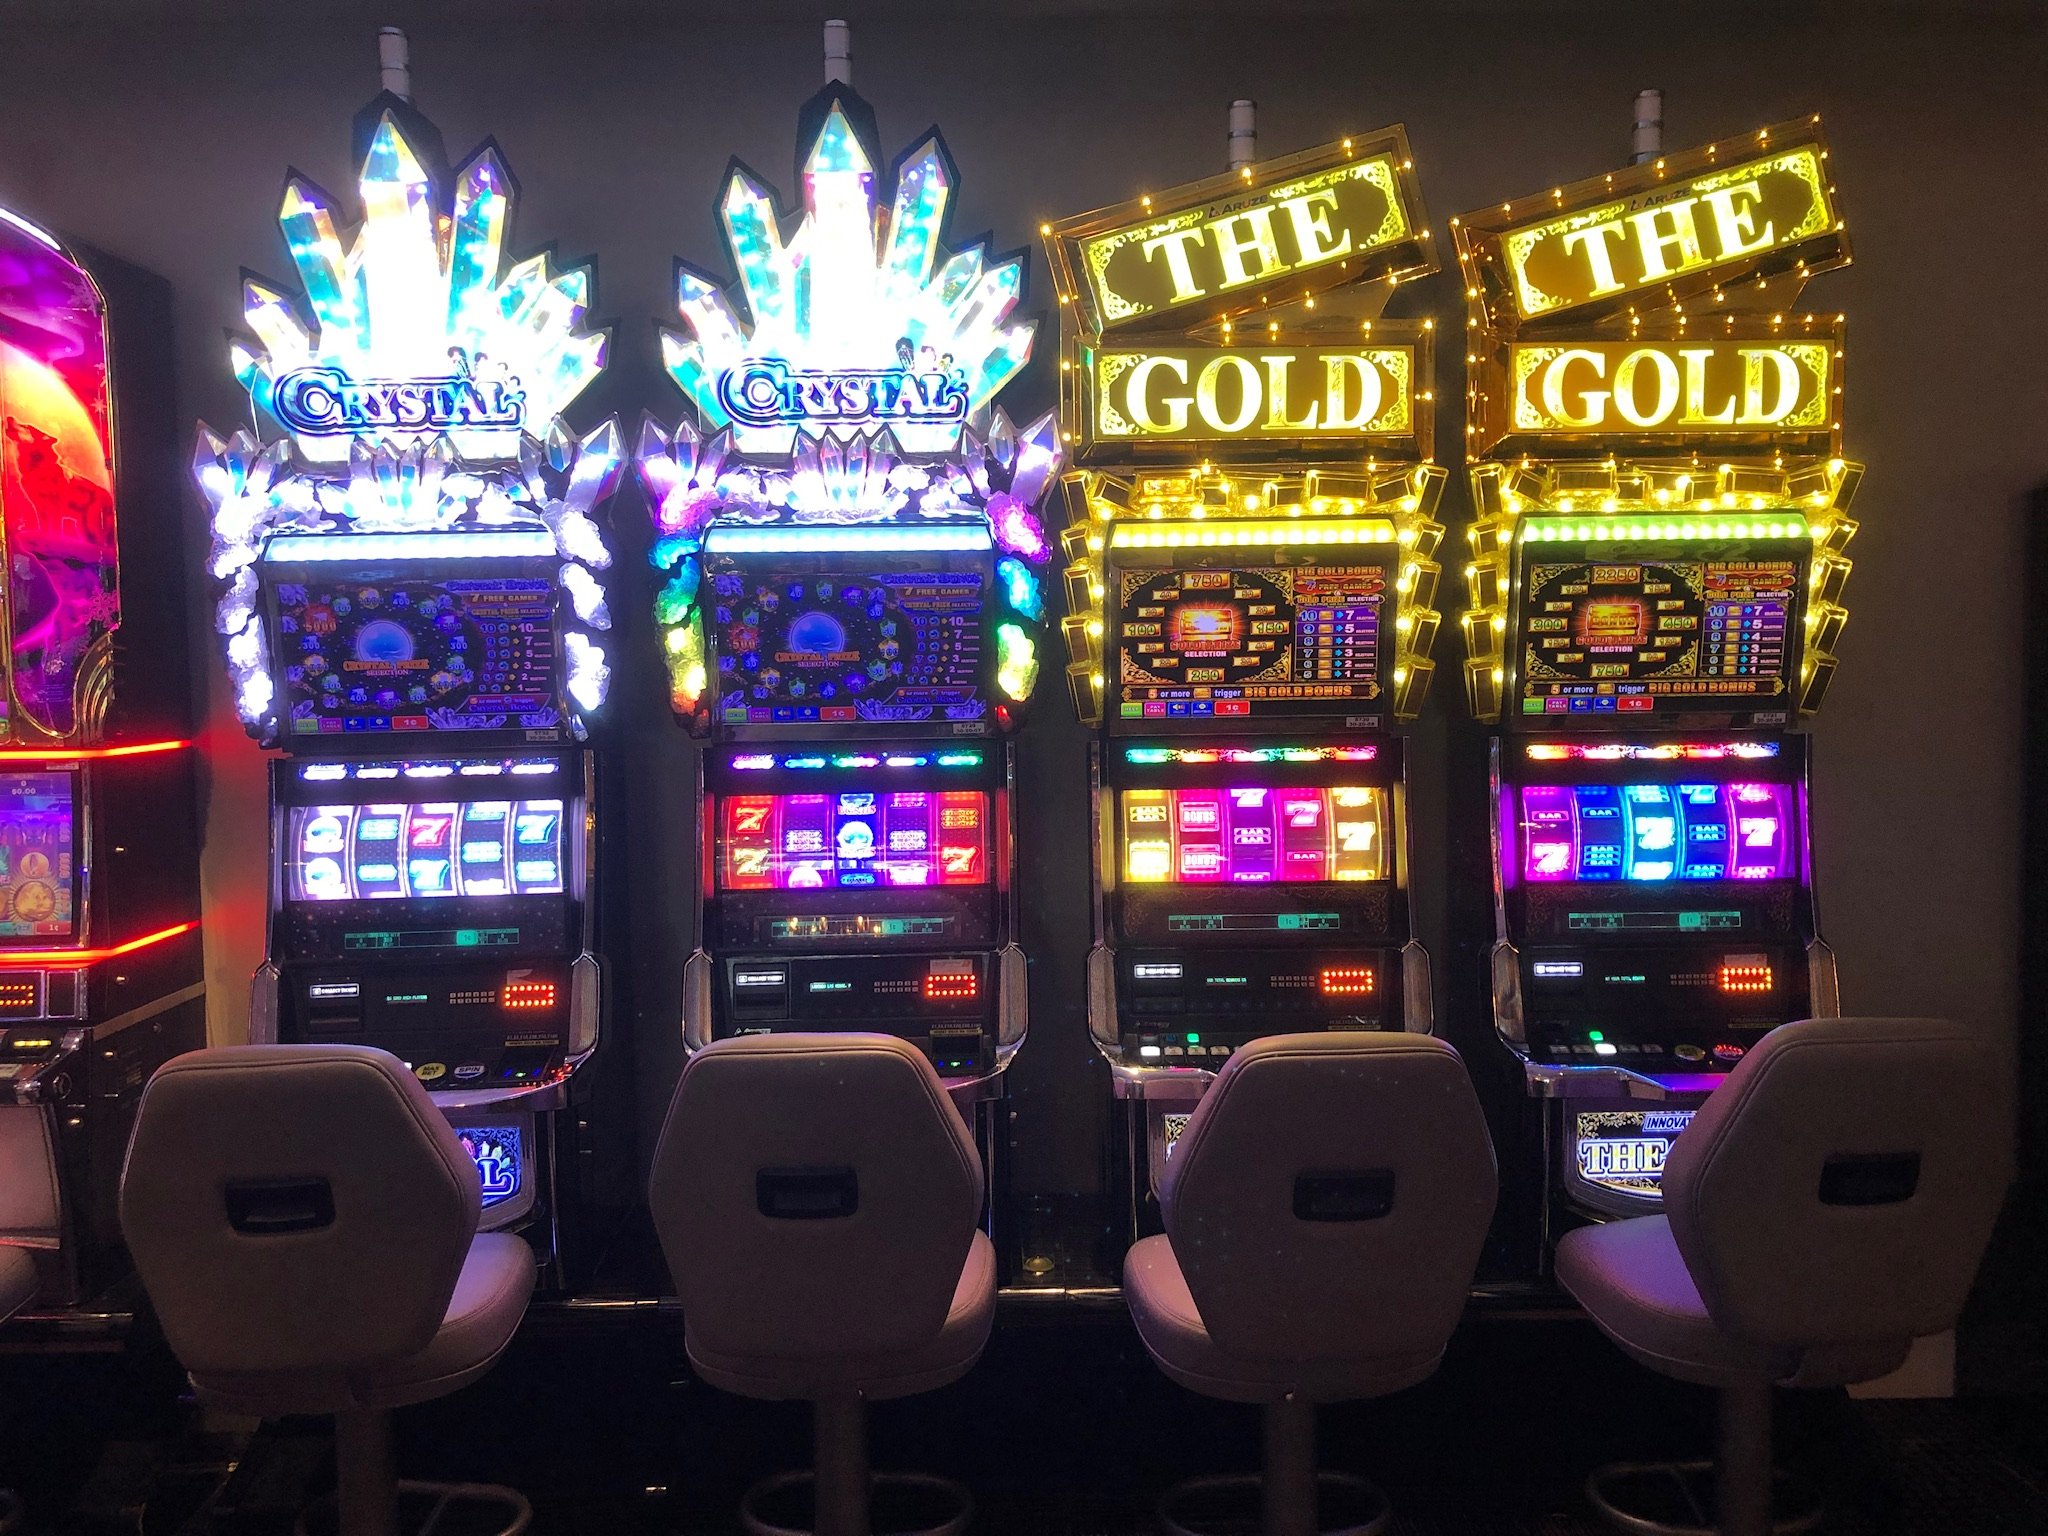
Gotta say - when you see all three together - they do look nice...
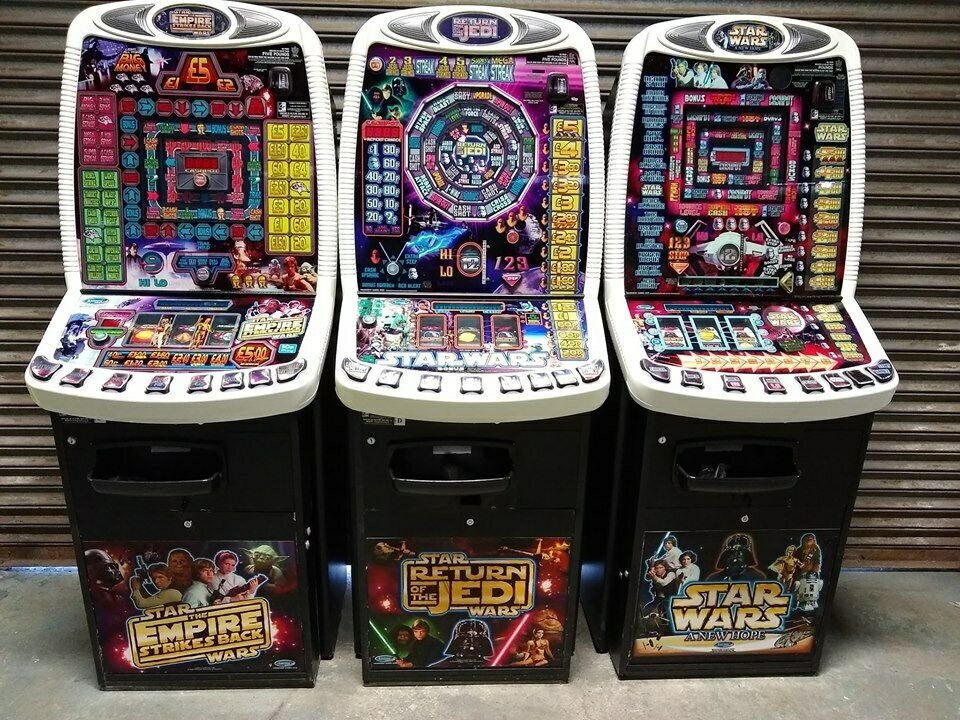
Here they are on eBay if anyone has a nice gape for three machines...
I do think the description is wrong that "only 50 were made" !
-
1
-
-
10 hours ago, A:E said:
The thing I find totally mind blowing are the demos people still write for the old 8 bits, I was watching some Spectrum ones earlier, some are insane, pushing the machines to their limits and then pushing them further, impressive stuff.
J
Yes and it seems to be that the Russians excel at doing this.
Some would be forgiven for thinking it never died over there...
-
-
1
-


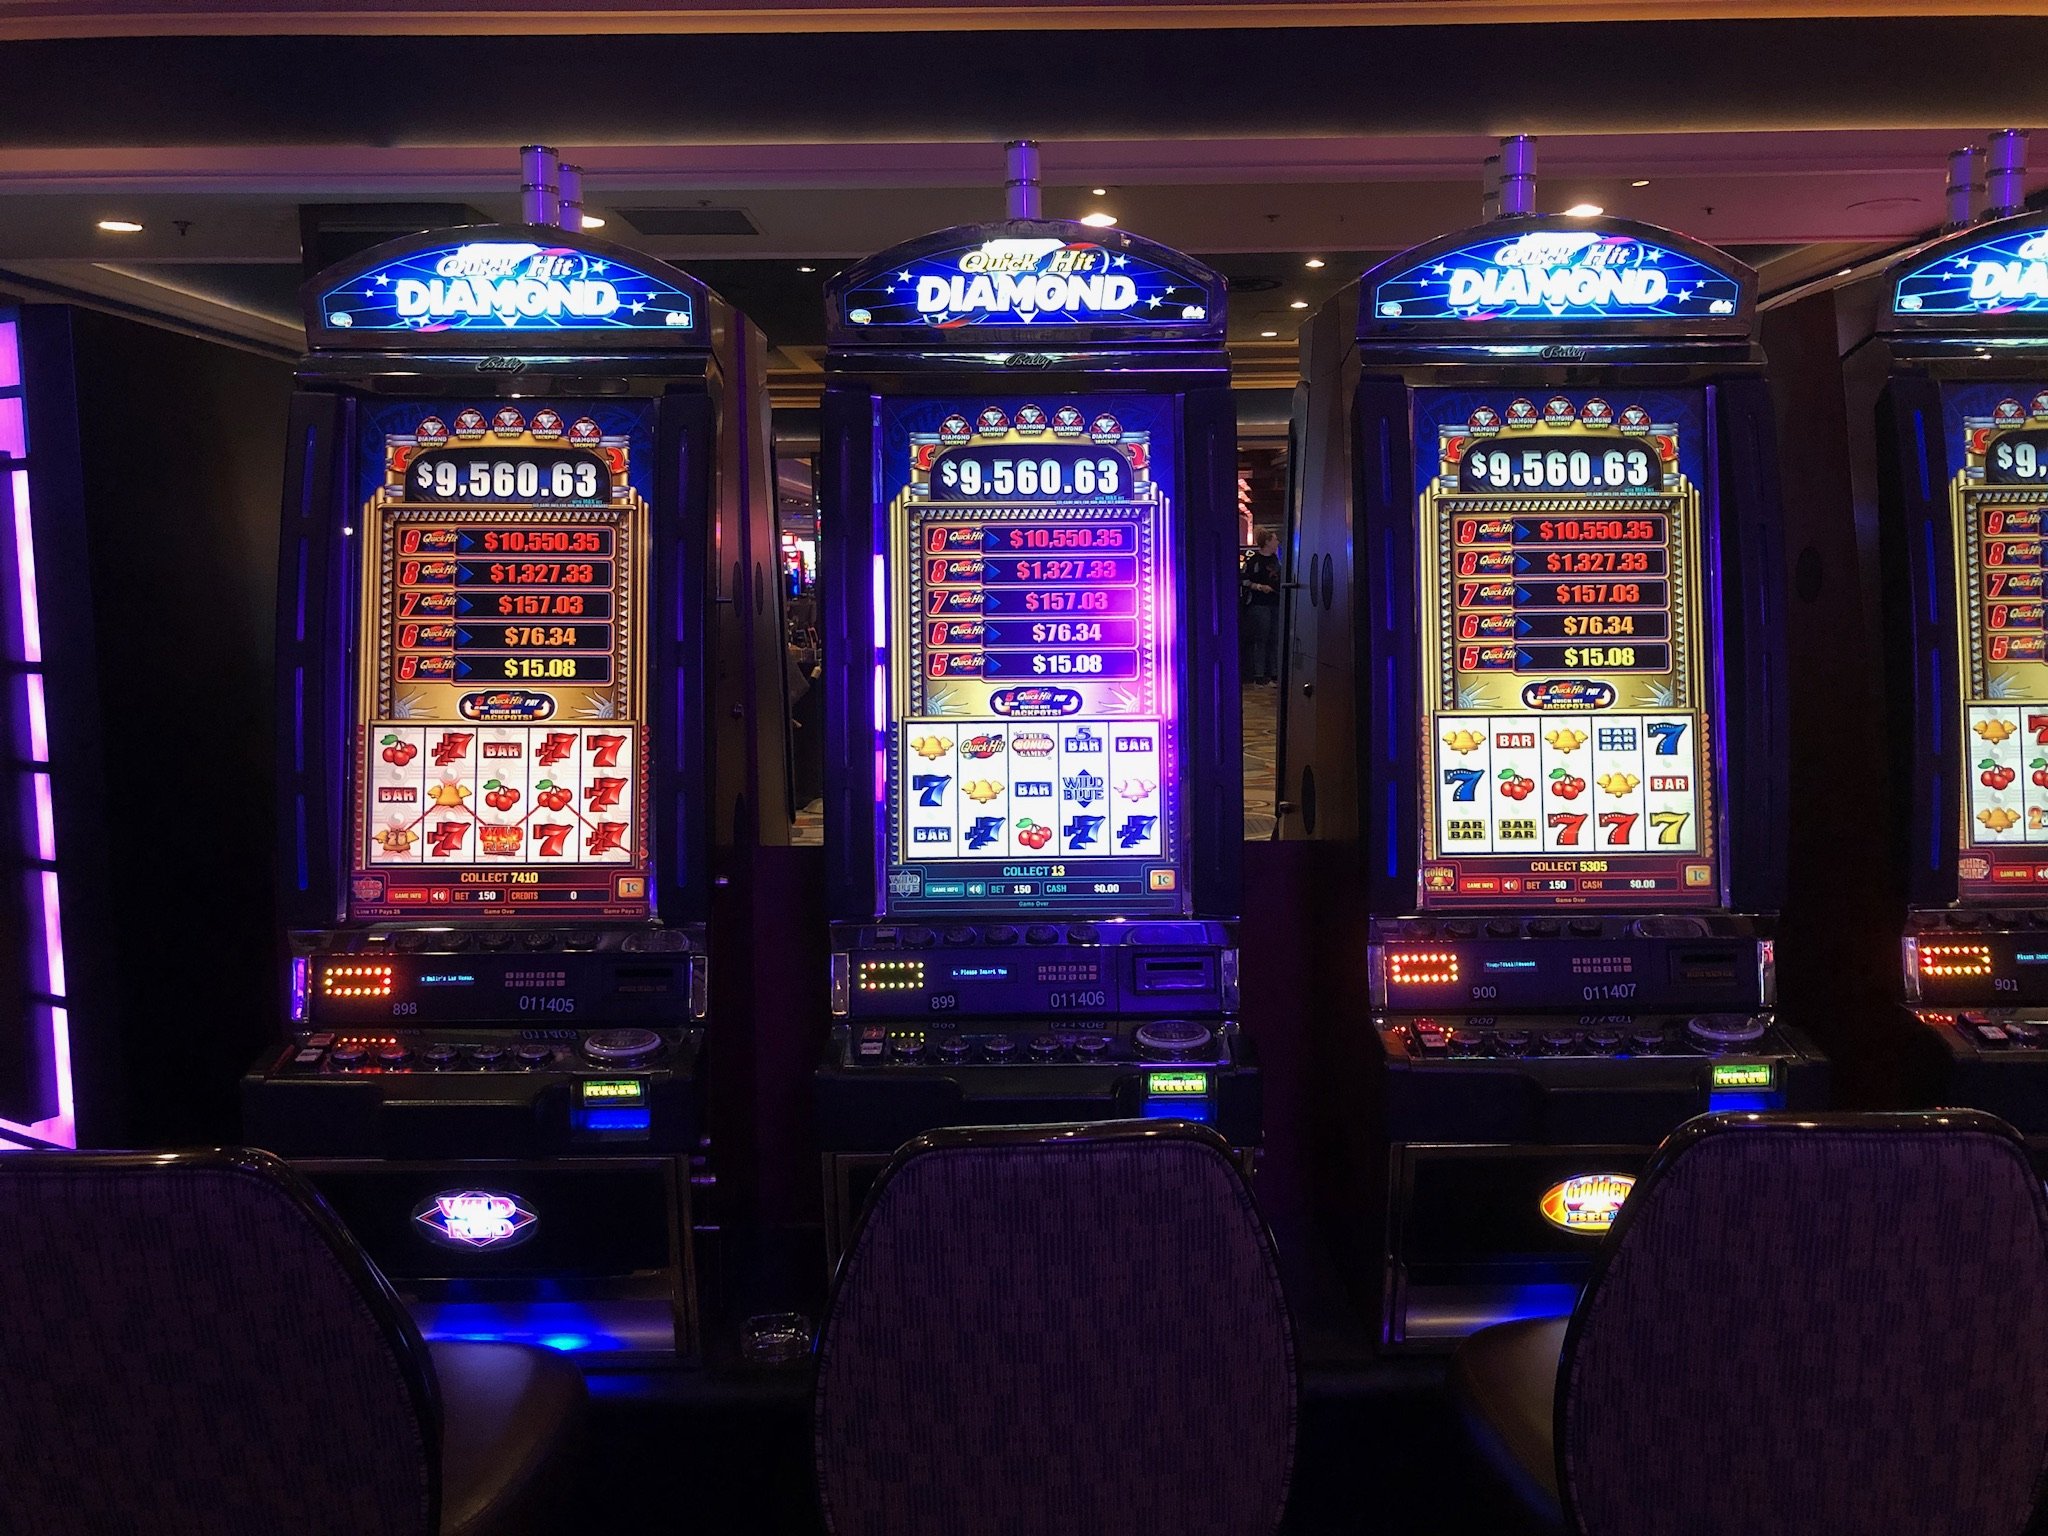


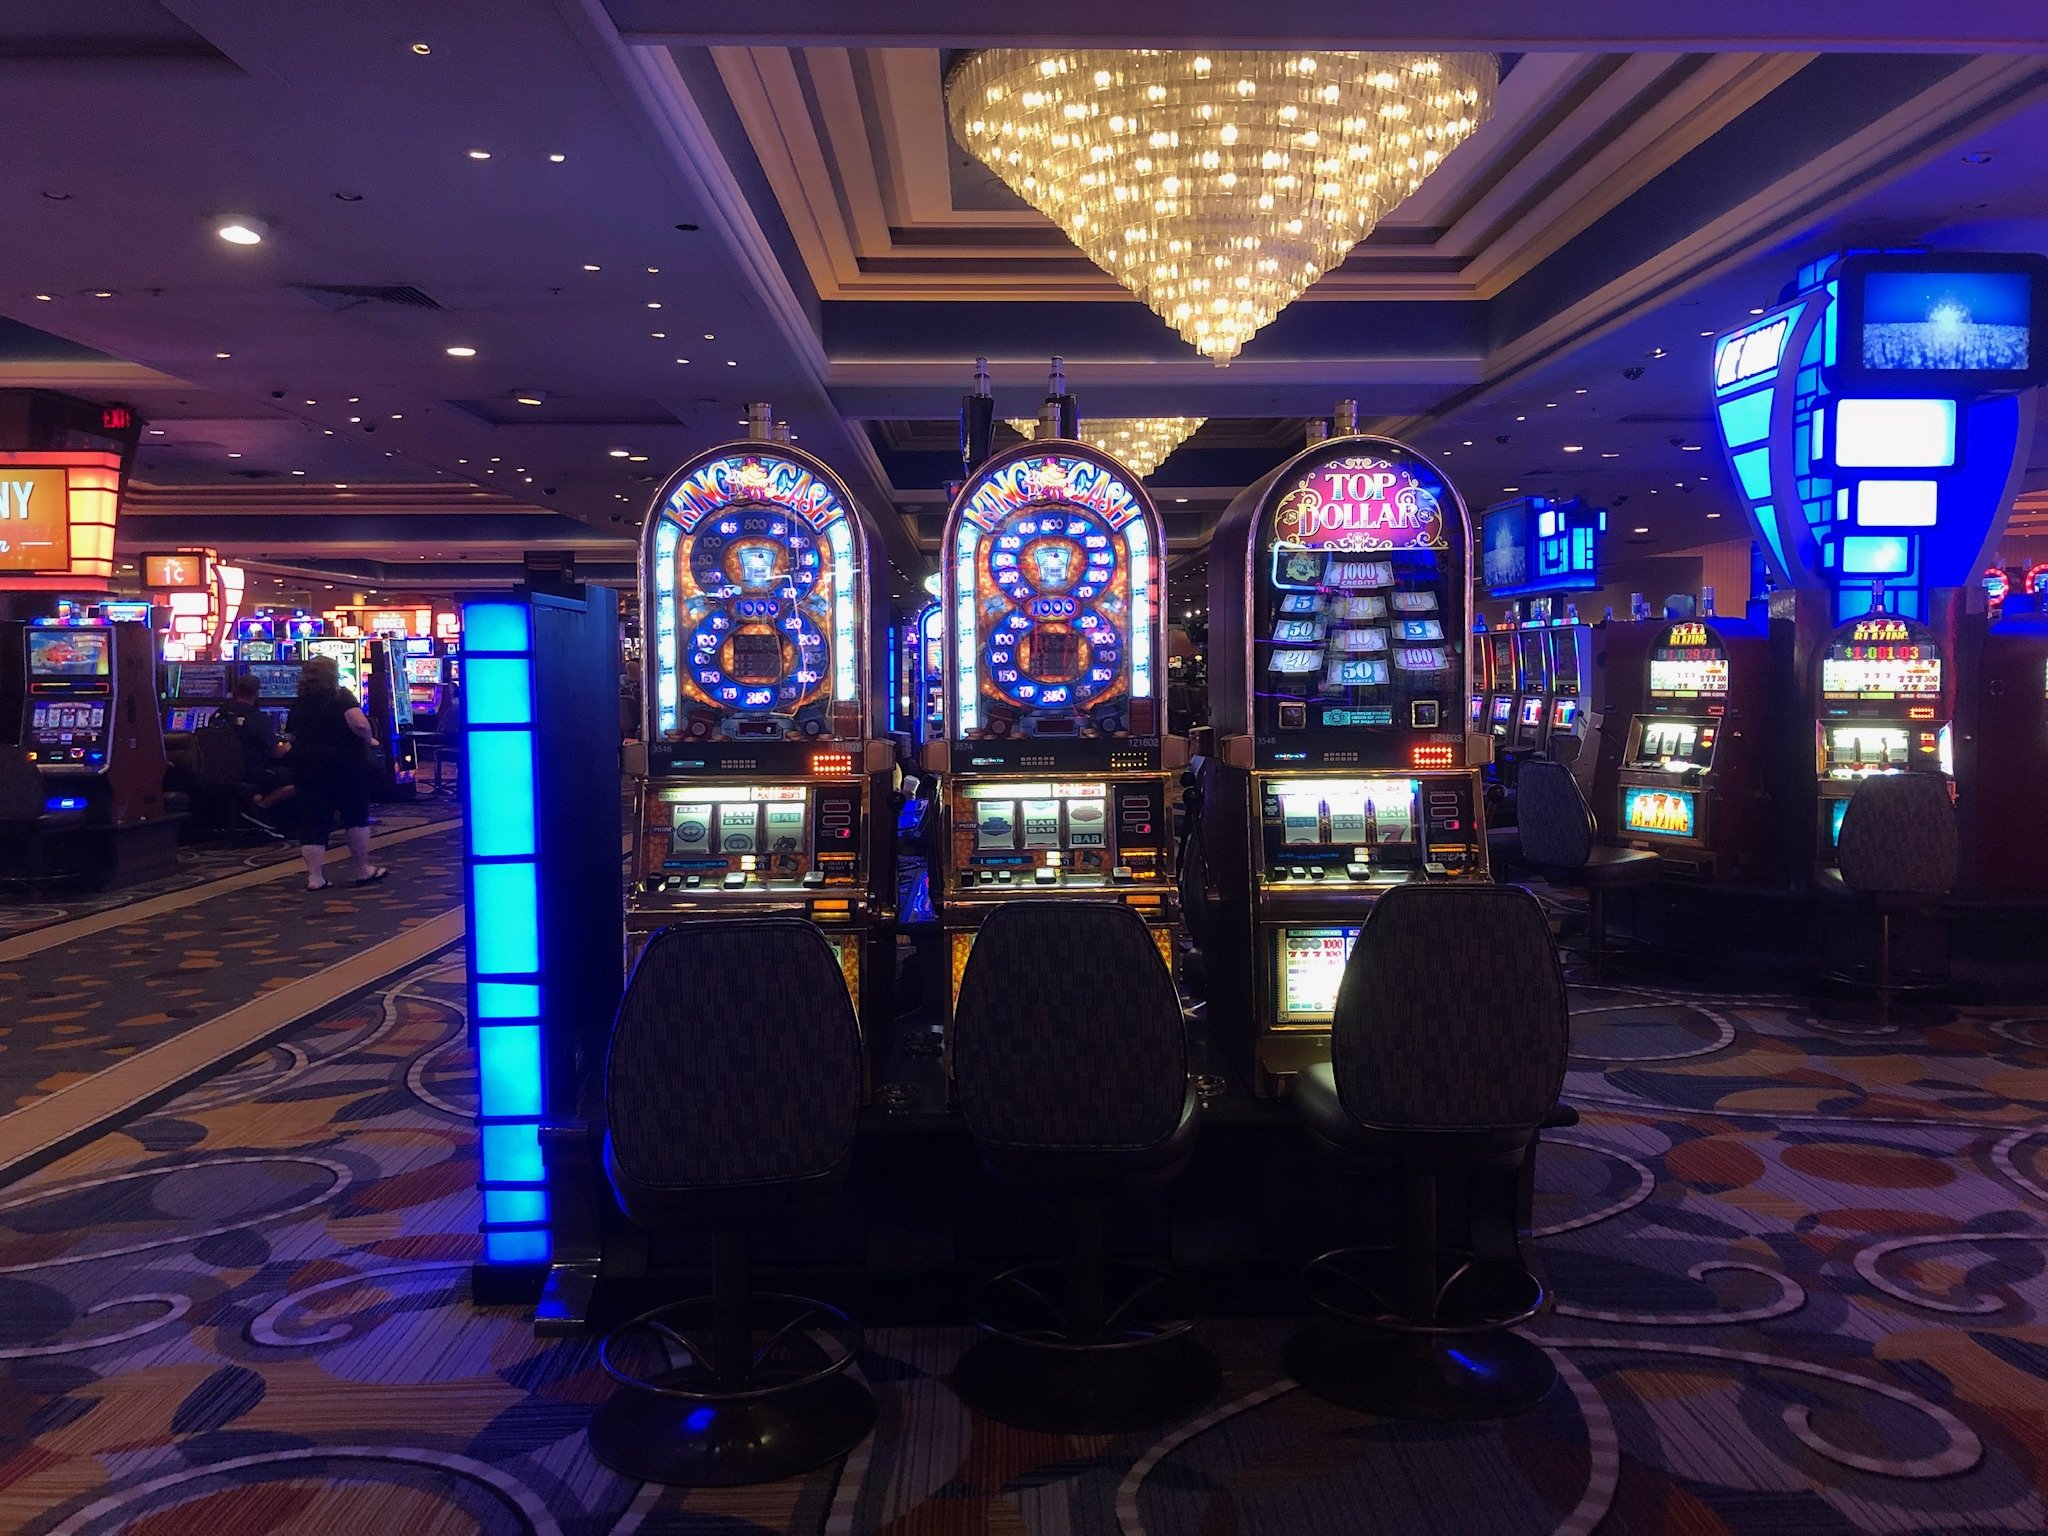
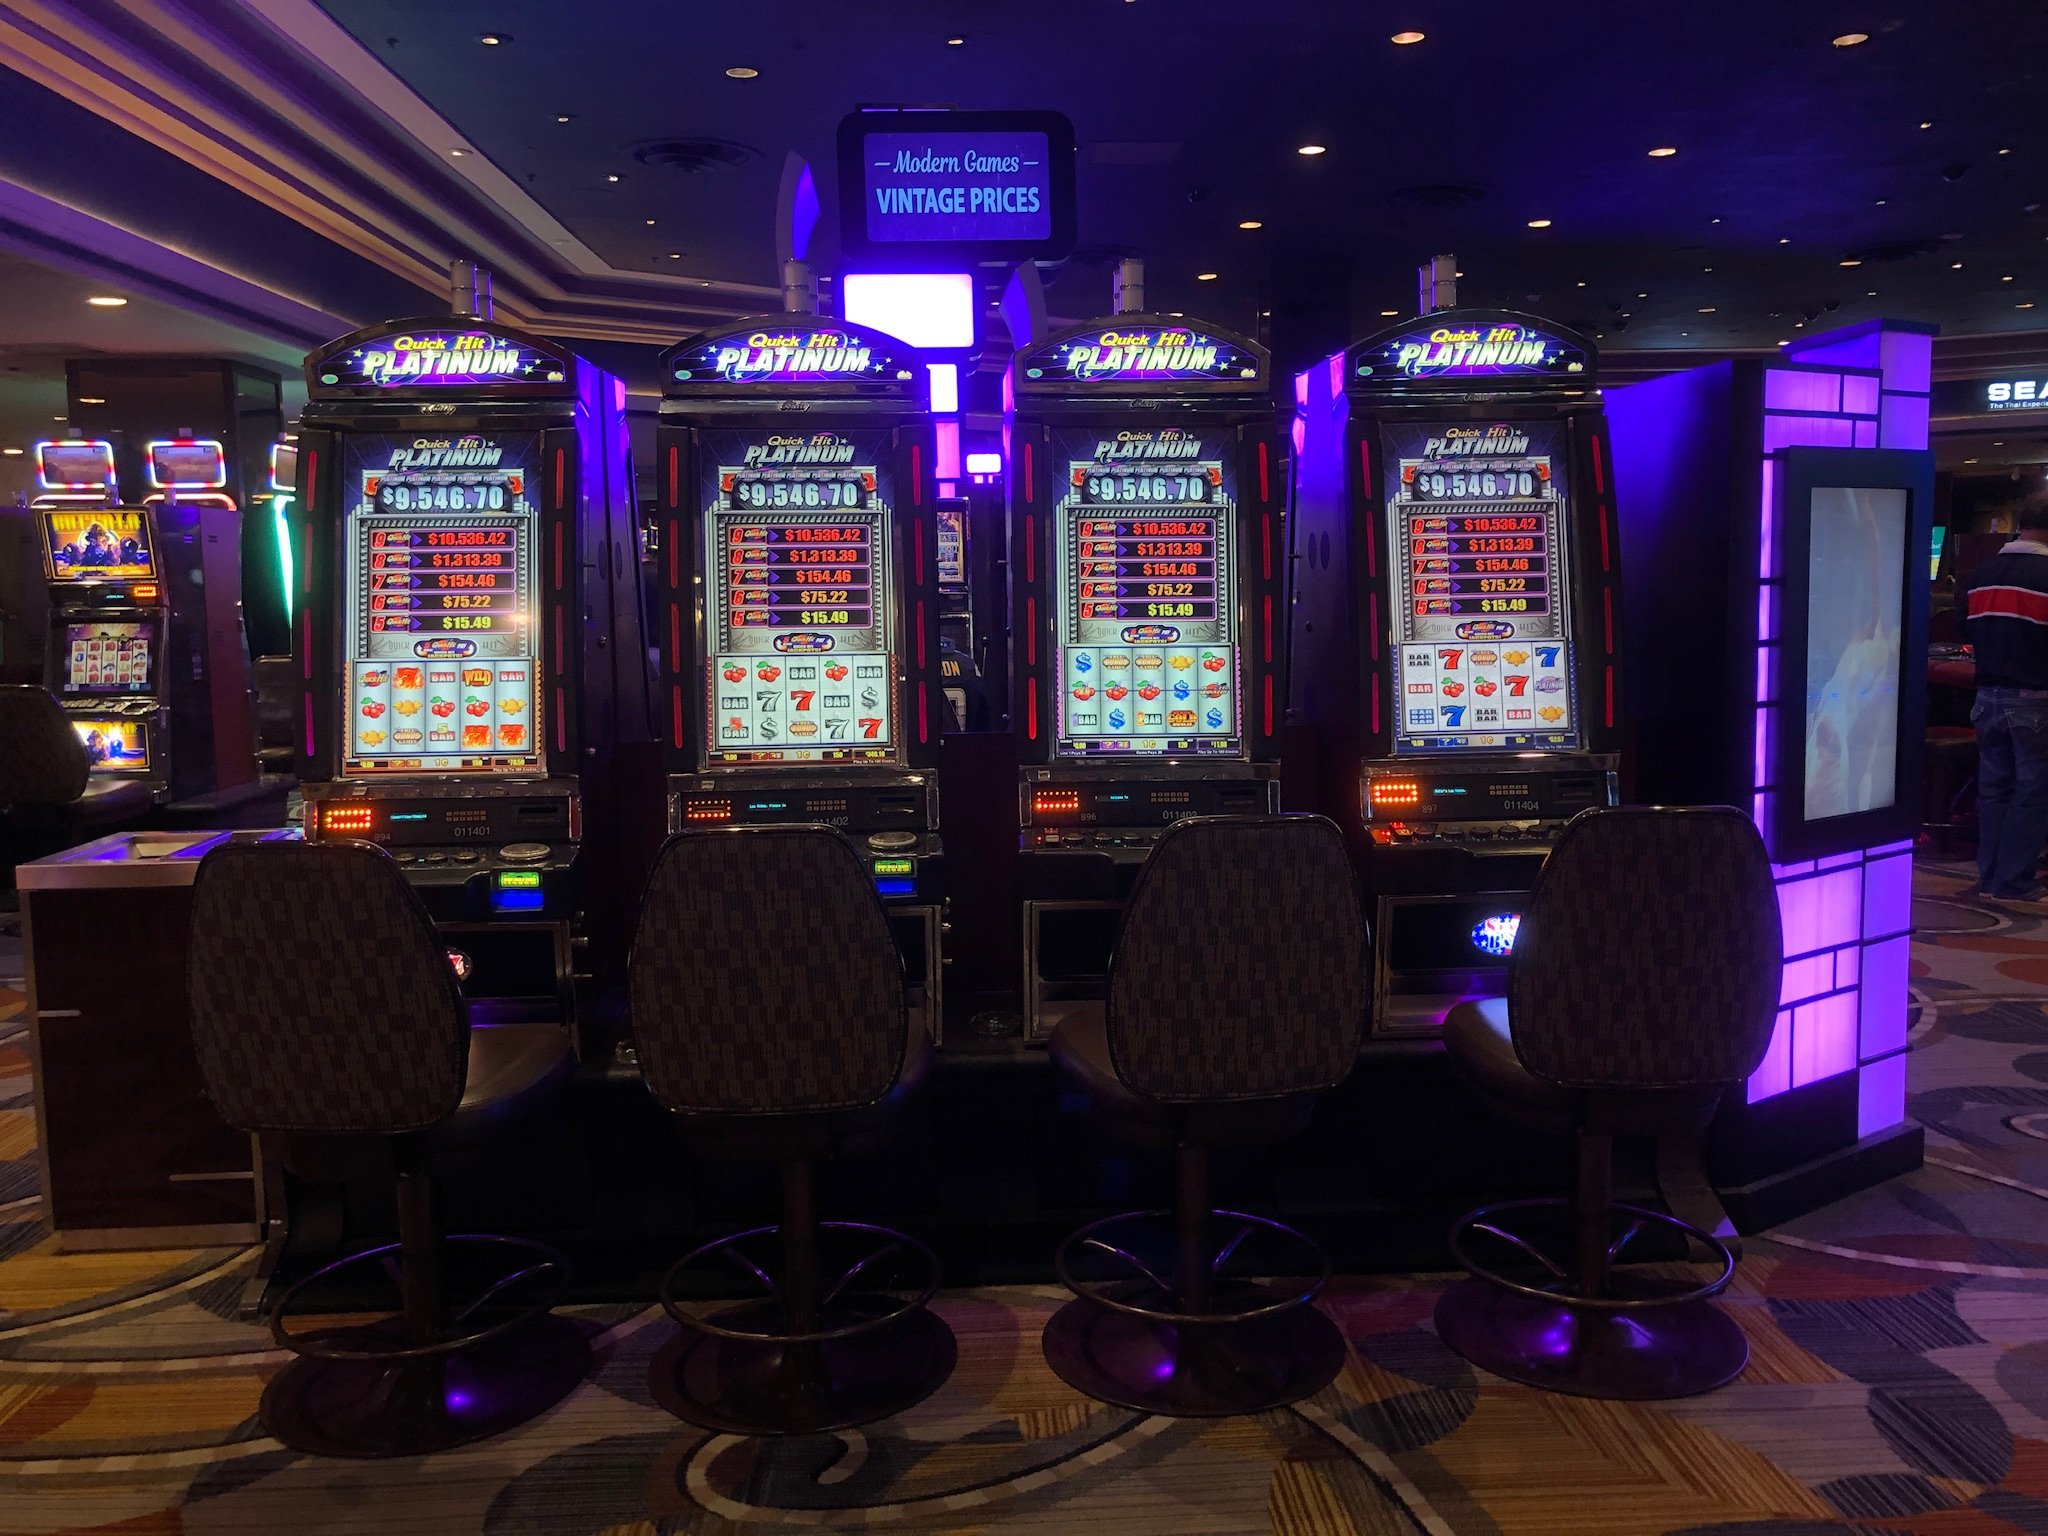

MFME - Cabinet Backgrounds
in Emulator Chat
Posted
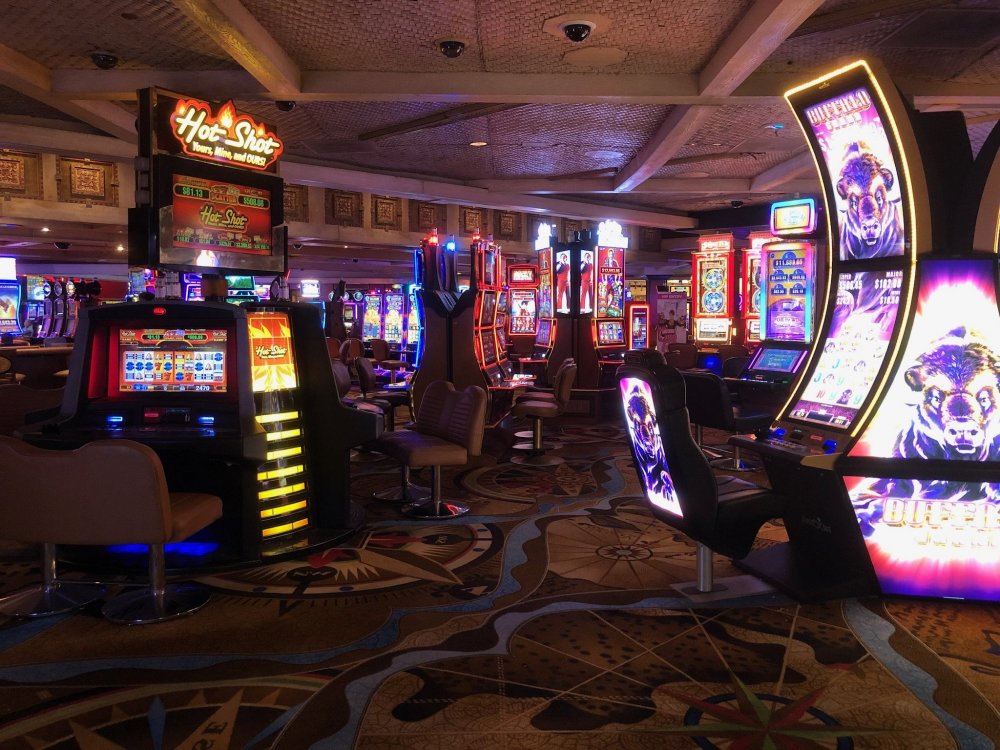
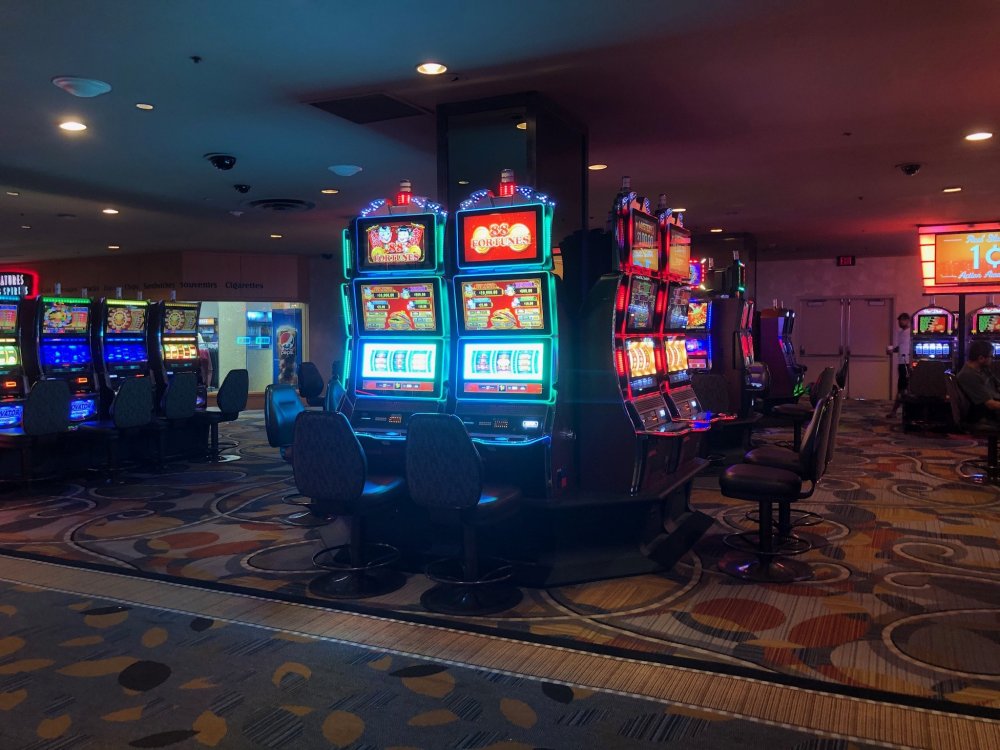
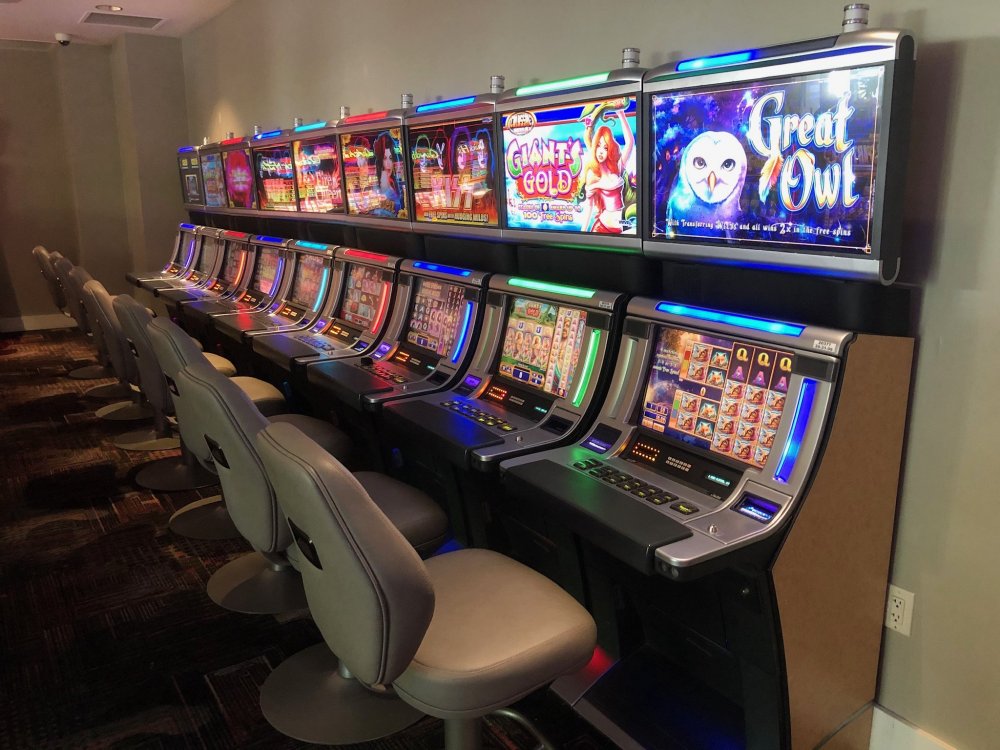
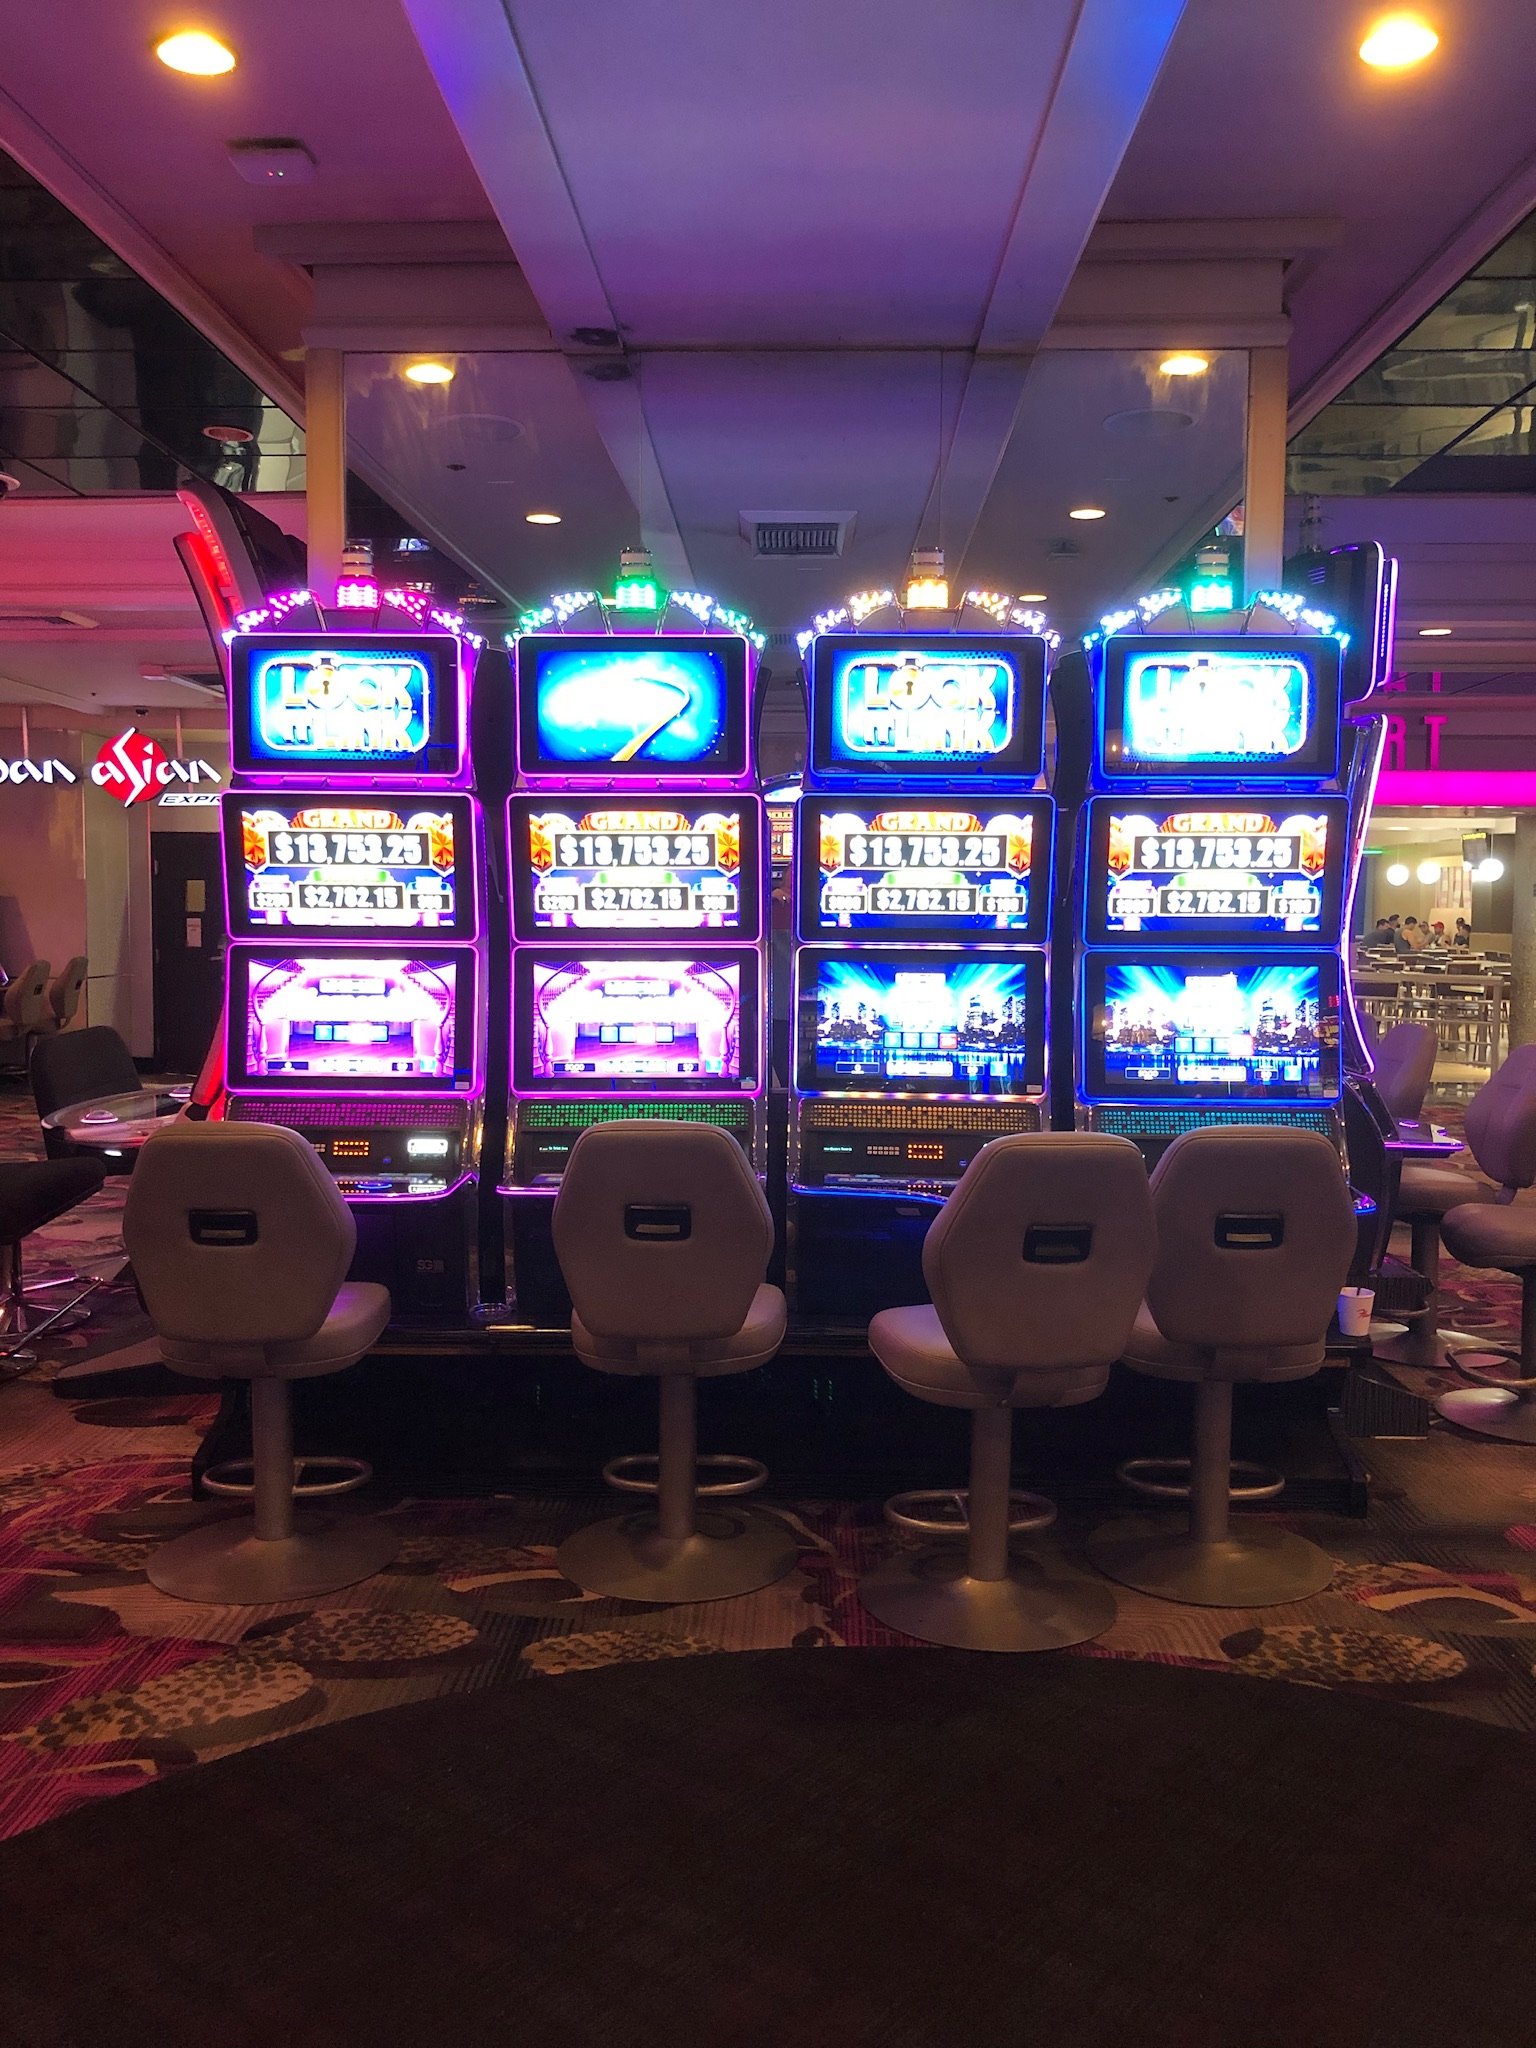
Few more while I am passing by...