


Reg
-
Posts
6,301 -
Joined
-
Days Won
506
Content Type
Profiles
Forums
Gallery
Downloads
Articles
Posts posted by Reg
-
-
Just now, wearecity said:
Looks great, shame the layout to show it off, isn't a super hi-res razor sharp DX.
There are still a lot of good classics in the world...

-
 1
1
-
-
The hardware, although expensive at times was brought in blocks so really, that isn't too bad.
The killer is the time, the problem with this is when you keep hitting milestones of bits working you just want to stop and play.Still it's getting there - slowly...
")
-
 1
1
-
-
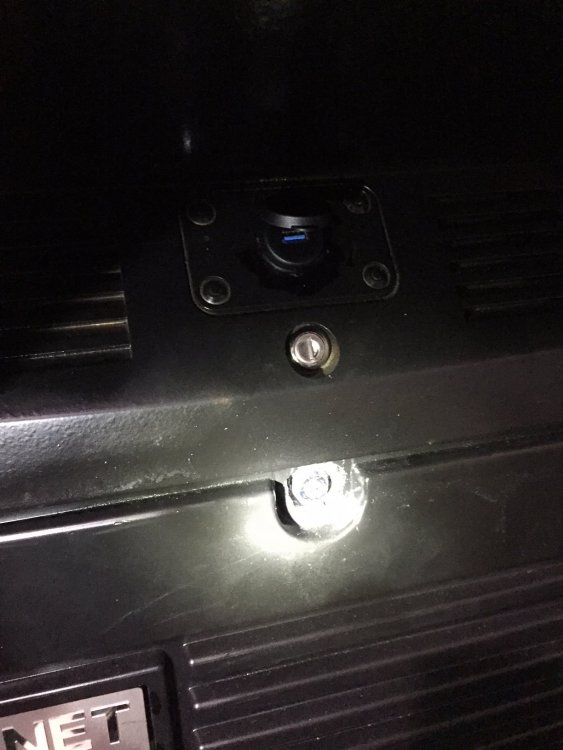
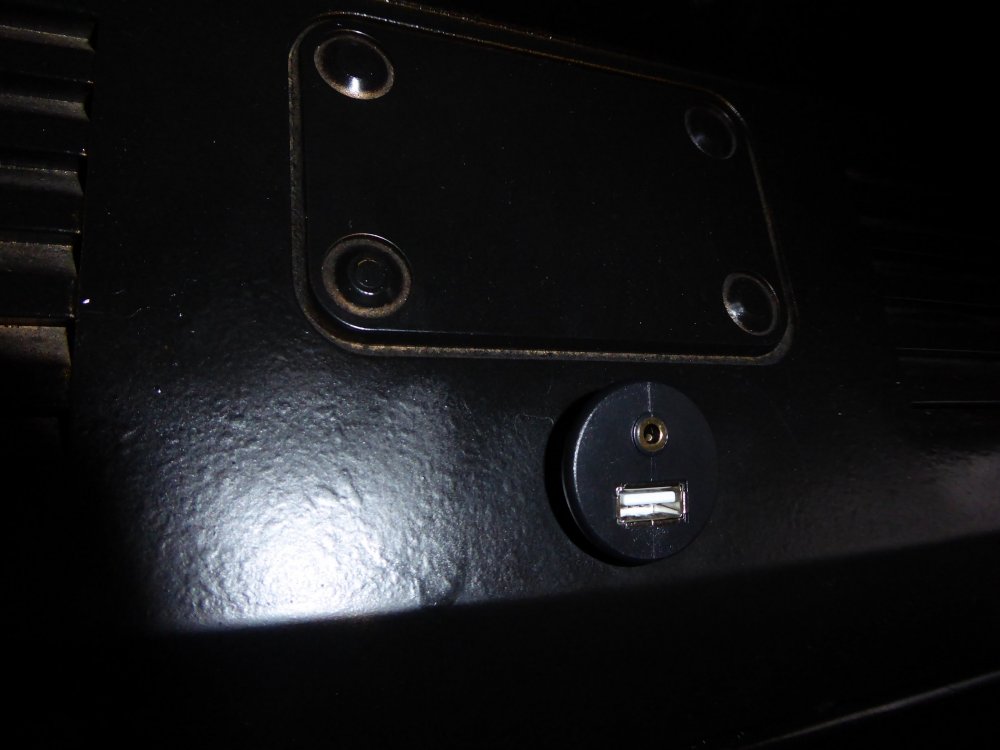
Just a little update, recently tidied up the insides and re-instated the refill key, while moving the USB to a panel above...
-
Thank you mate, I'll look at that.
Note - I have no plans to Live Steam, this is something that will bring the cabinet into play...
-
At some point in the near future I am going to get back into layout releases and reviews, it will be after my cabinet build is fully done and I've finished a couple of other things in my personal life.
Can anyone recommend some video editing software please - I have a plan to complement the writing...
The critical thing I must be able to overlay sub-titles. And graphics ( such as arrows ).
Thank you.
-
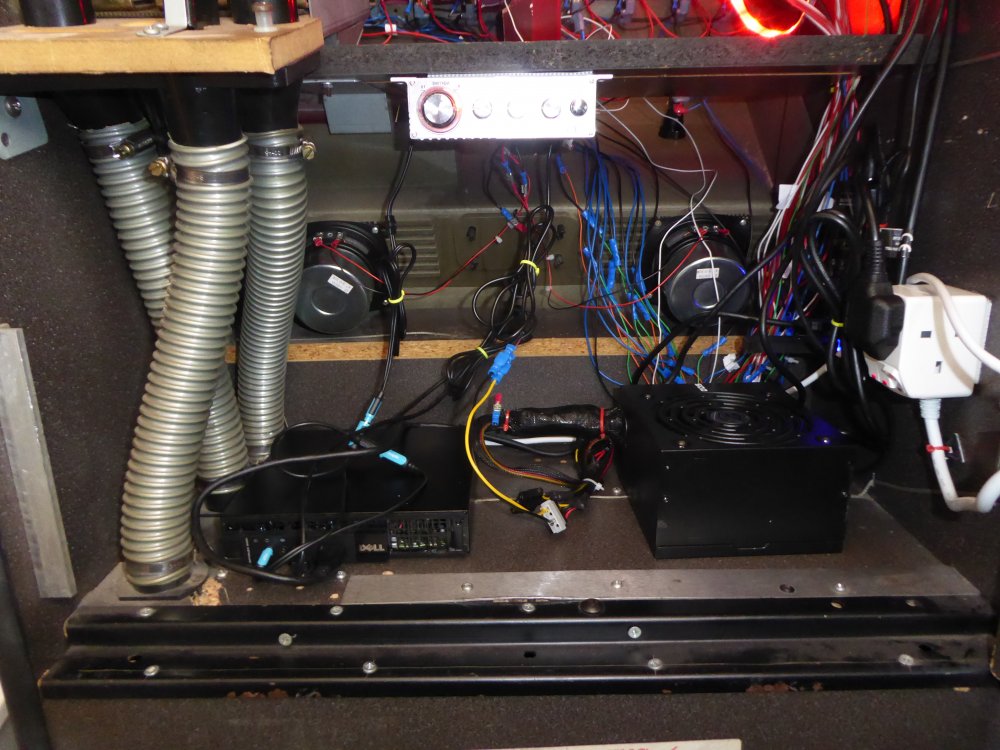
Had a bit of a tidy up today and also installed a new speaker system and amp.
-
Ah bollocks mate - it's long gone - to the tip.
I'd have gladly given it to you had I know - sorry !
-
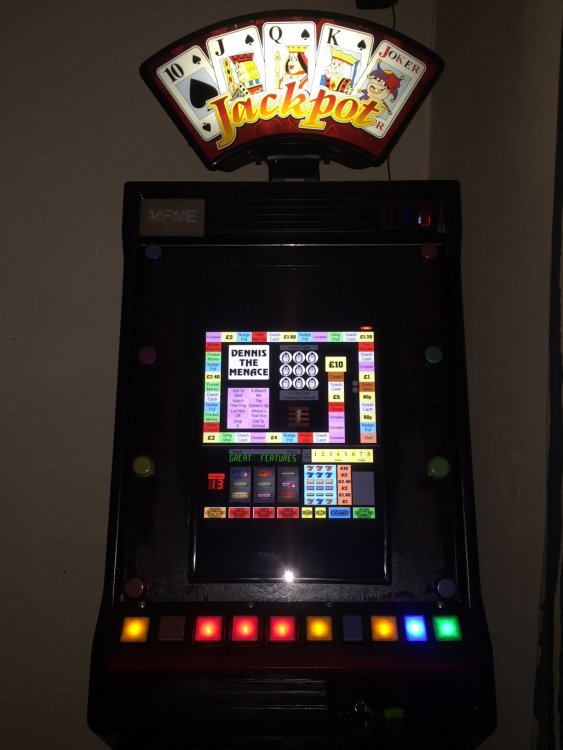
So now we're officially done for this stage of the project ( coins later ) as I actually want to enjoy cabinet for a while, here is a video.
For those that want a little more details here are two pictures of the cabinet with part numbers detailed.
1. Samsung C27F390 27-Inch Curved LED Monitor - Black Gloss ( www.amazon.co.uk )
2. Child Safety Angle Lock - 2 pack ( www.homebase.co.uk )
3. Leaptek Super Slim TV Bracket wall Mount for 14 - 27 Inch Plasma LCD LED Monitor ( www.amazon.co.uk )
4. 50CM 5V 5050 RGB LED Strip Light Colour Changing USB TV PC Back Mood Lighting ( www.ebay.co.uk )
5. Dell Optiplex I7 ( www.ebay.co.uk )
6. Logitech Z120 USB 2.0 Speakers ( www.maplin.co.uk )
7. Masterplug 6 Socket 13 A Extension Lead with USB 1m Black ( www.diy.com )
8. Tendak USB 3.0 Hub 7 port USB 3.0 Data Transfer HUB ( www.amazon.co.uk )
9. 3 Socket 10A Individually Switched Extension Lead - 2m ( www.homebase.co.uk )
10. 2M USB 3.5mm AUX Extension Audio Cable with Flush Mount for Car Motorcycle MA948 ( www.ebay.co.uk )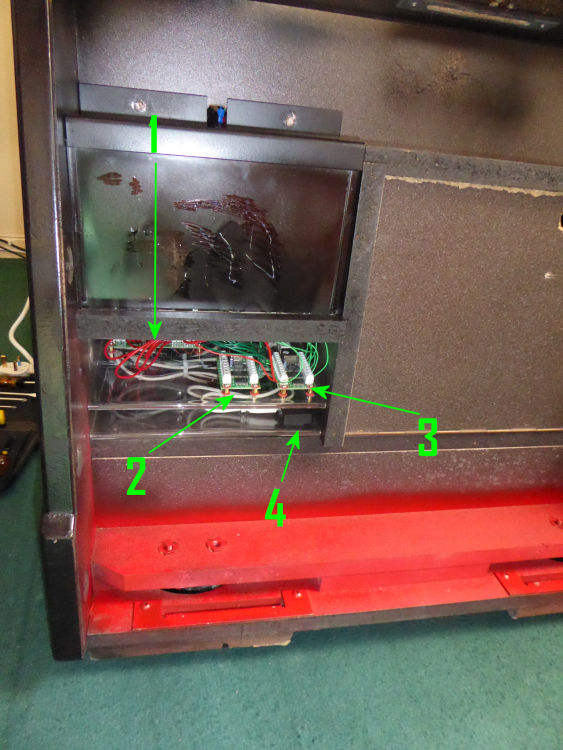
1. I-Pac 2 ( www.ultimarc.com )
2. Pac-Drive #2 - Outputs Off ( www.ultimarc.com )
3. Pac-Drive #1 - Outputs Off ( www.ultimarc.com )
4. Anker Ultra Slim 4-Port USB 3.0 Data Hub ( www.amazon.co.uk )-
1
-
-
On 26/08/2017 at 6:13 PM, Tommy c said:
Way over my head but looks like a good job.
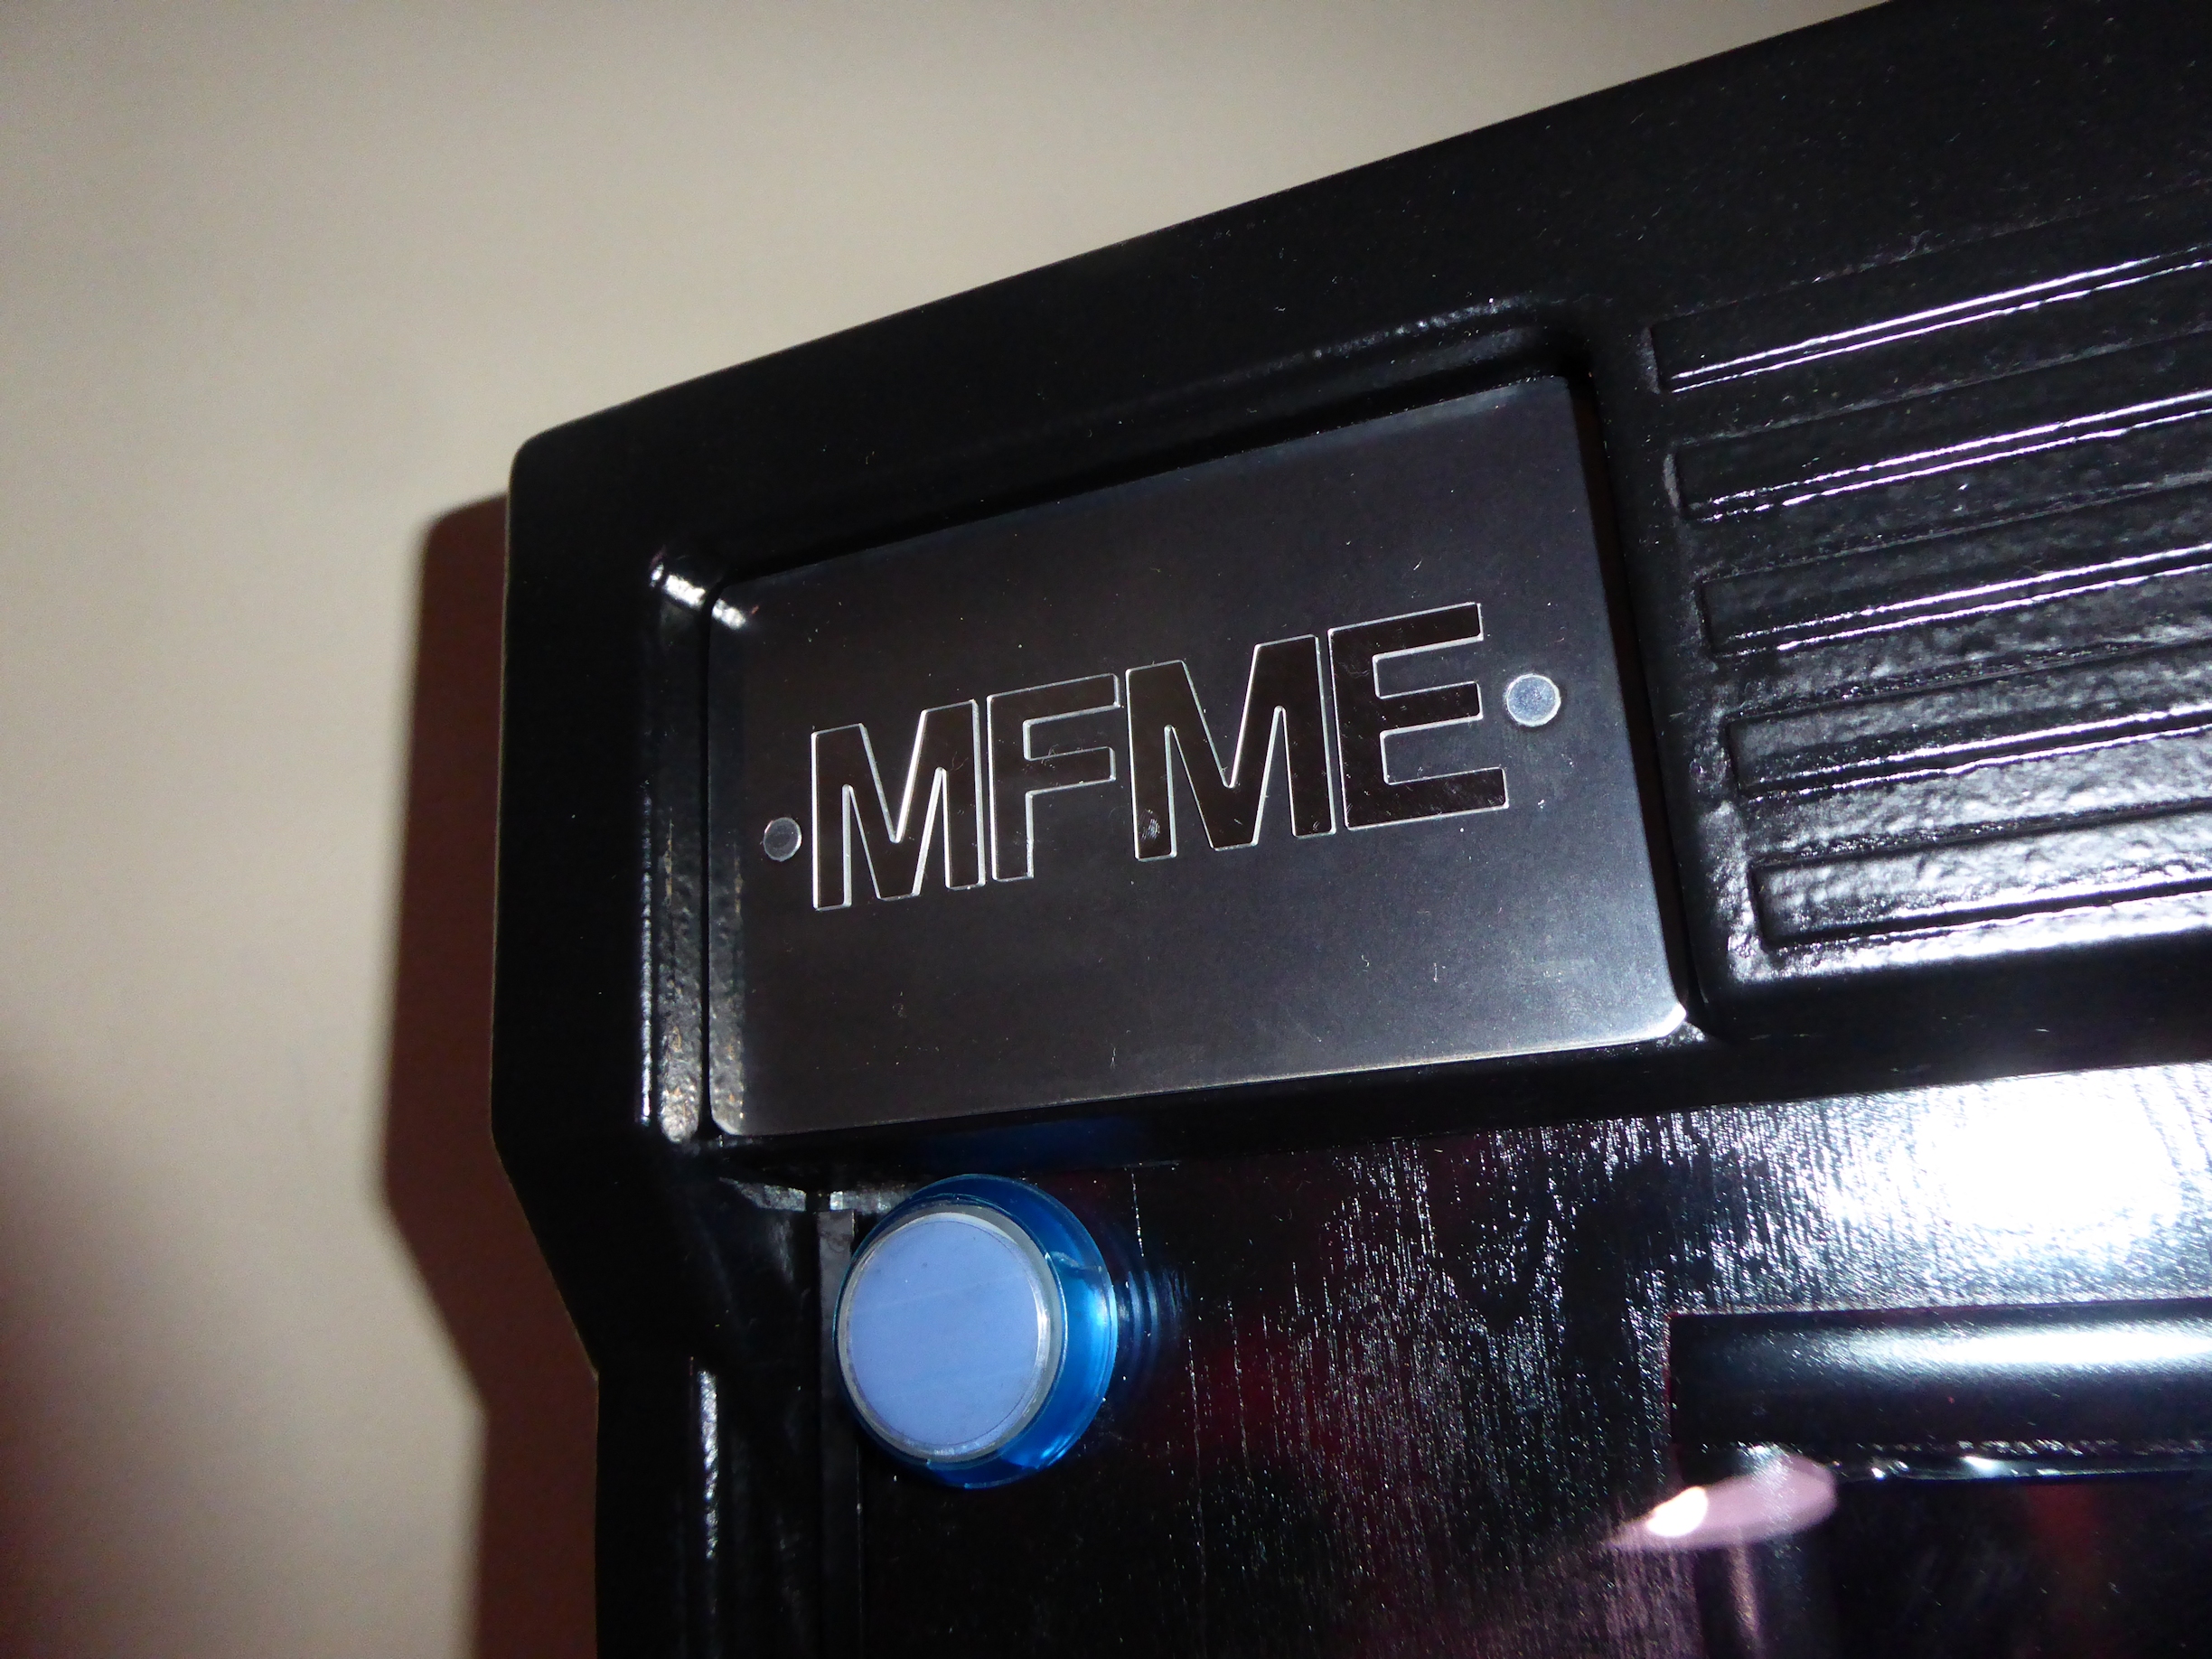
Thank you sir, this was all over my head before I started - now I have made a very expesive keyboard for MFME, lol !
Anyway pleased to say...
Finally, it's DONE. The coin mech isn't functional but that was never the point at this stage.
I am too tired to do anything now, spent most of yesterday and about twelve hours today on it, but it's finally done. Pics and other info tomorrow, now I must sleep too tired...

It's looking a bit different from the original now...

-
Just to also share this.
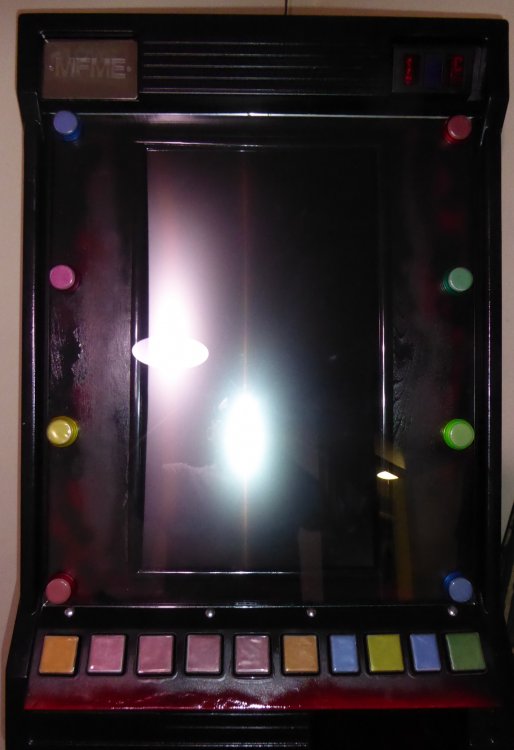
Regarding buttons, I will be editing each layout for use within the cabinet - not everything makes it.
The way I am going to create the graphics for them is when a lamp lights up on the layout, near the button on the physical cab that does not have a label it will show the name.
Here's Club Temptation setup this way.

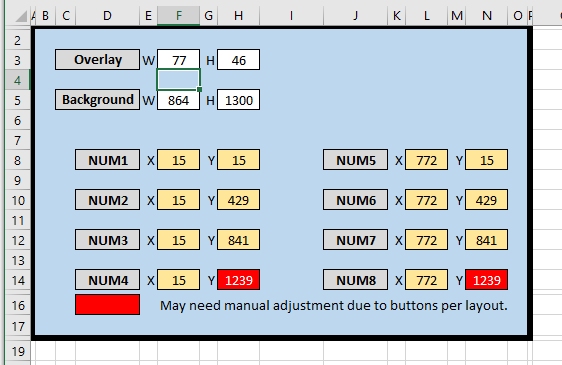
I've created a simply XLS spreadsheet that gives me the exact positions for quick editing.
-
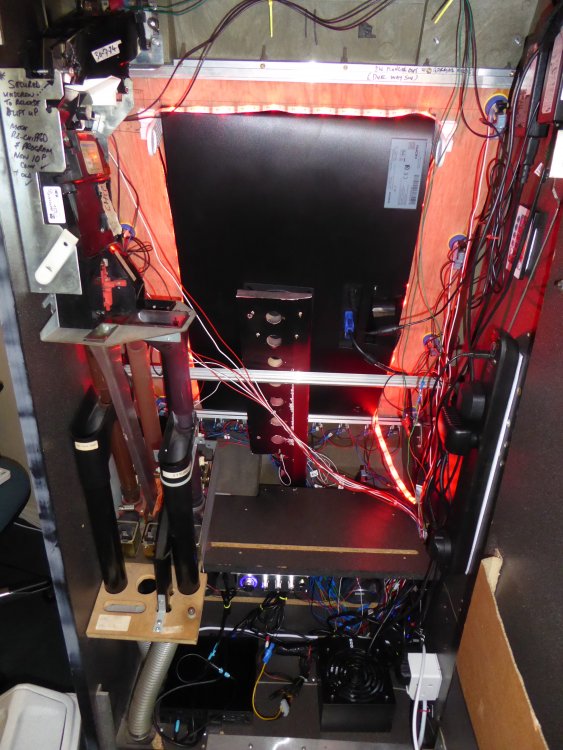
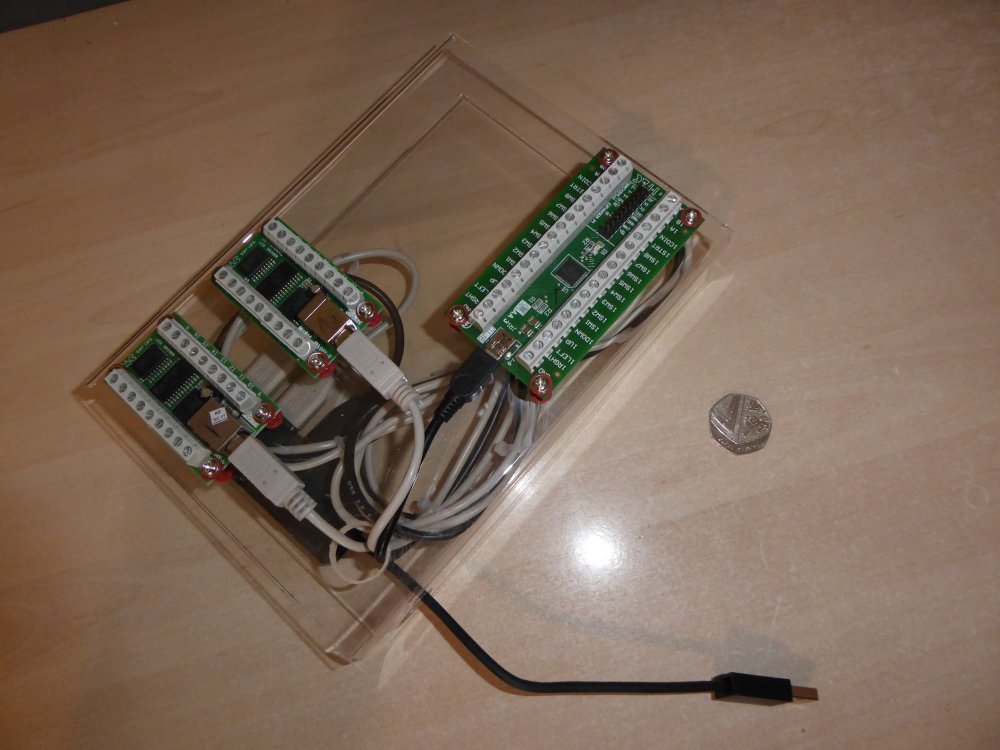
Now the progress happens behind the scenes.
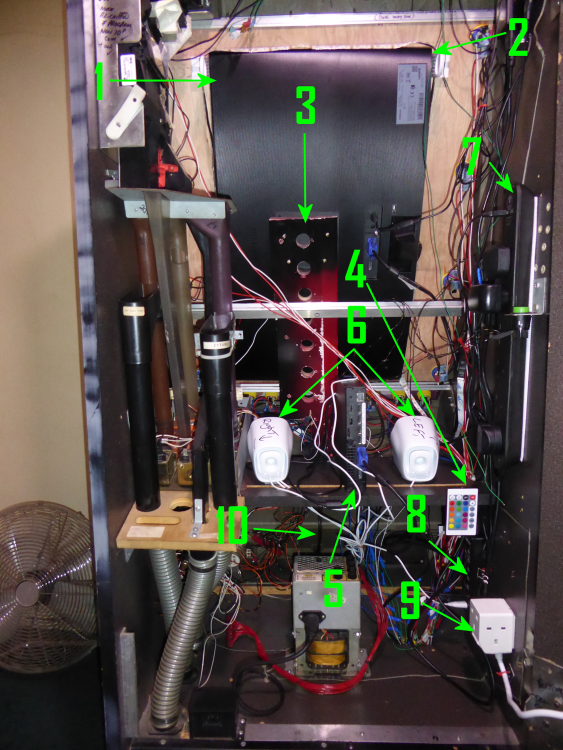
On challenge was the USB cables, there was way too many of them. When space is at a premium I simply wanted to reduce the footprint and figured I would build a management block for the IPAC boards.
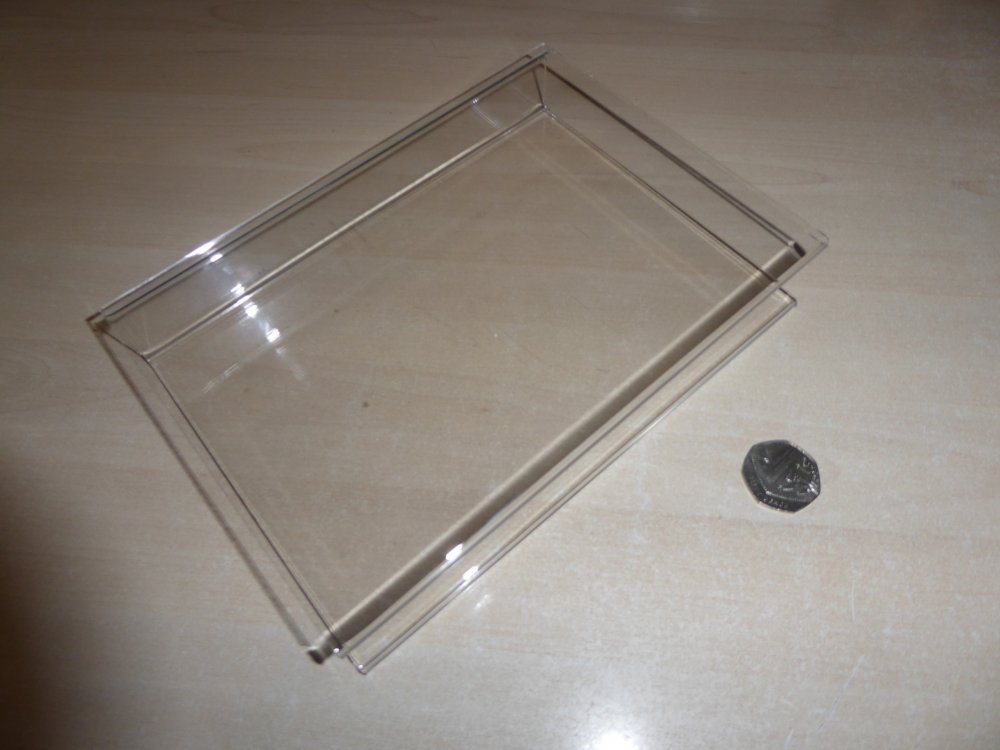
I took this... ( 50p for scale )
...and made it into this...
-
Little update, not much progress.
The monitor is now in the cabinet. The keyboard panel that was scrap and needed to be redone ( in progress ) was used to mount the monitor. I simply screwed a VESA mount in the top and attached the monitor. The metal bar supports and the monitor is freestanding pressed against the panel and metal bar.
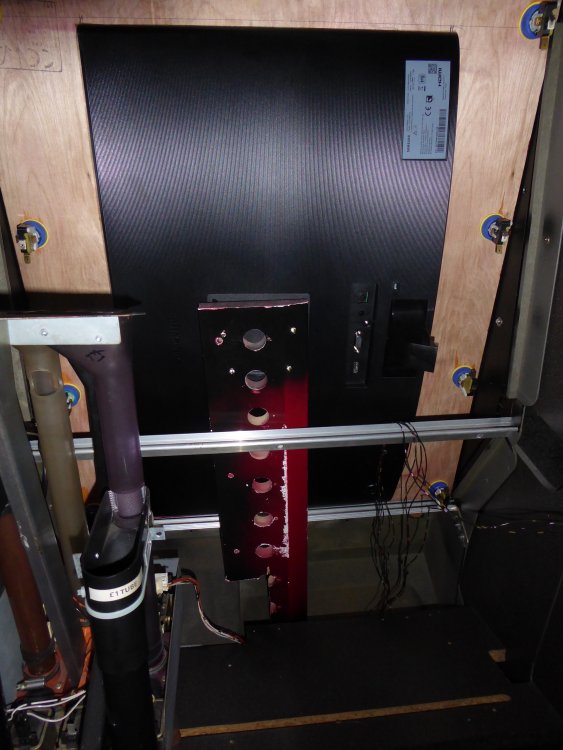
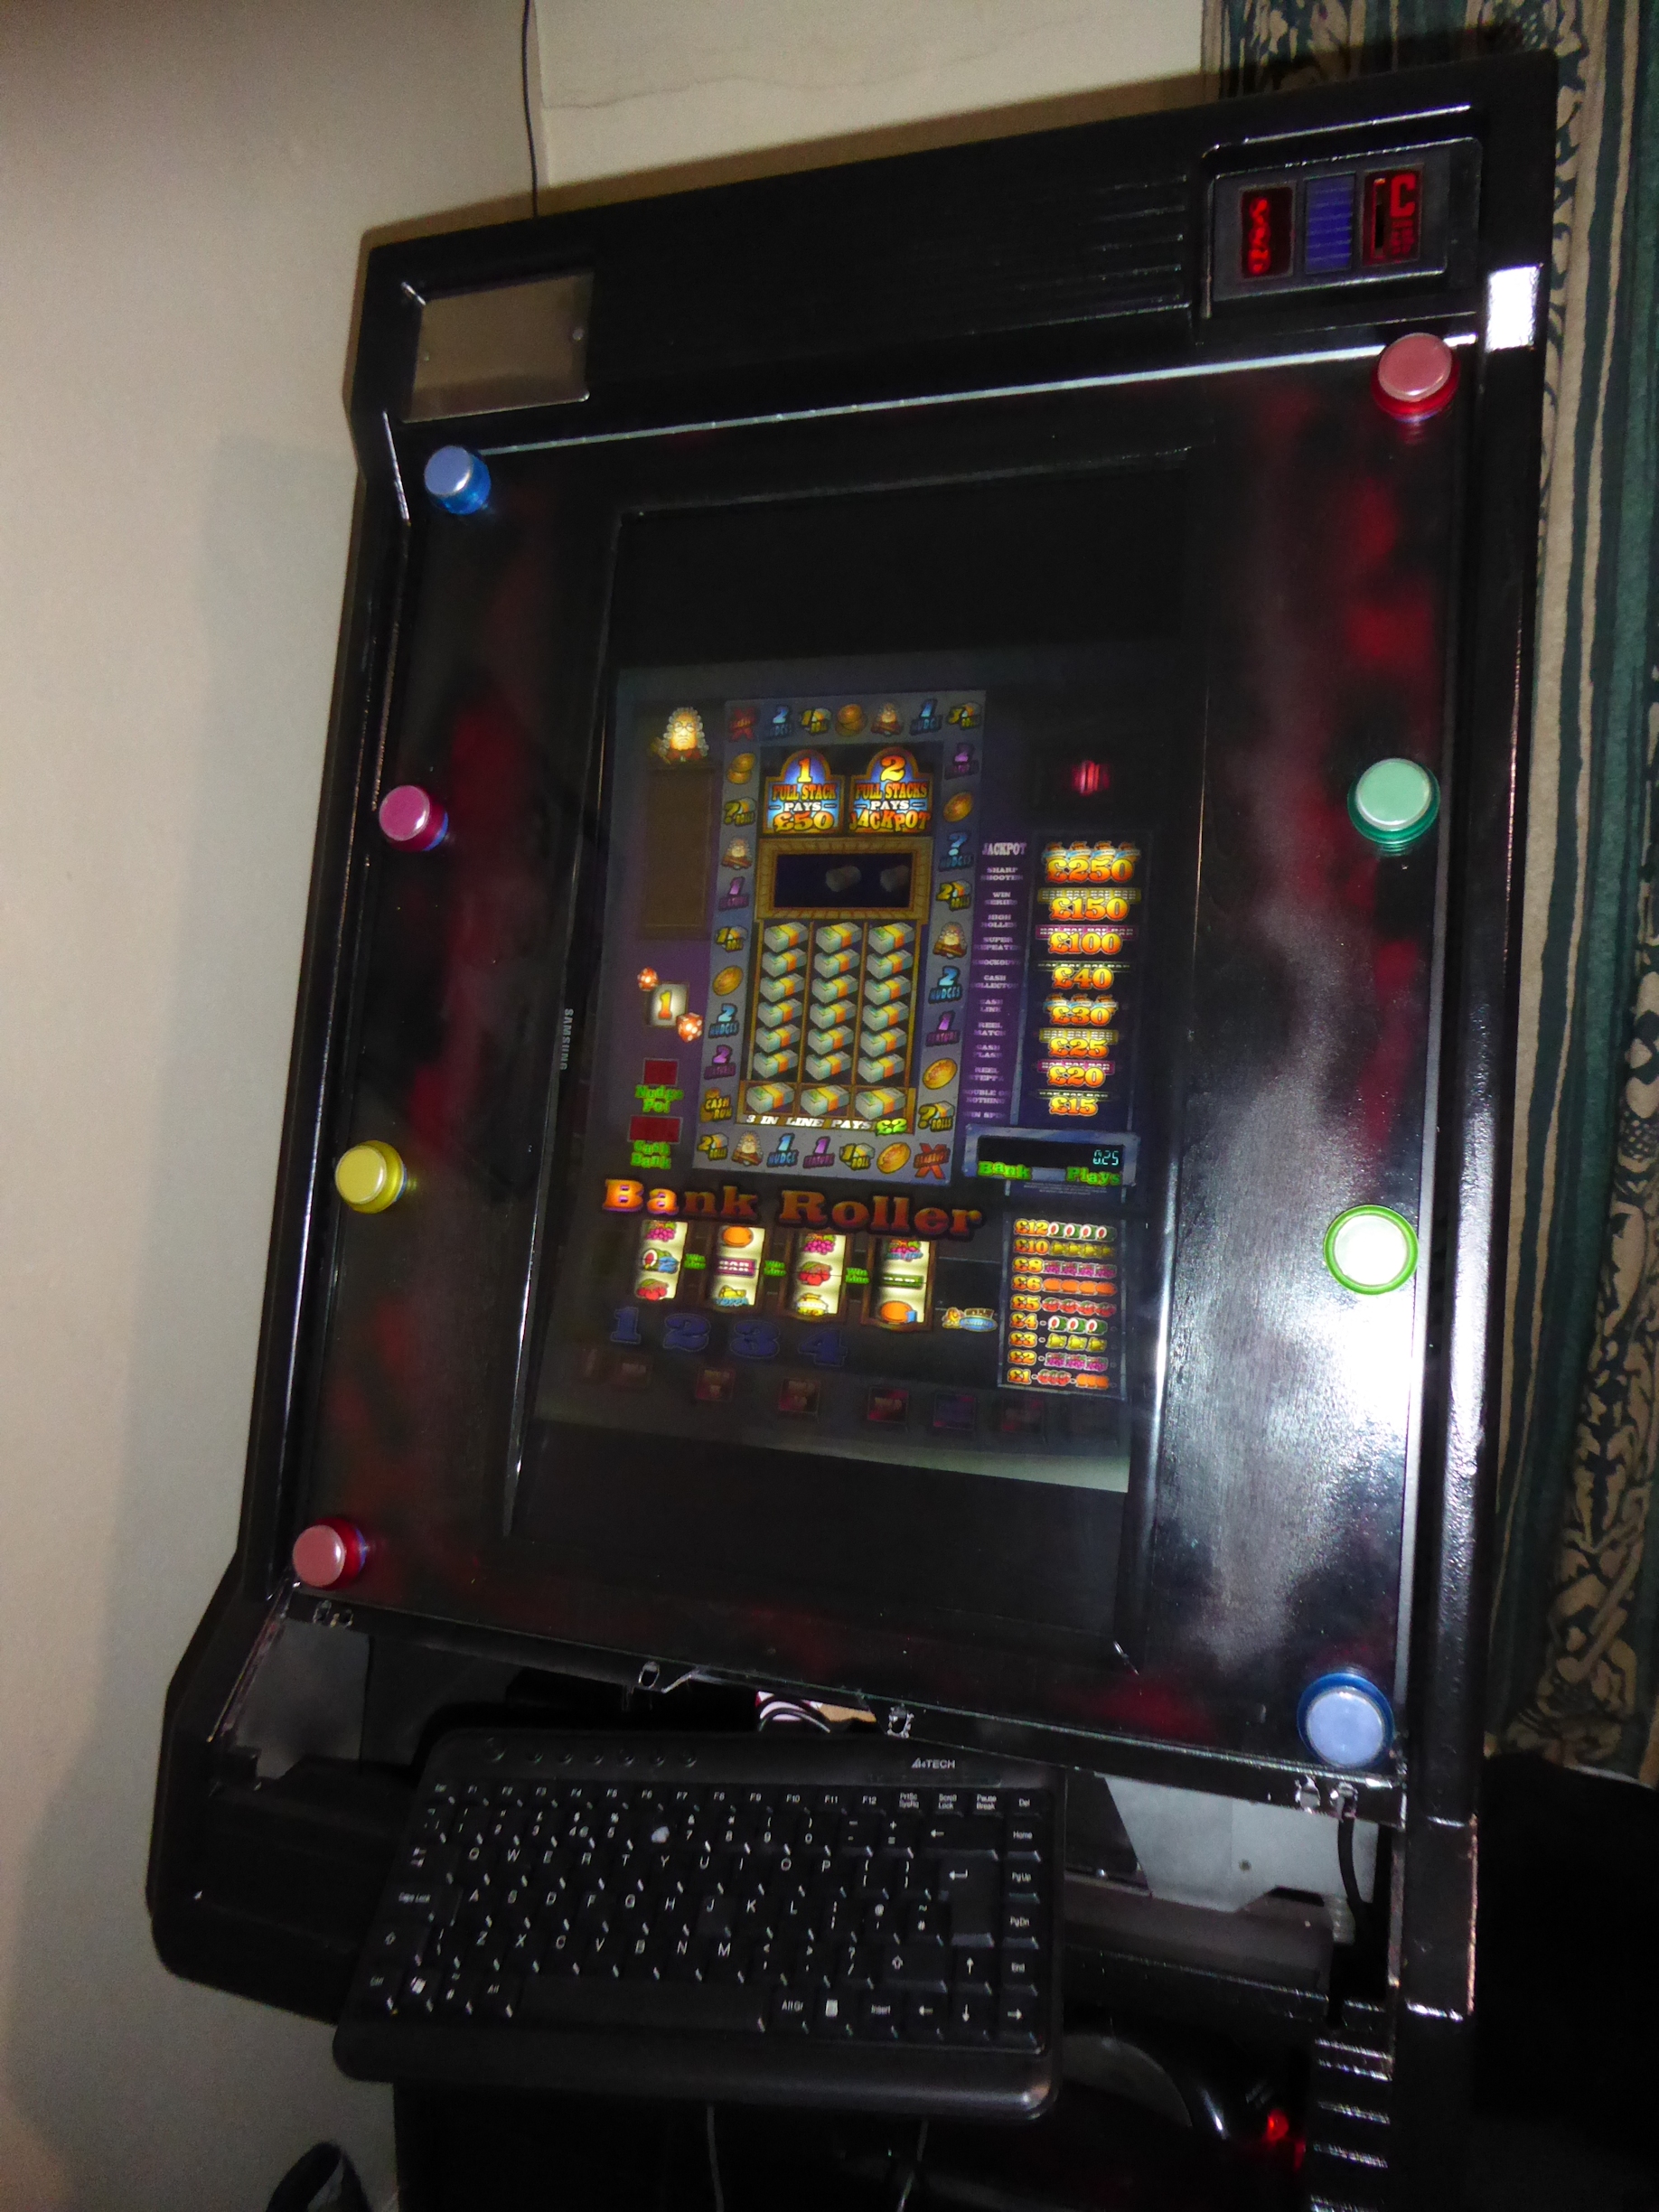
Tried the PC as it's setup to power everything when the power button is turned on at the mains, works pefectly. Here is Pooks' Bank Roller.

The Samsung logo that can be seen is I've put in a curved monitor. On testing so far, the depth it creates is AWESOME.
-
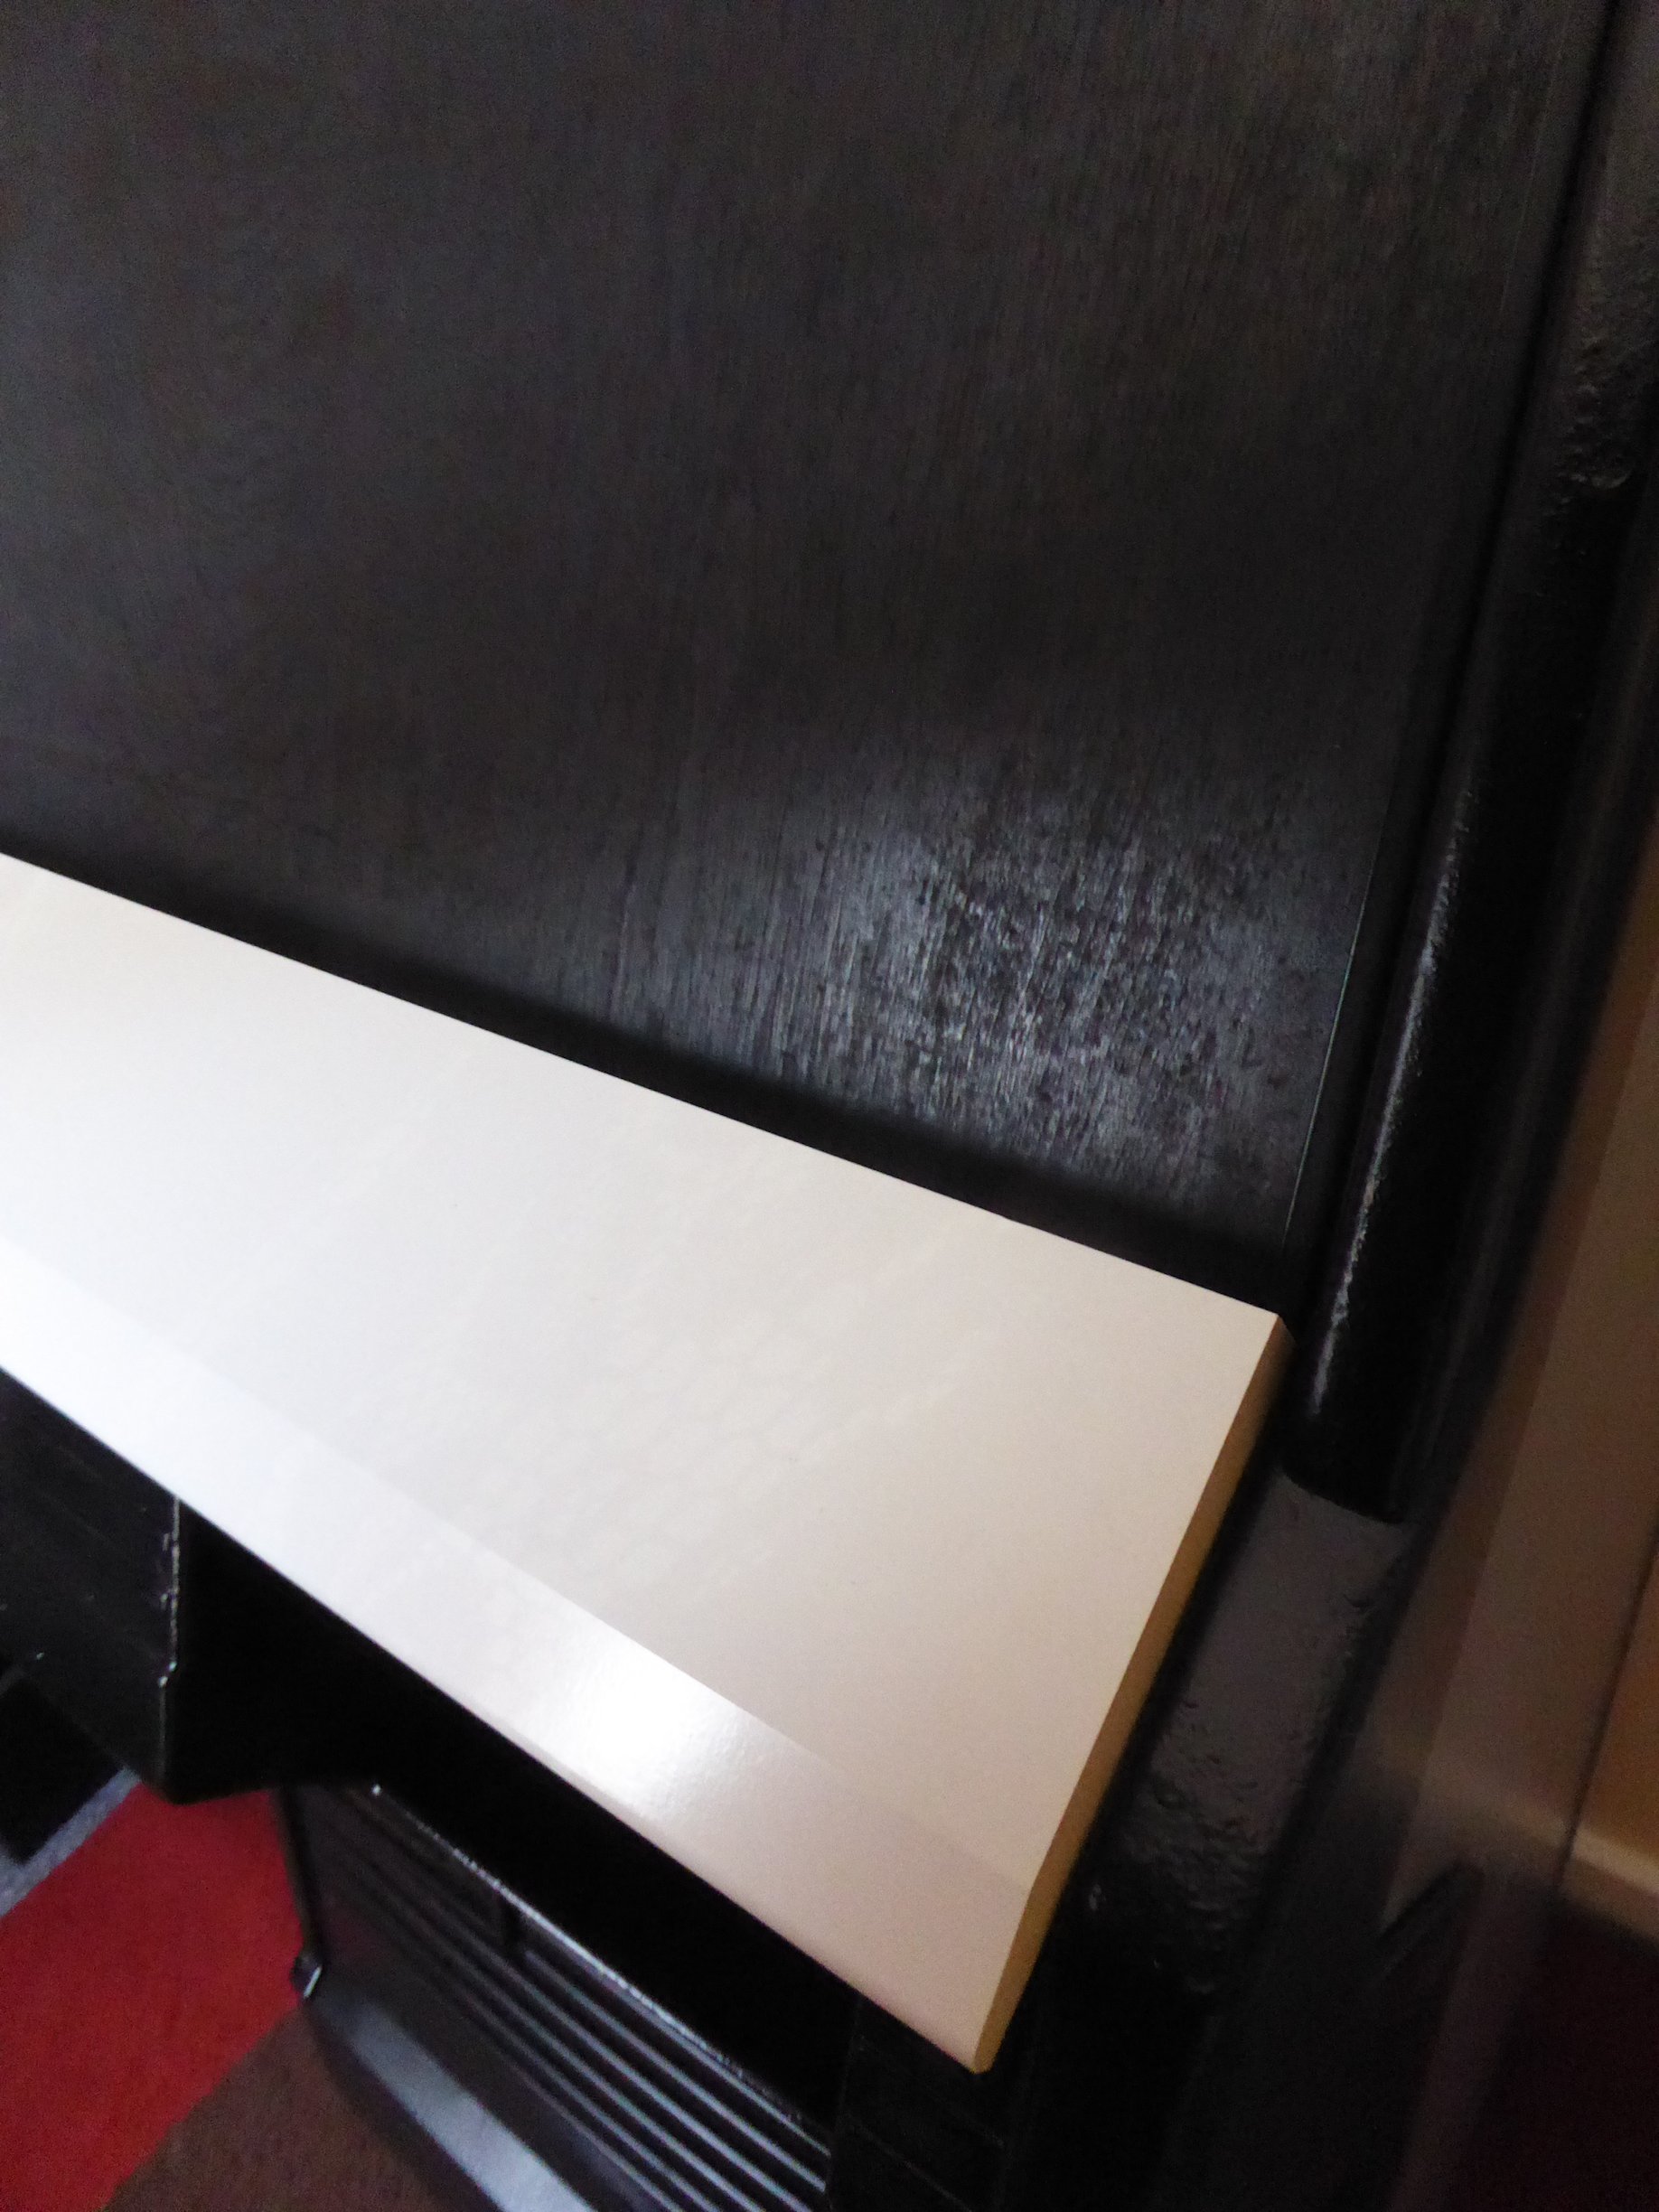
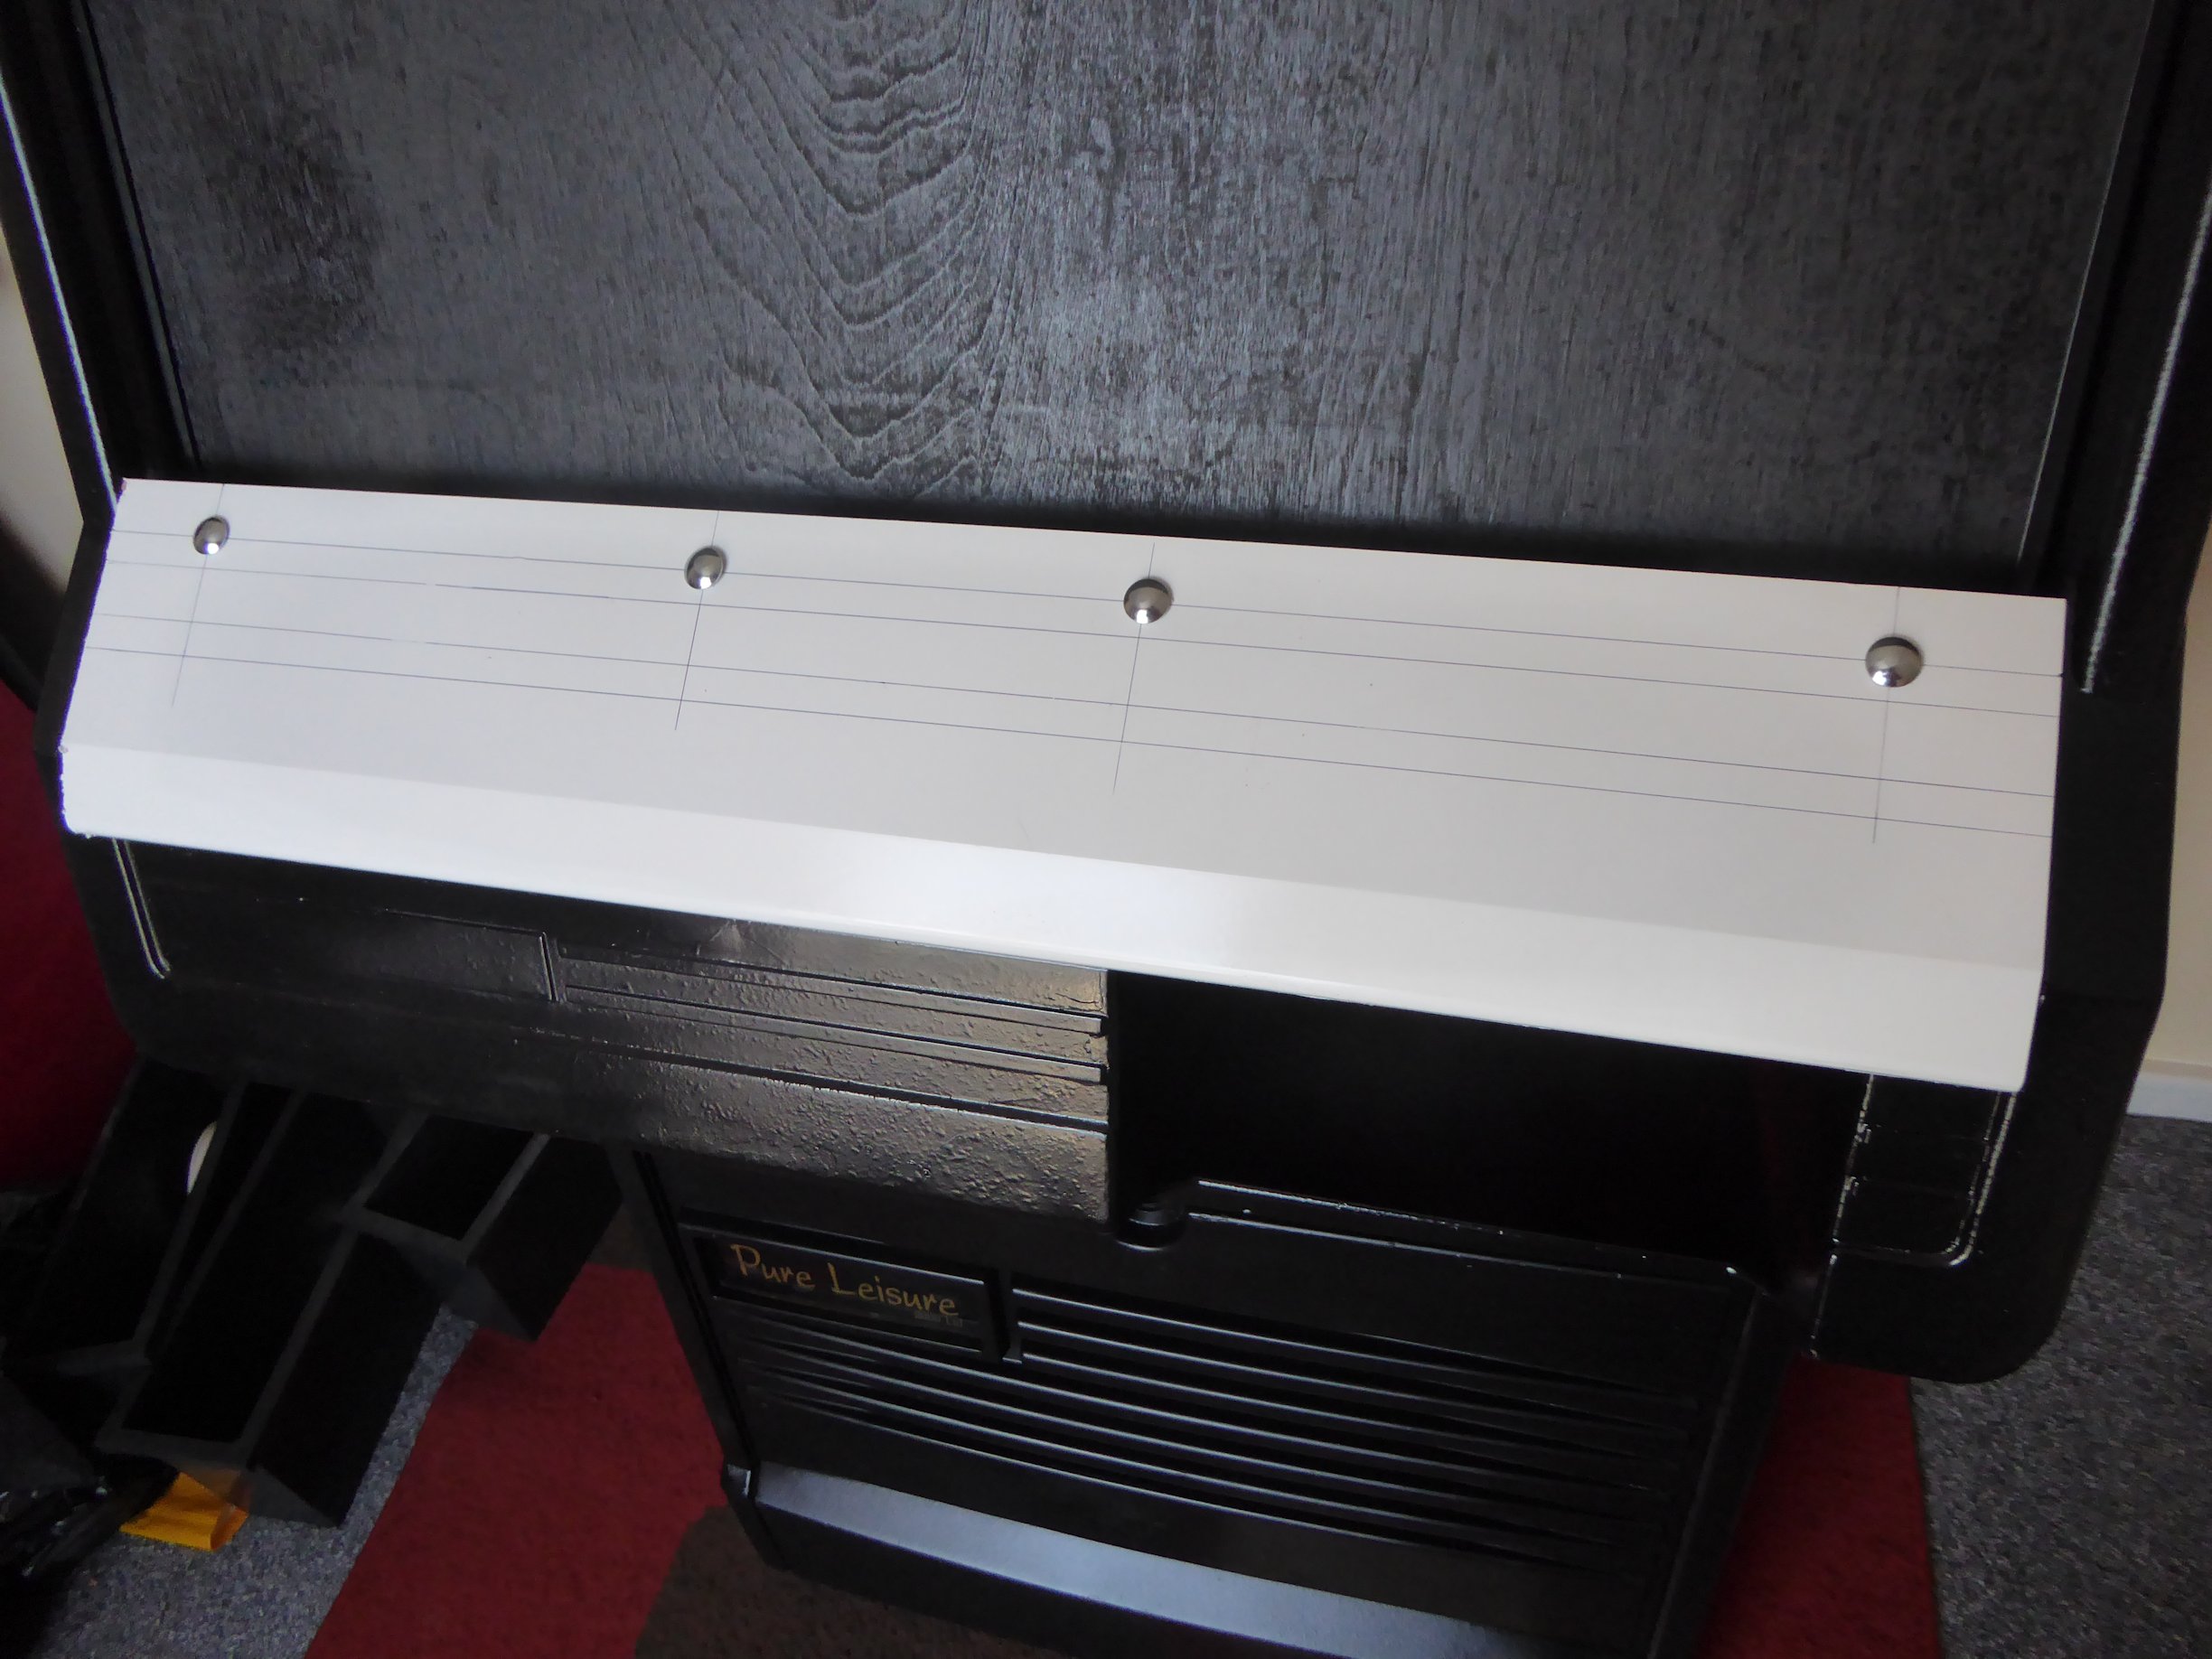
Todays work means I've got to now revisit the button panel as I am about 1cm off on the screw mountings with the panel and the perspex is place. Now I need to lower it by 1cm.
I know how to - that is simply work for tomorrow.
")
-
2
-
-
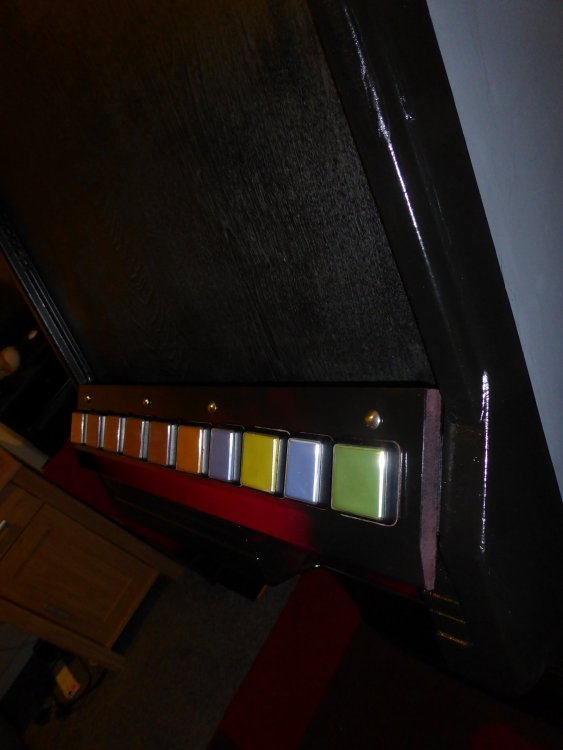
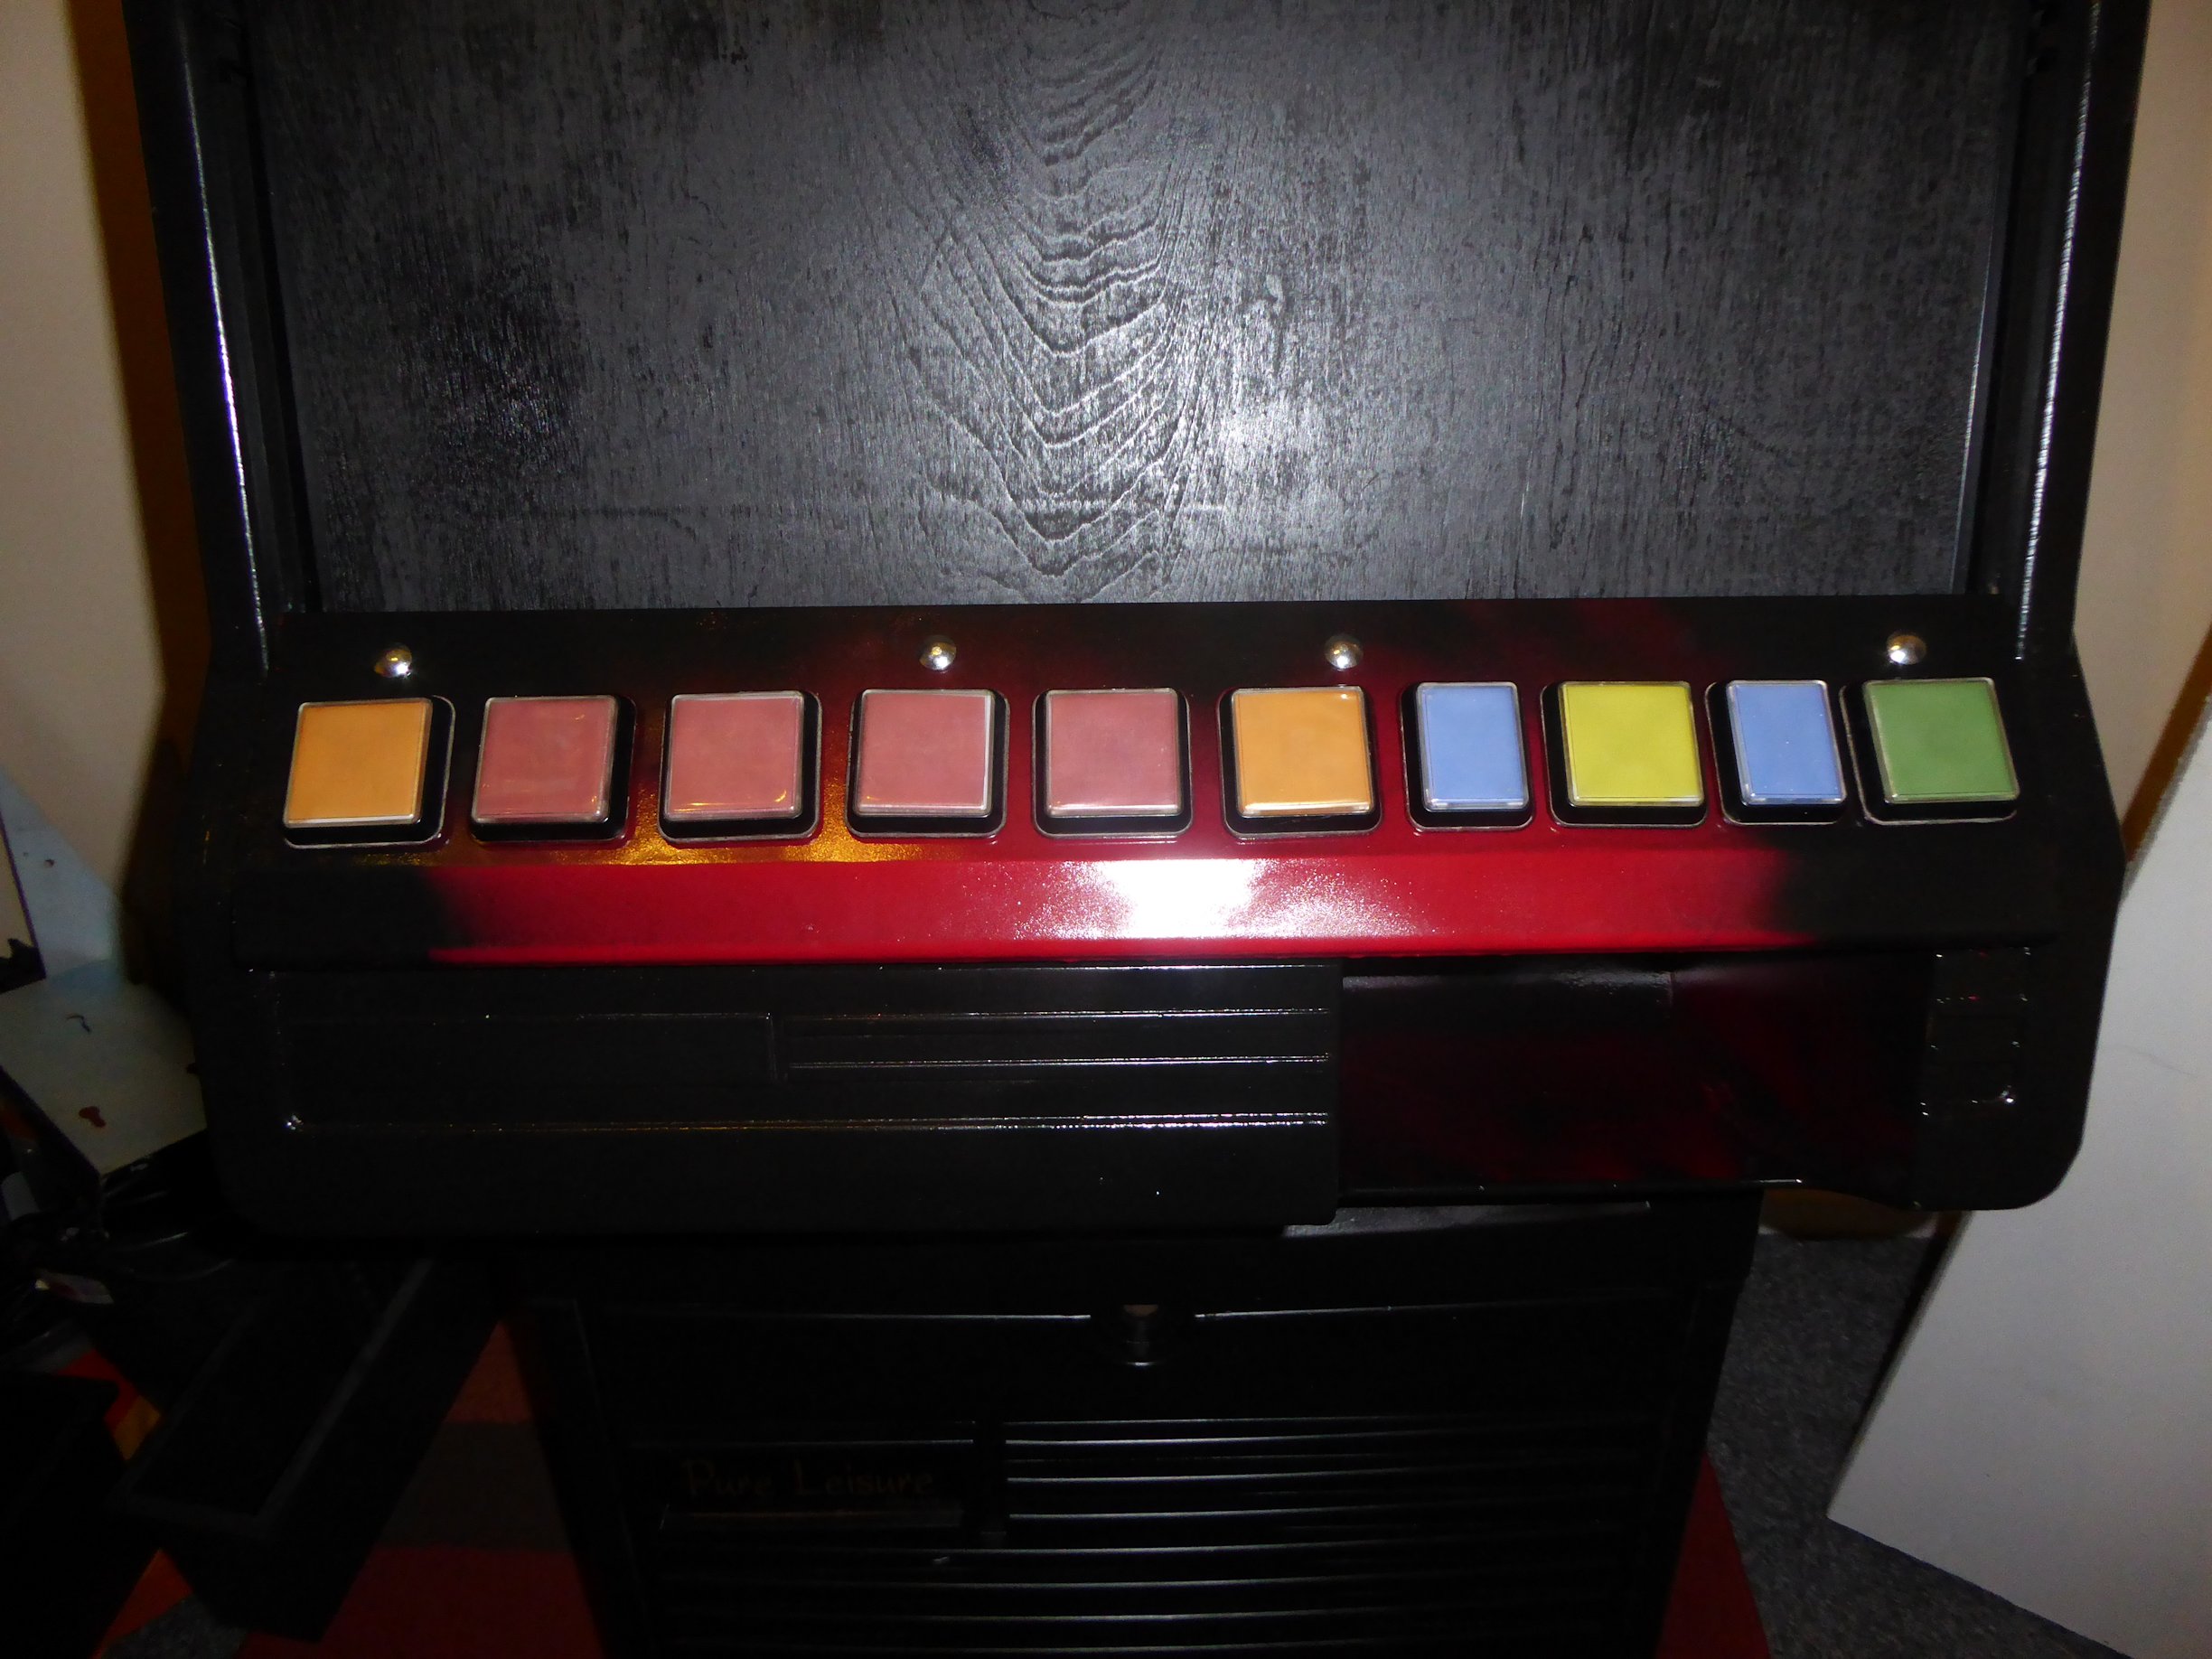
Today's work comprised of more wiring for the button panel
Hacking the combined USB / Audio socket so it would fit into the refill slot. Simply put, a sharp knife and plenty of time.
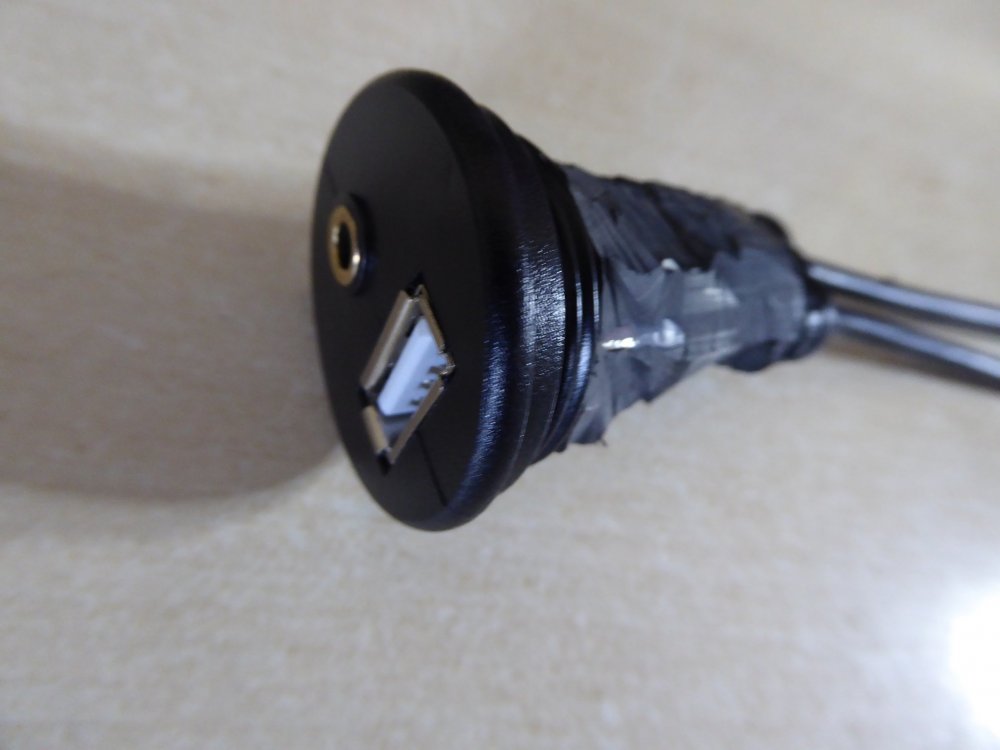
Putting the hacked USB / Audio socket into the machine.
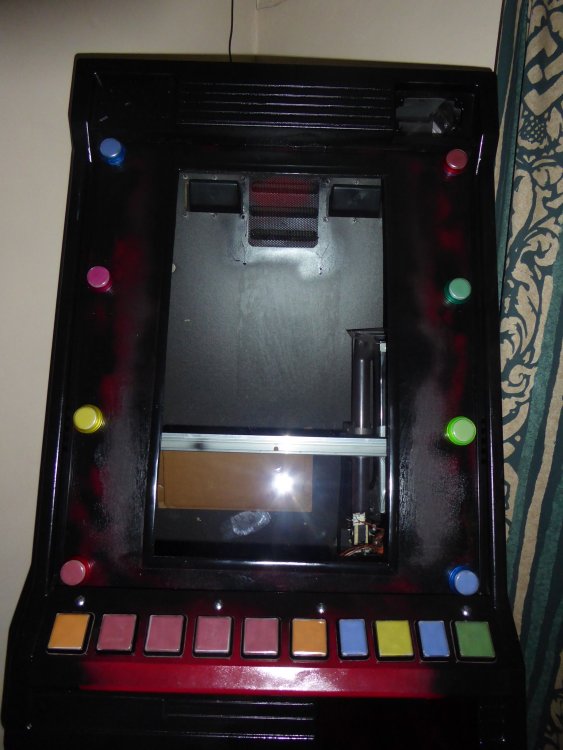
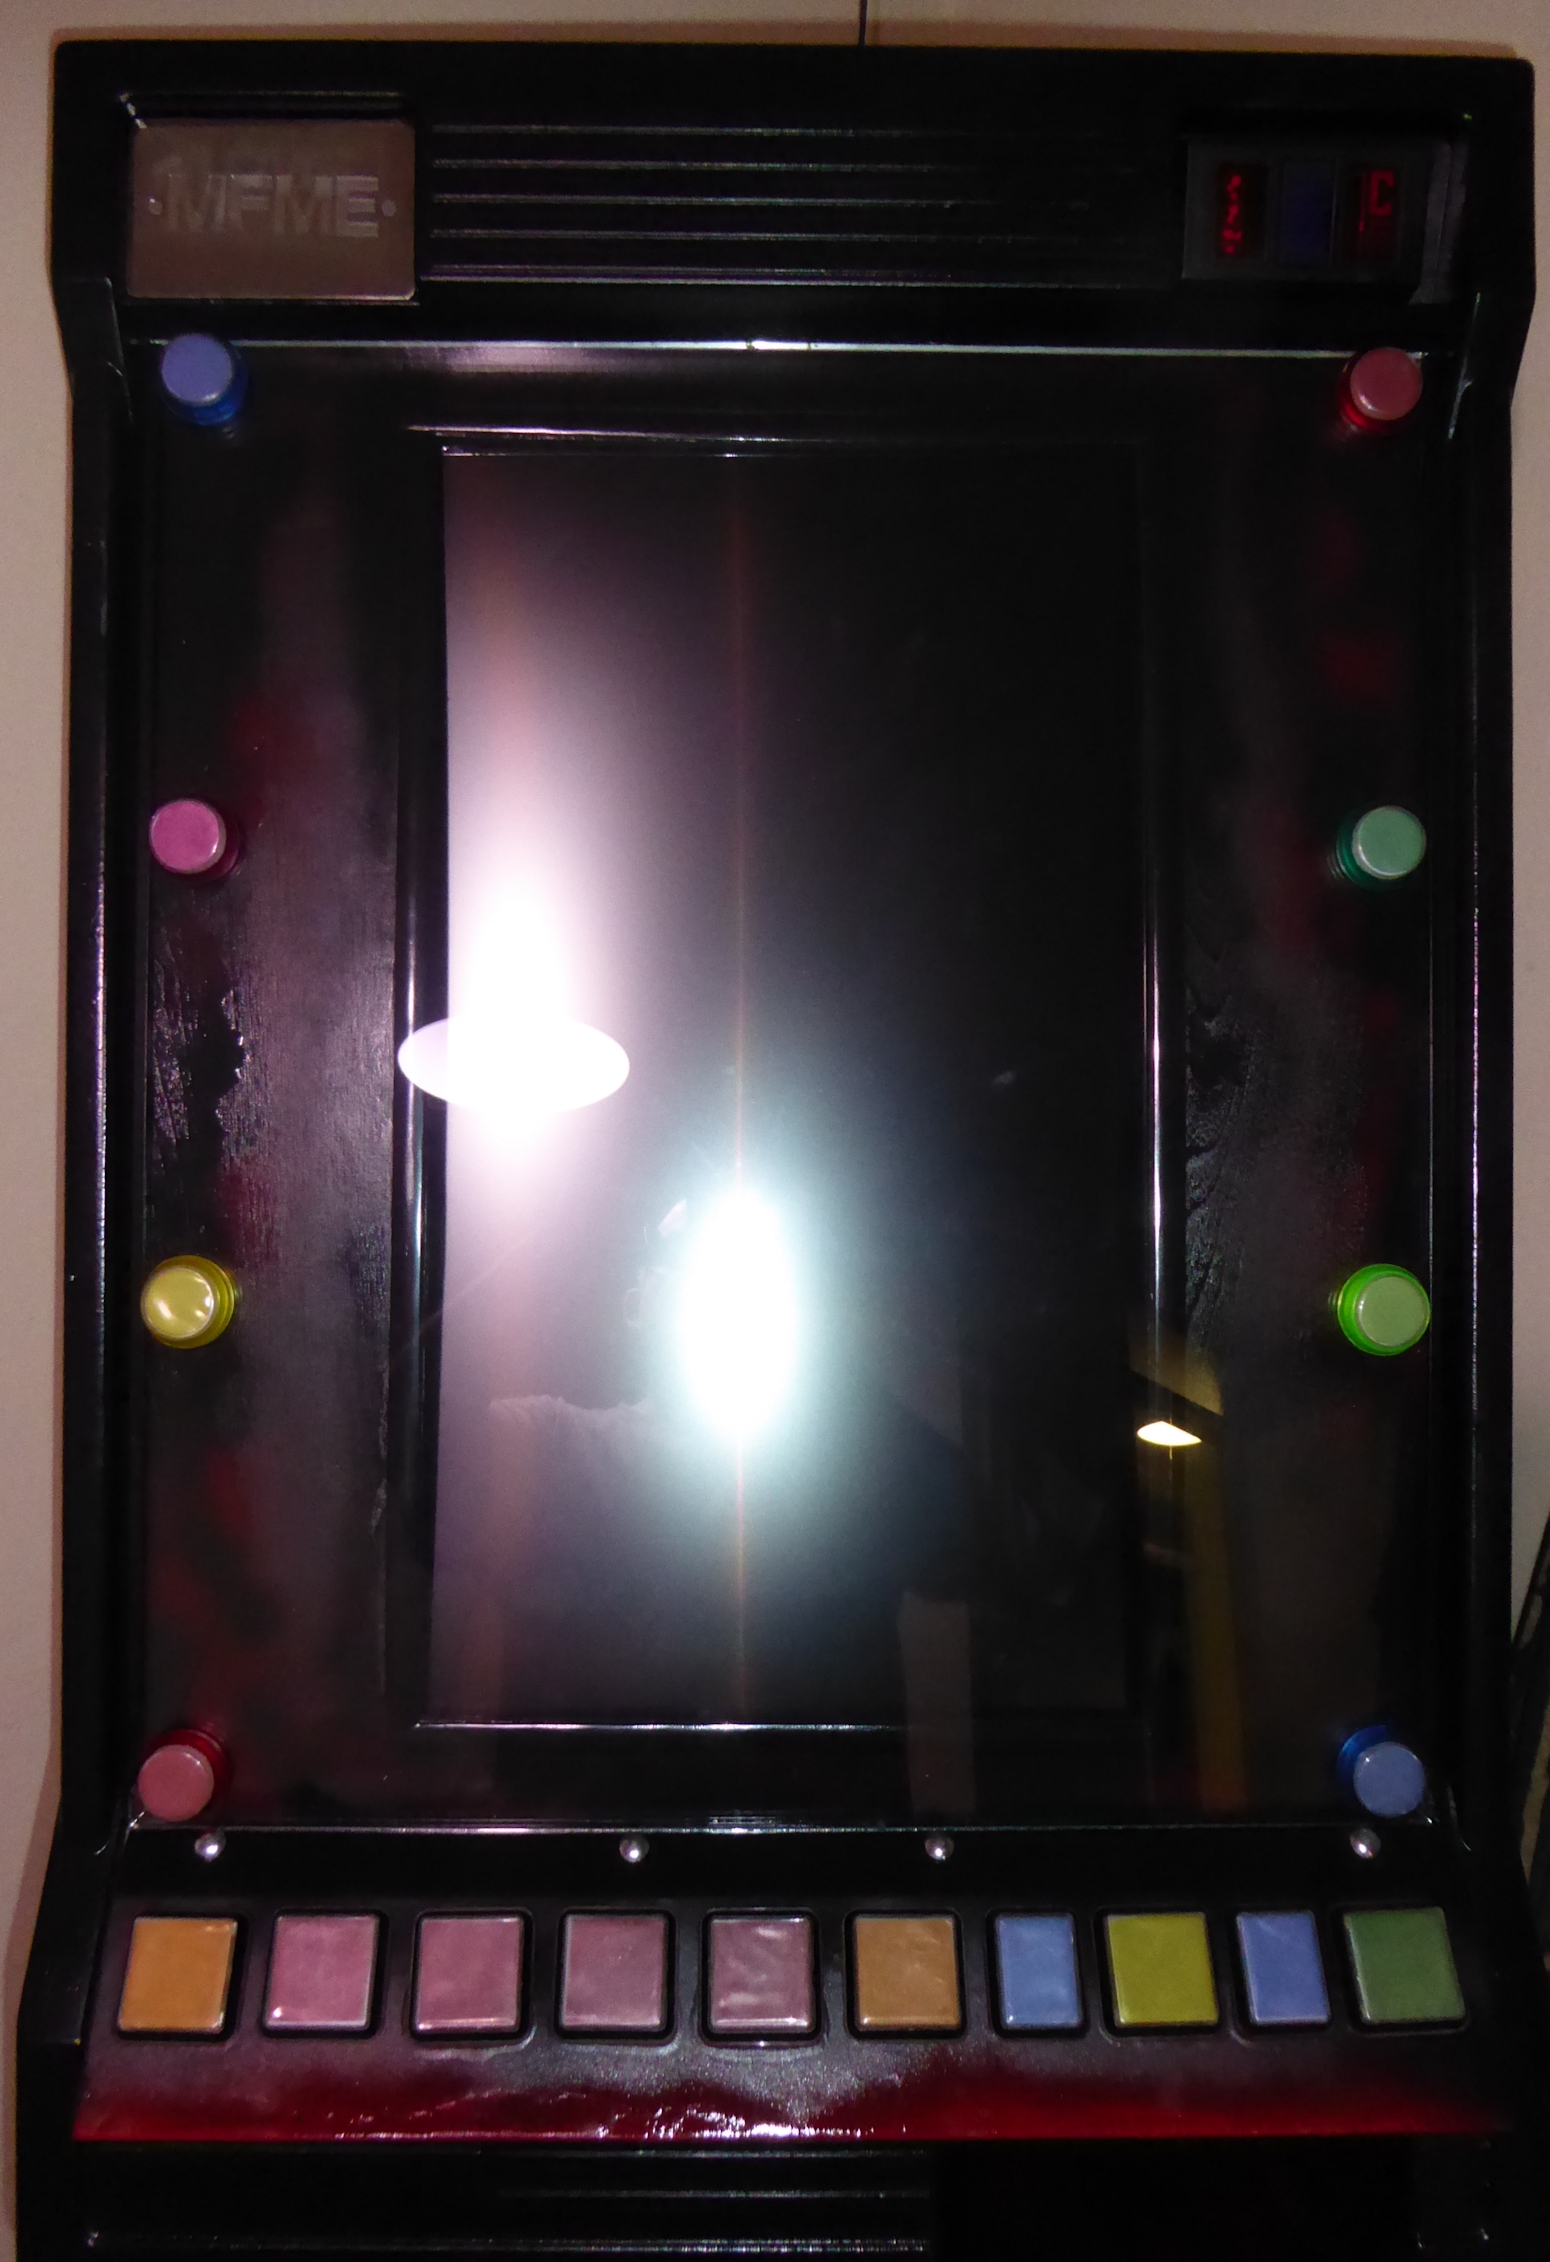
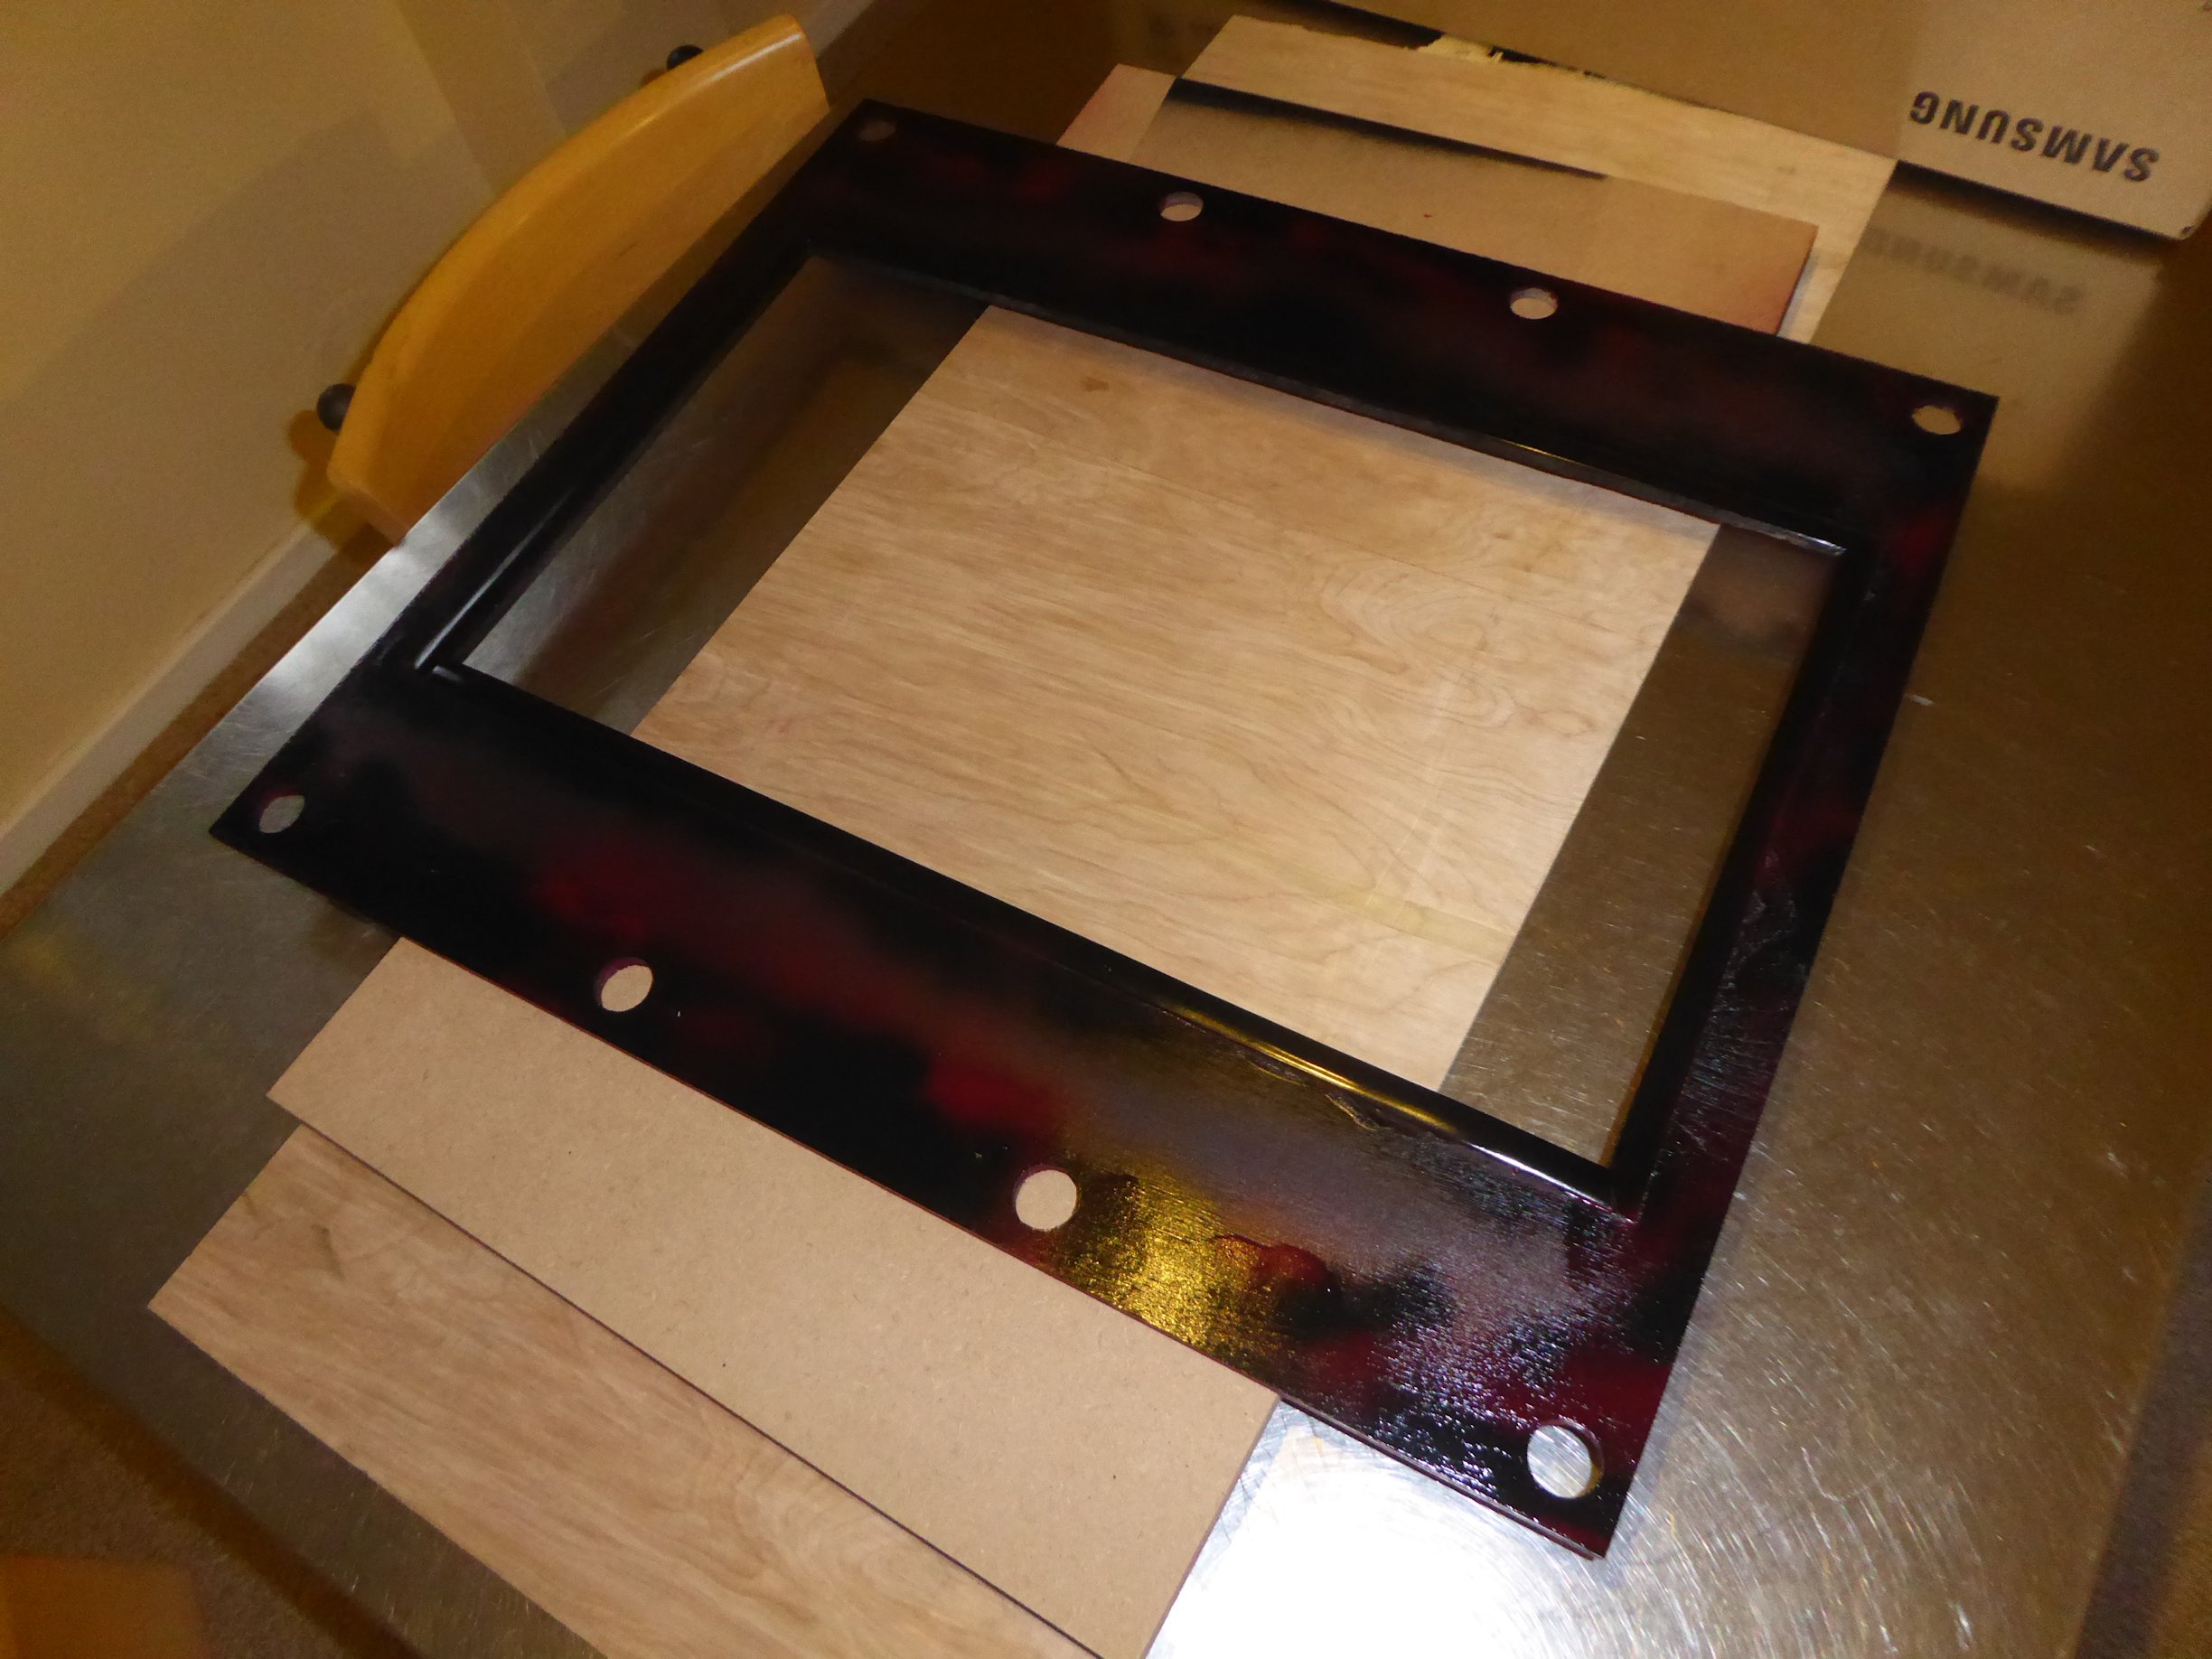
Drilling some holes in the frame to match the perspex, cutting a monitor hole and adding trim, spraying the frame a mixture of black / red to match the button panel.

Visibly, externally, the end is soon...
-
1
-
-
Thank you sir, done a little more work today...
Just a little update here.
I picked myself up an Intel I7 Dell Optiplex 9020 from eBay for £300, this looks like the ideal MFME PC that I've been working on this morning.
Running Windows 8.1 and not connected to anything from an internet point of view, I put mGalaxy on as a front end as I want to also allow the cab to play the odd MAME game from the USB that will be at the front.
One of my biggest concerns was powering on and off the PC.
These little Dell's have an option within the BIOS to power on when they get a surge of power. So simply put, as soon as a plug goes live it powers on. This runs a SSD and is silent. I configured the following:
1. mGalaxy to load at launch.
2. Installed Hide Cursor.
3. Edited the resigstry to stop the warning message about programs being open when the power button is pressed.
4. Configured the iPAC to shut down Windows when a button is pushed and wired it into a button.
-
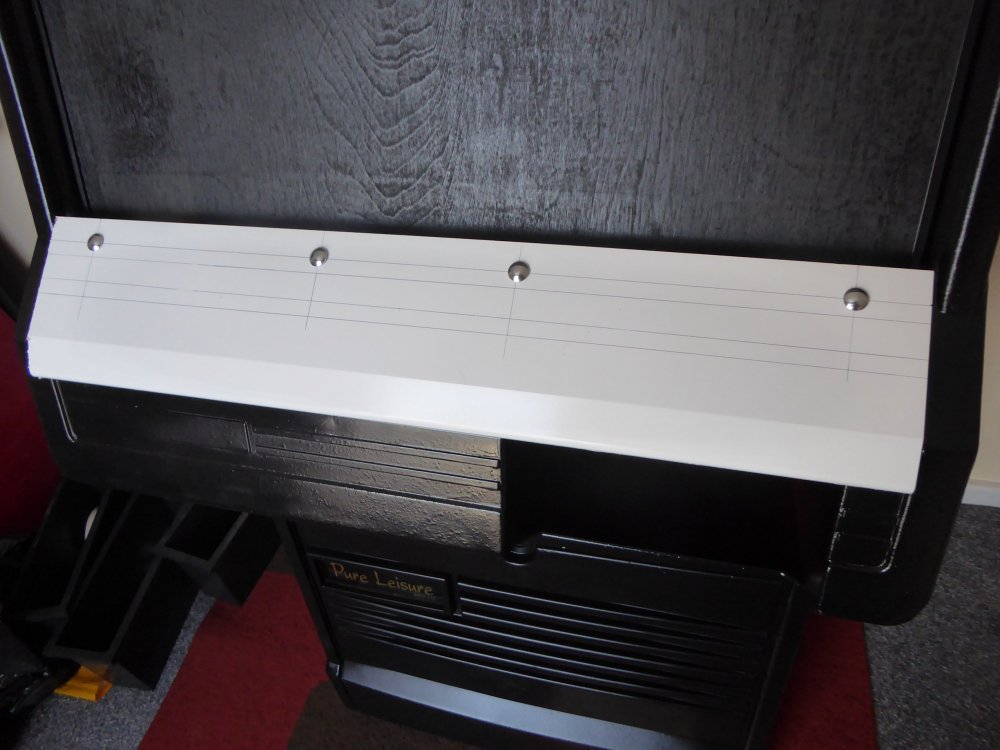
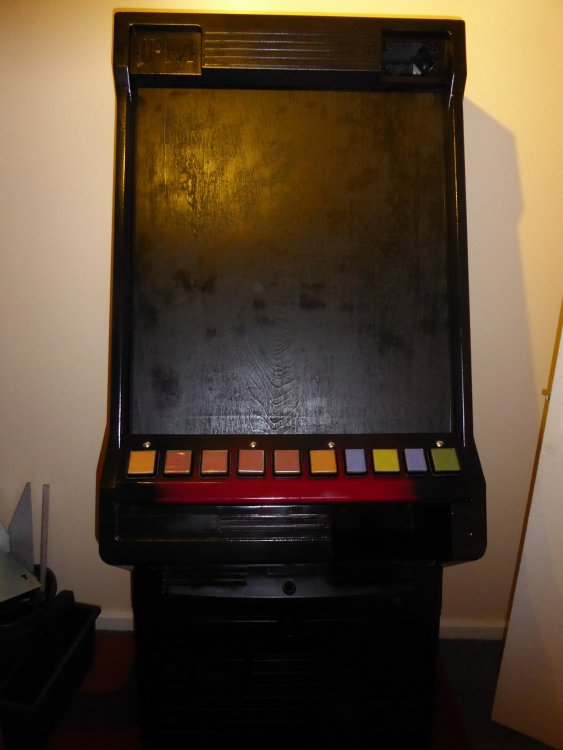
Todays problem was the original cab has a completely unusable button panel as shown below...

Turns out the answer to the problem is literally all around us, skirting board.

Drilled four holes just to test I could secure it in...
A few hours later we ended up with this, the buttons are just resting in their holes ATM...

-
Well my friend, that is truely a classic game - although by todays standards - the men with white coats would certinally be involved !
That is so cool, thank you for sharing !
Of course, others are going to think WTF are they on about...

-
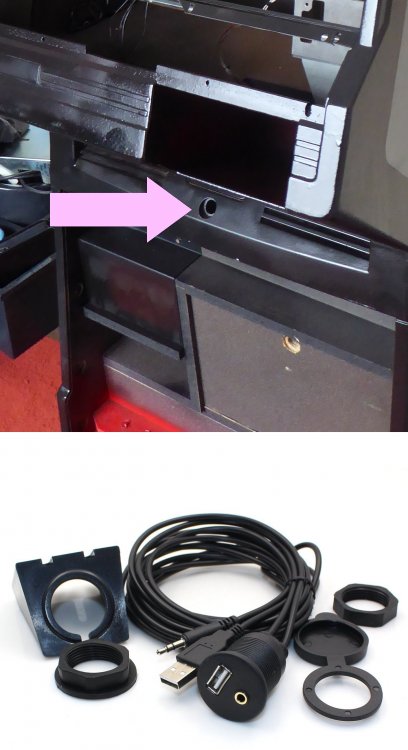
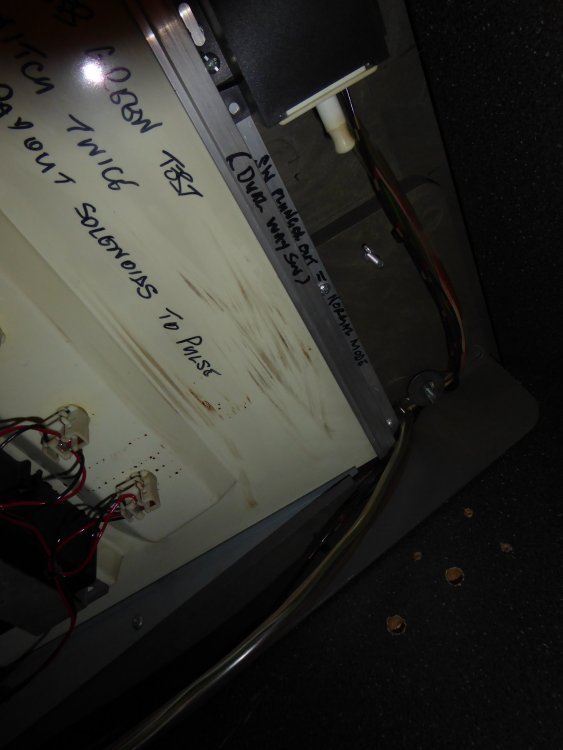
The refill switch shown below won't be used, it'll be replaced by a combined USB / Audio jack as below.
-
Did a little work today as the weather held...
...the cabinet at the beginning of the day.

...painted, but naked...
...testing the red monitor surround...
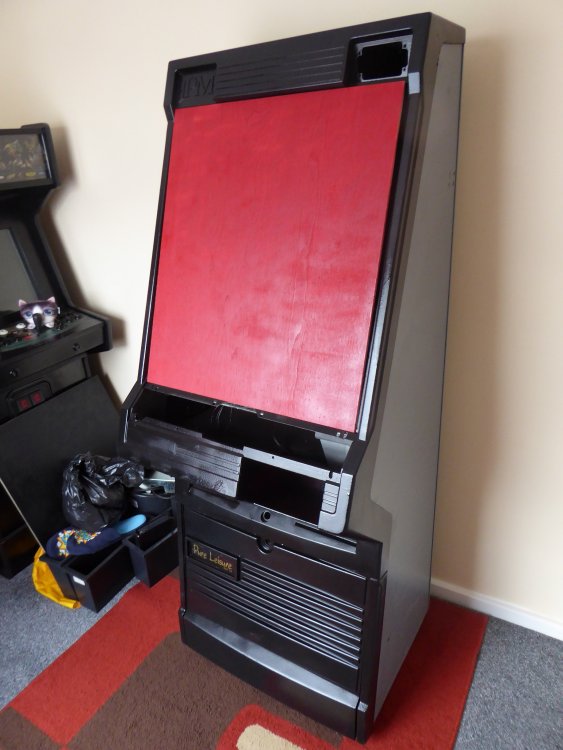
...and finally the black surround.

-
1
-
-
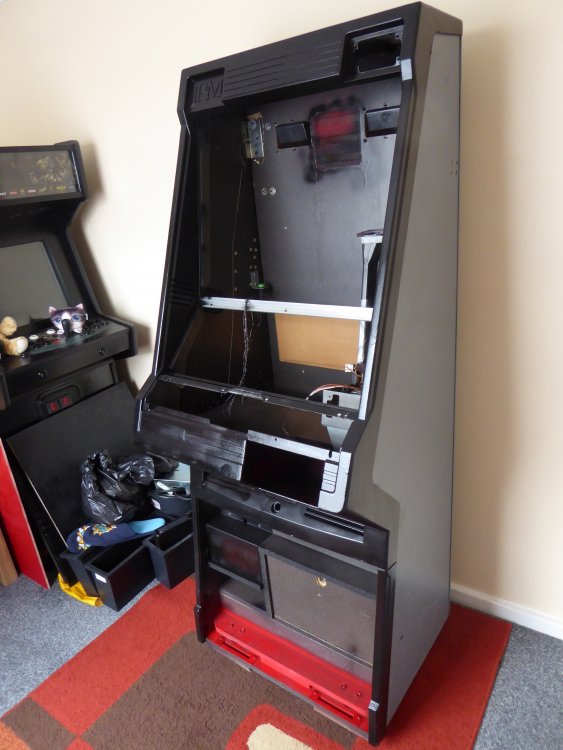
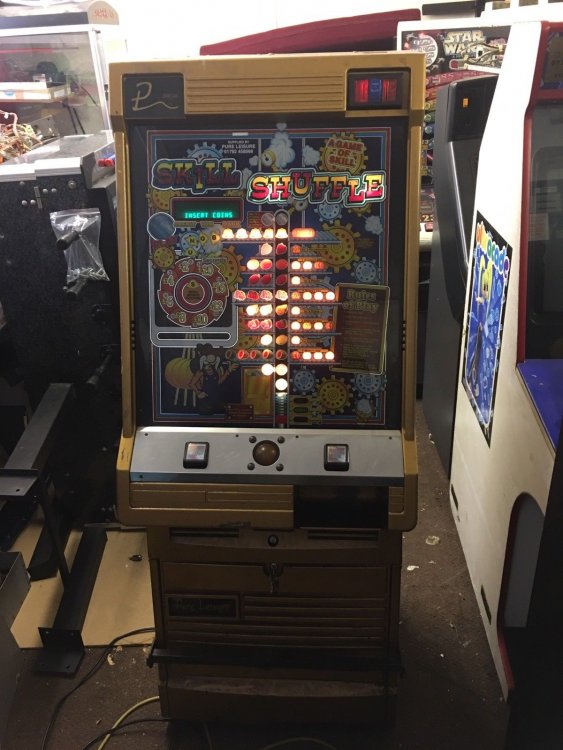
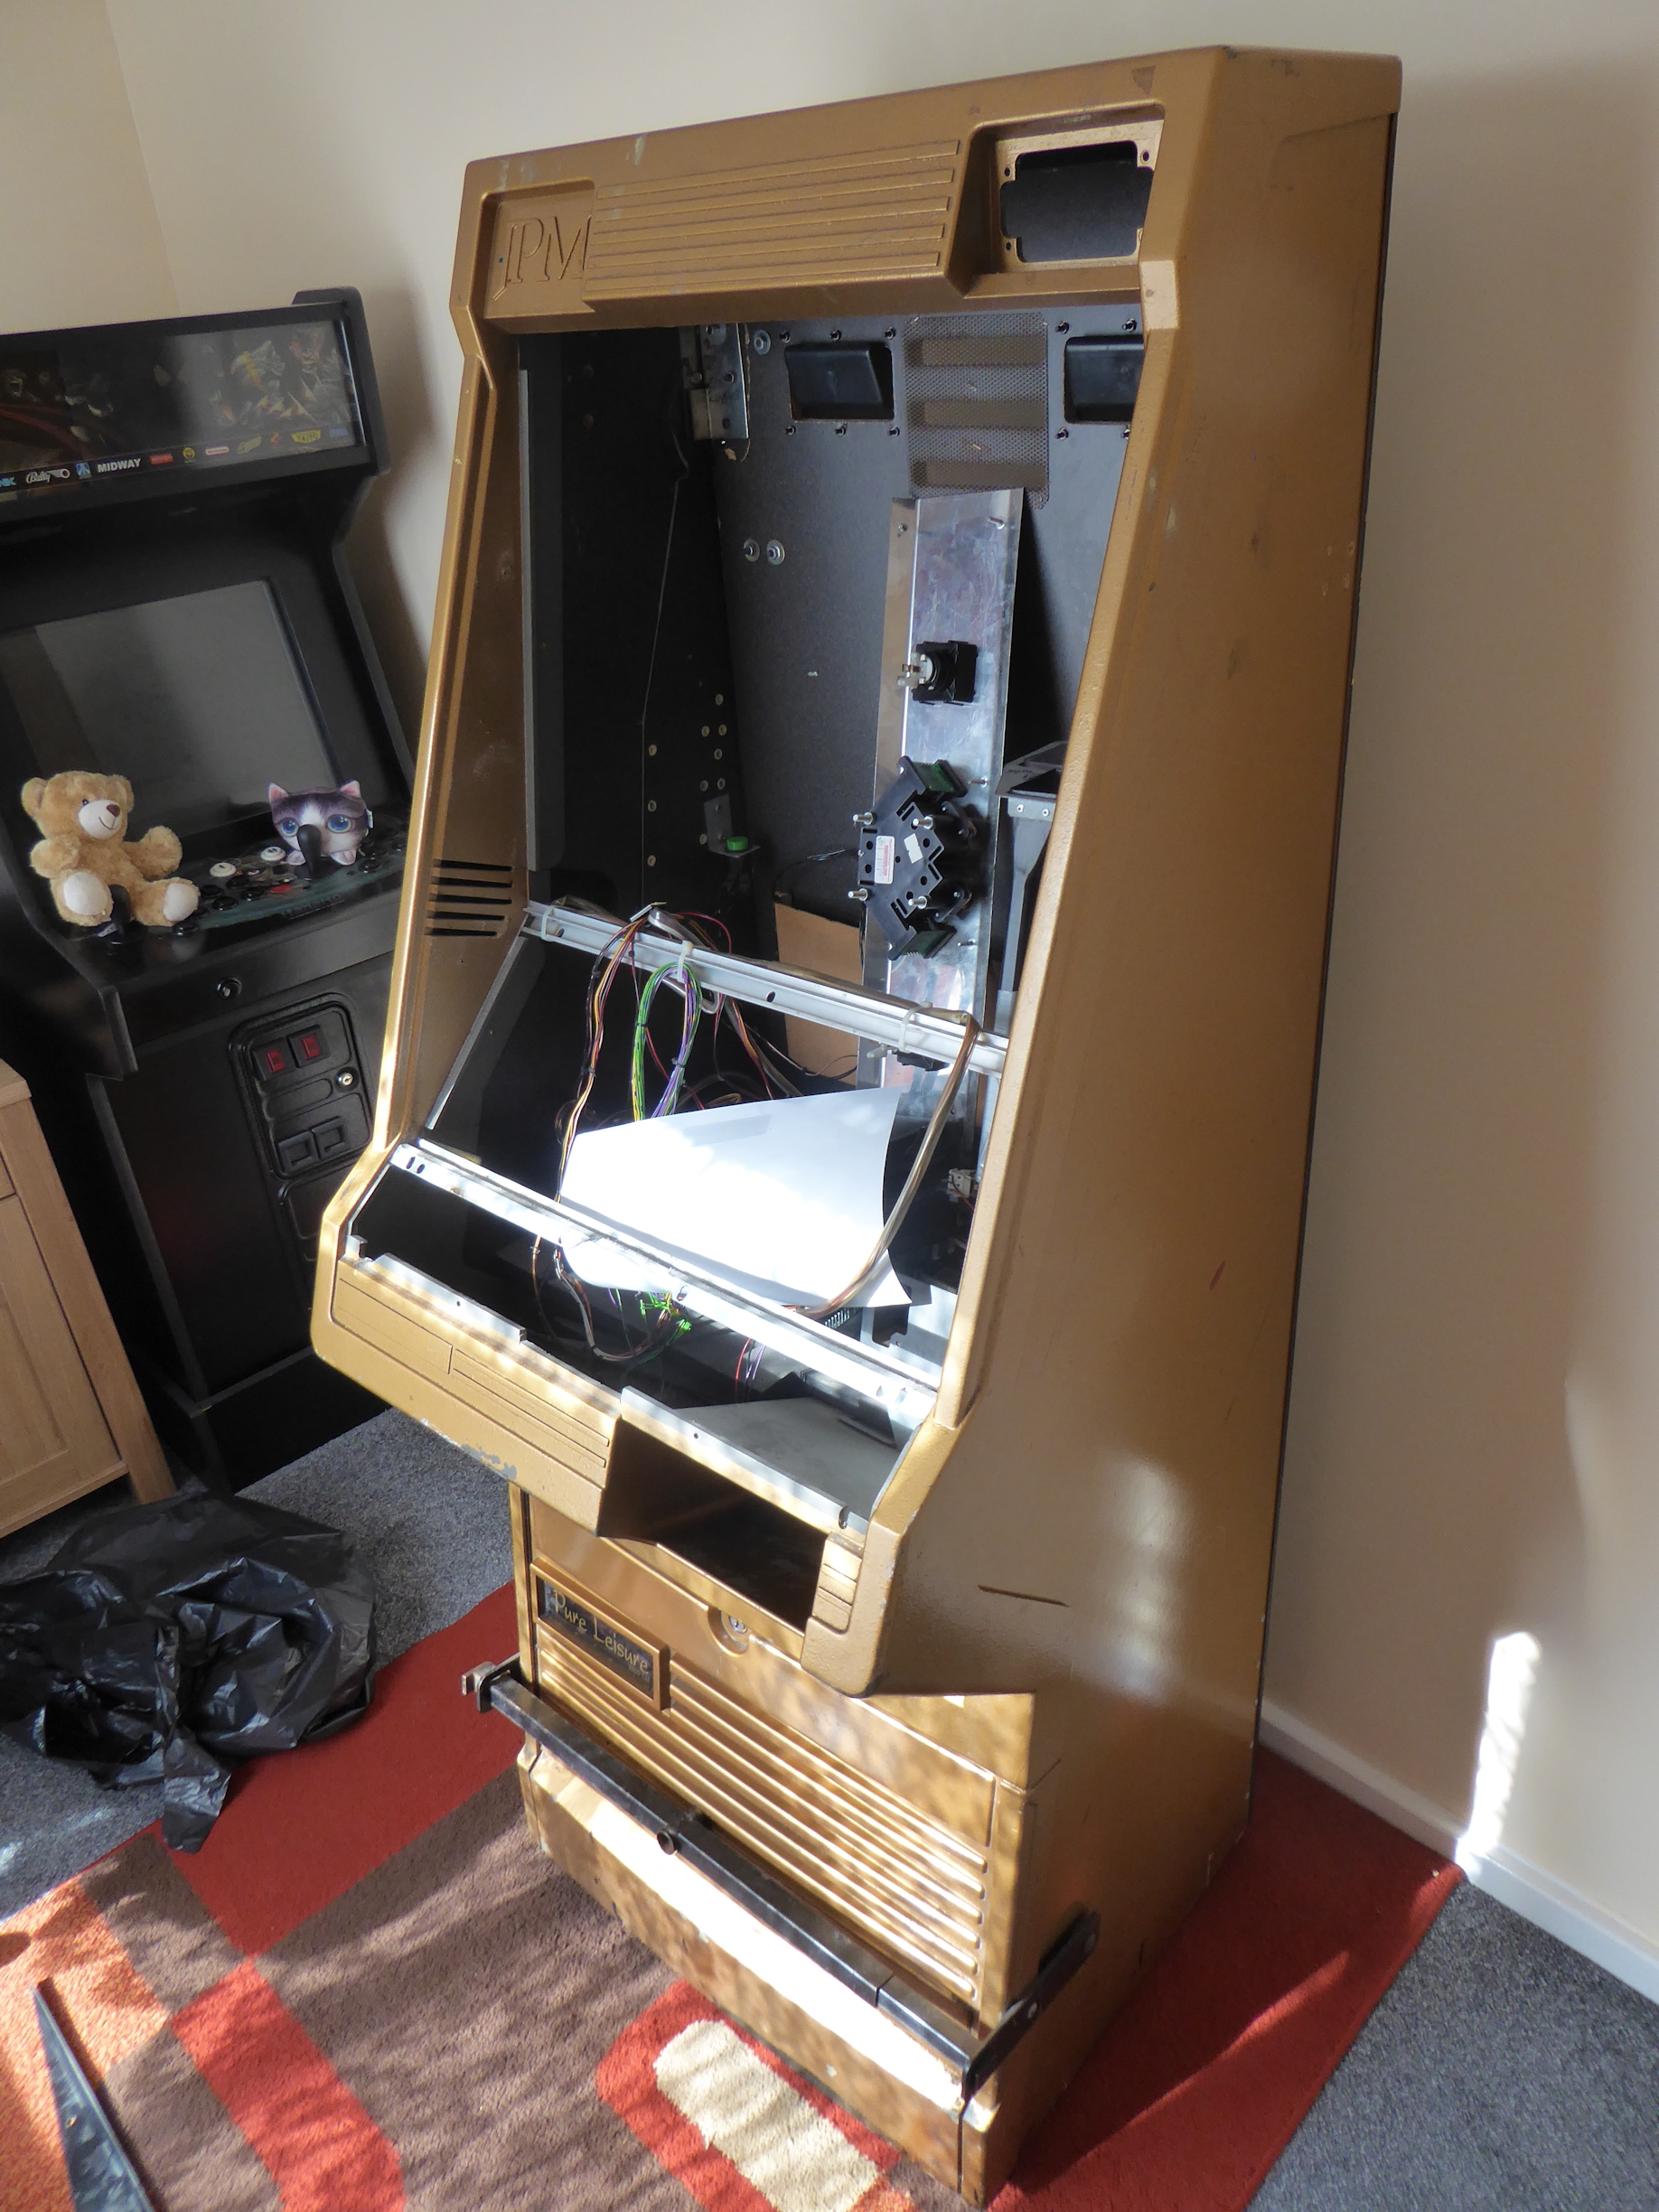
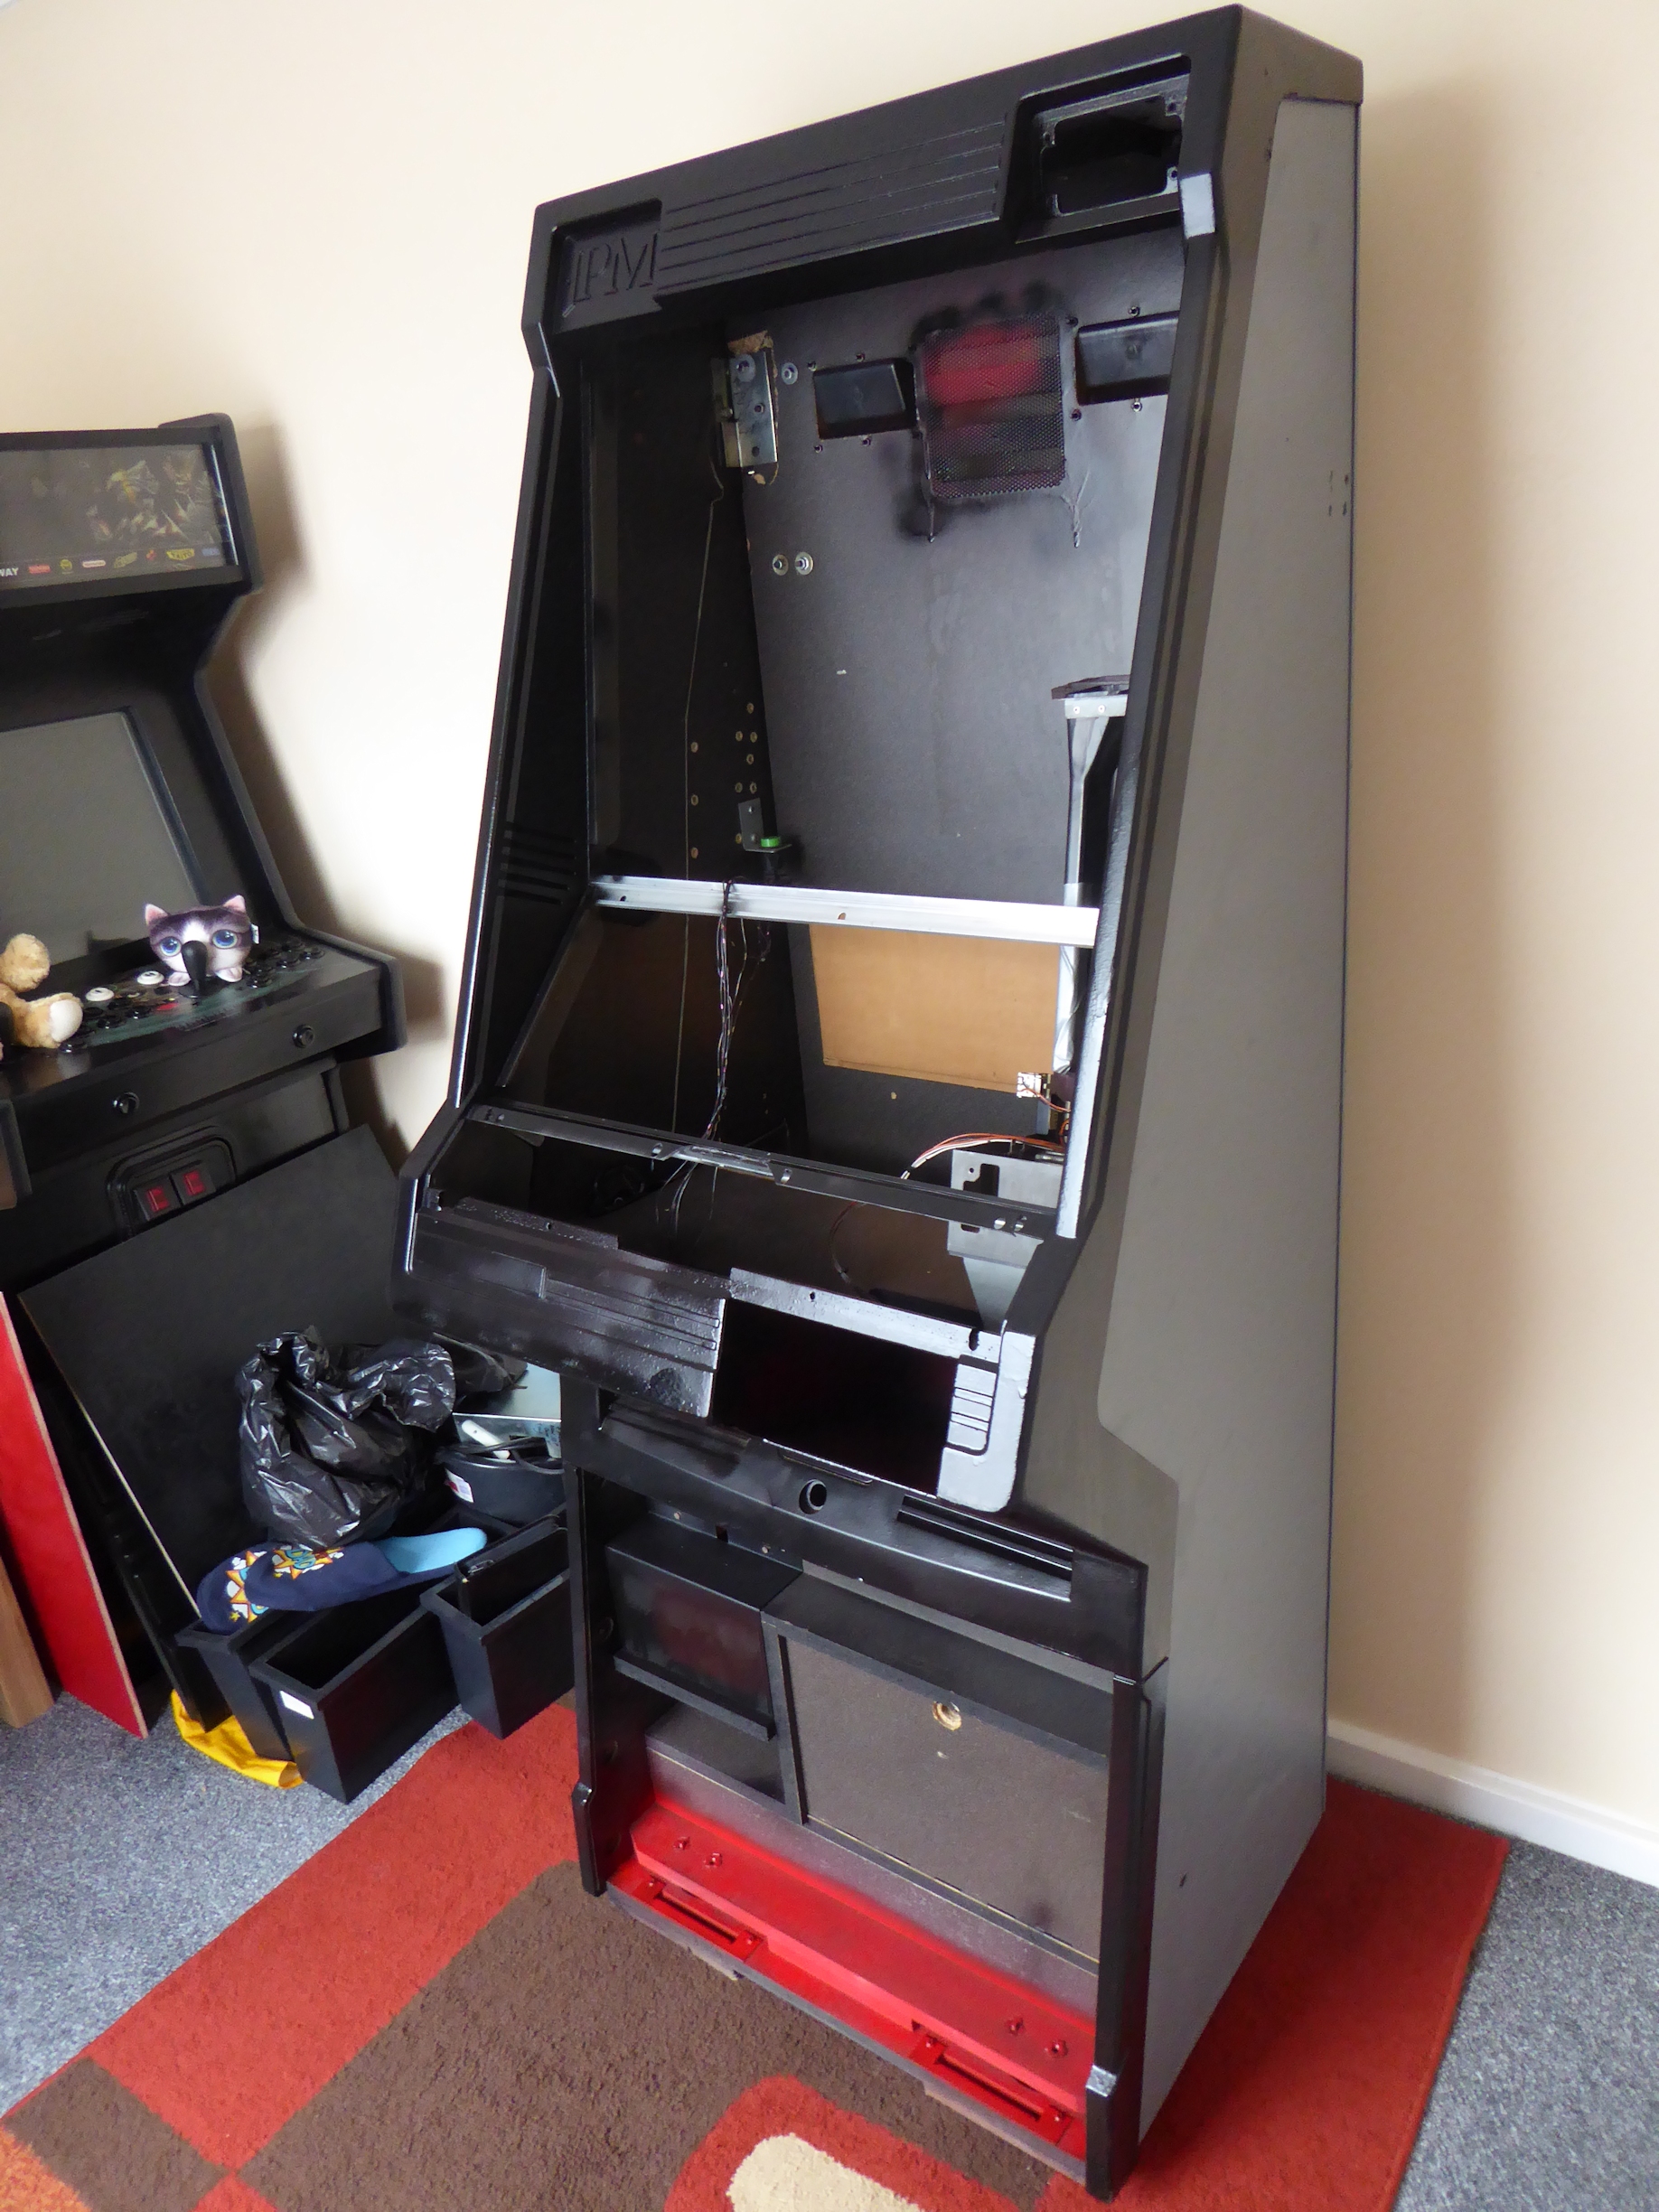
Today I collected the machine that is to become the MFME cabinet.

For £29.99, I got the cabinet as above.
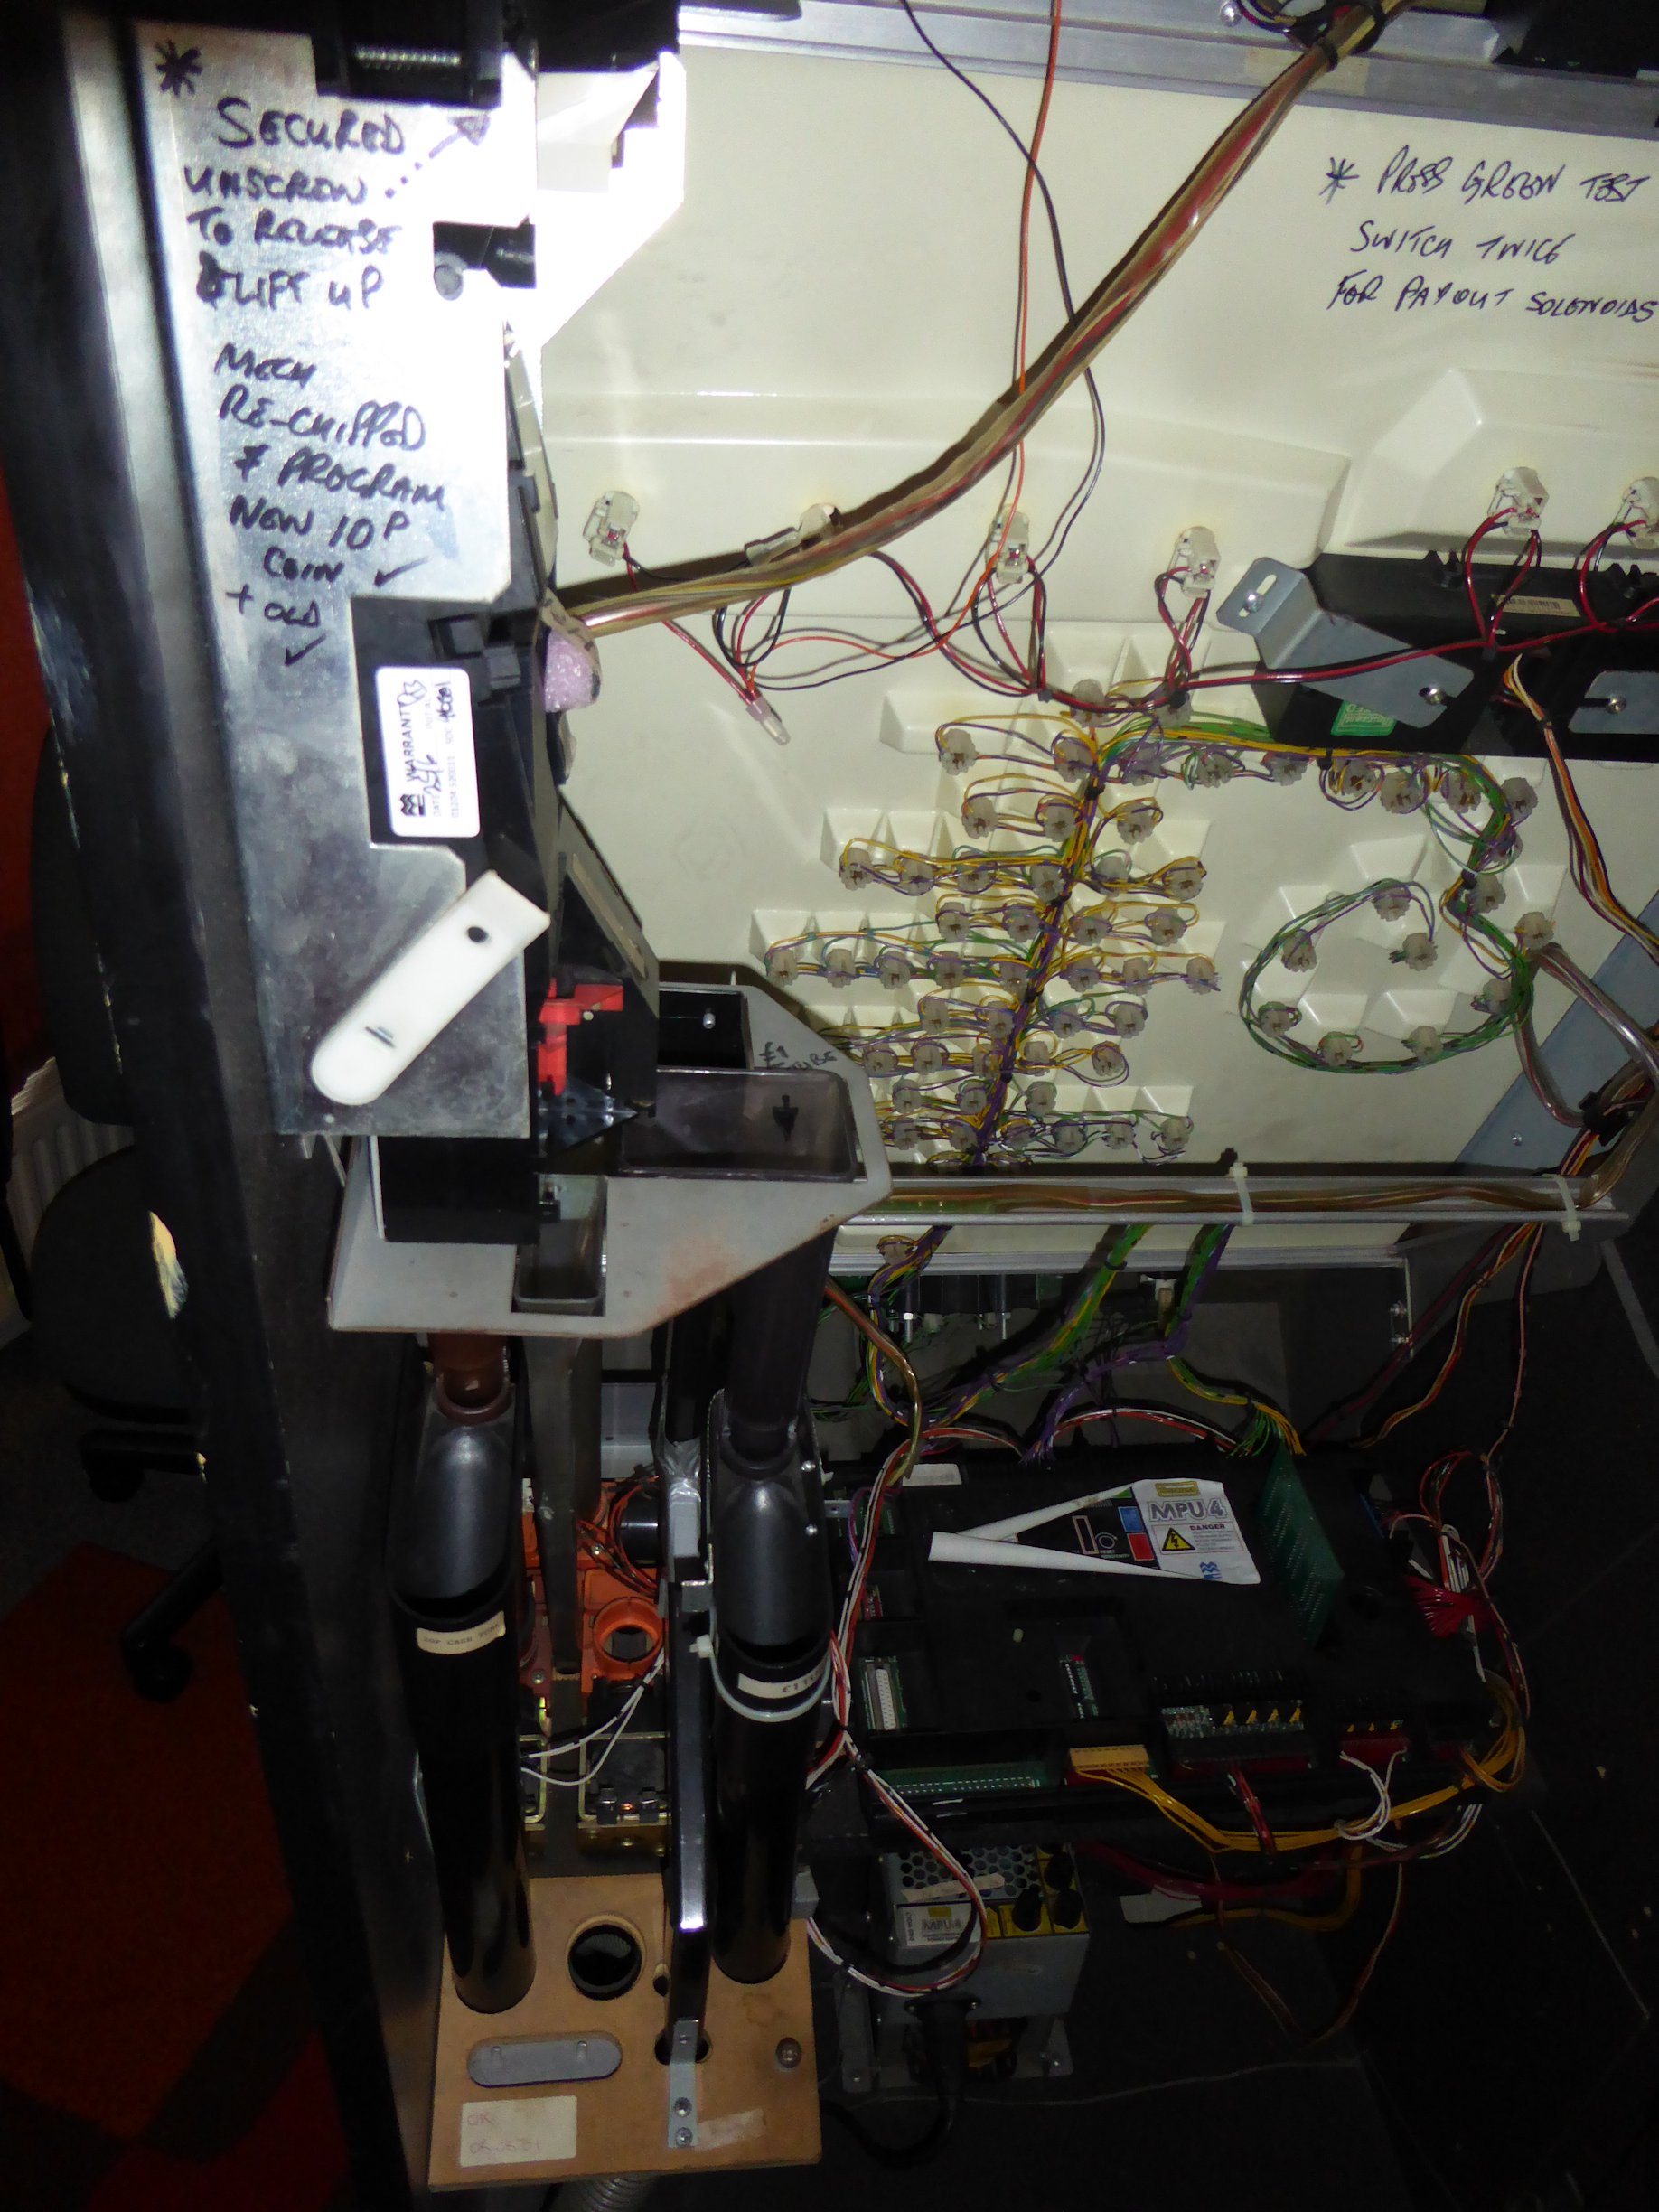
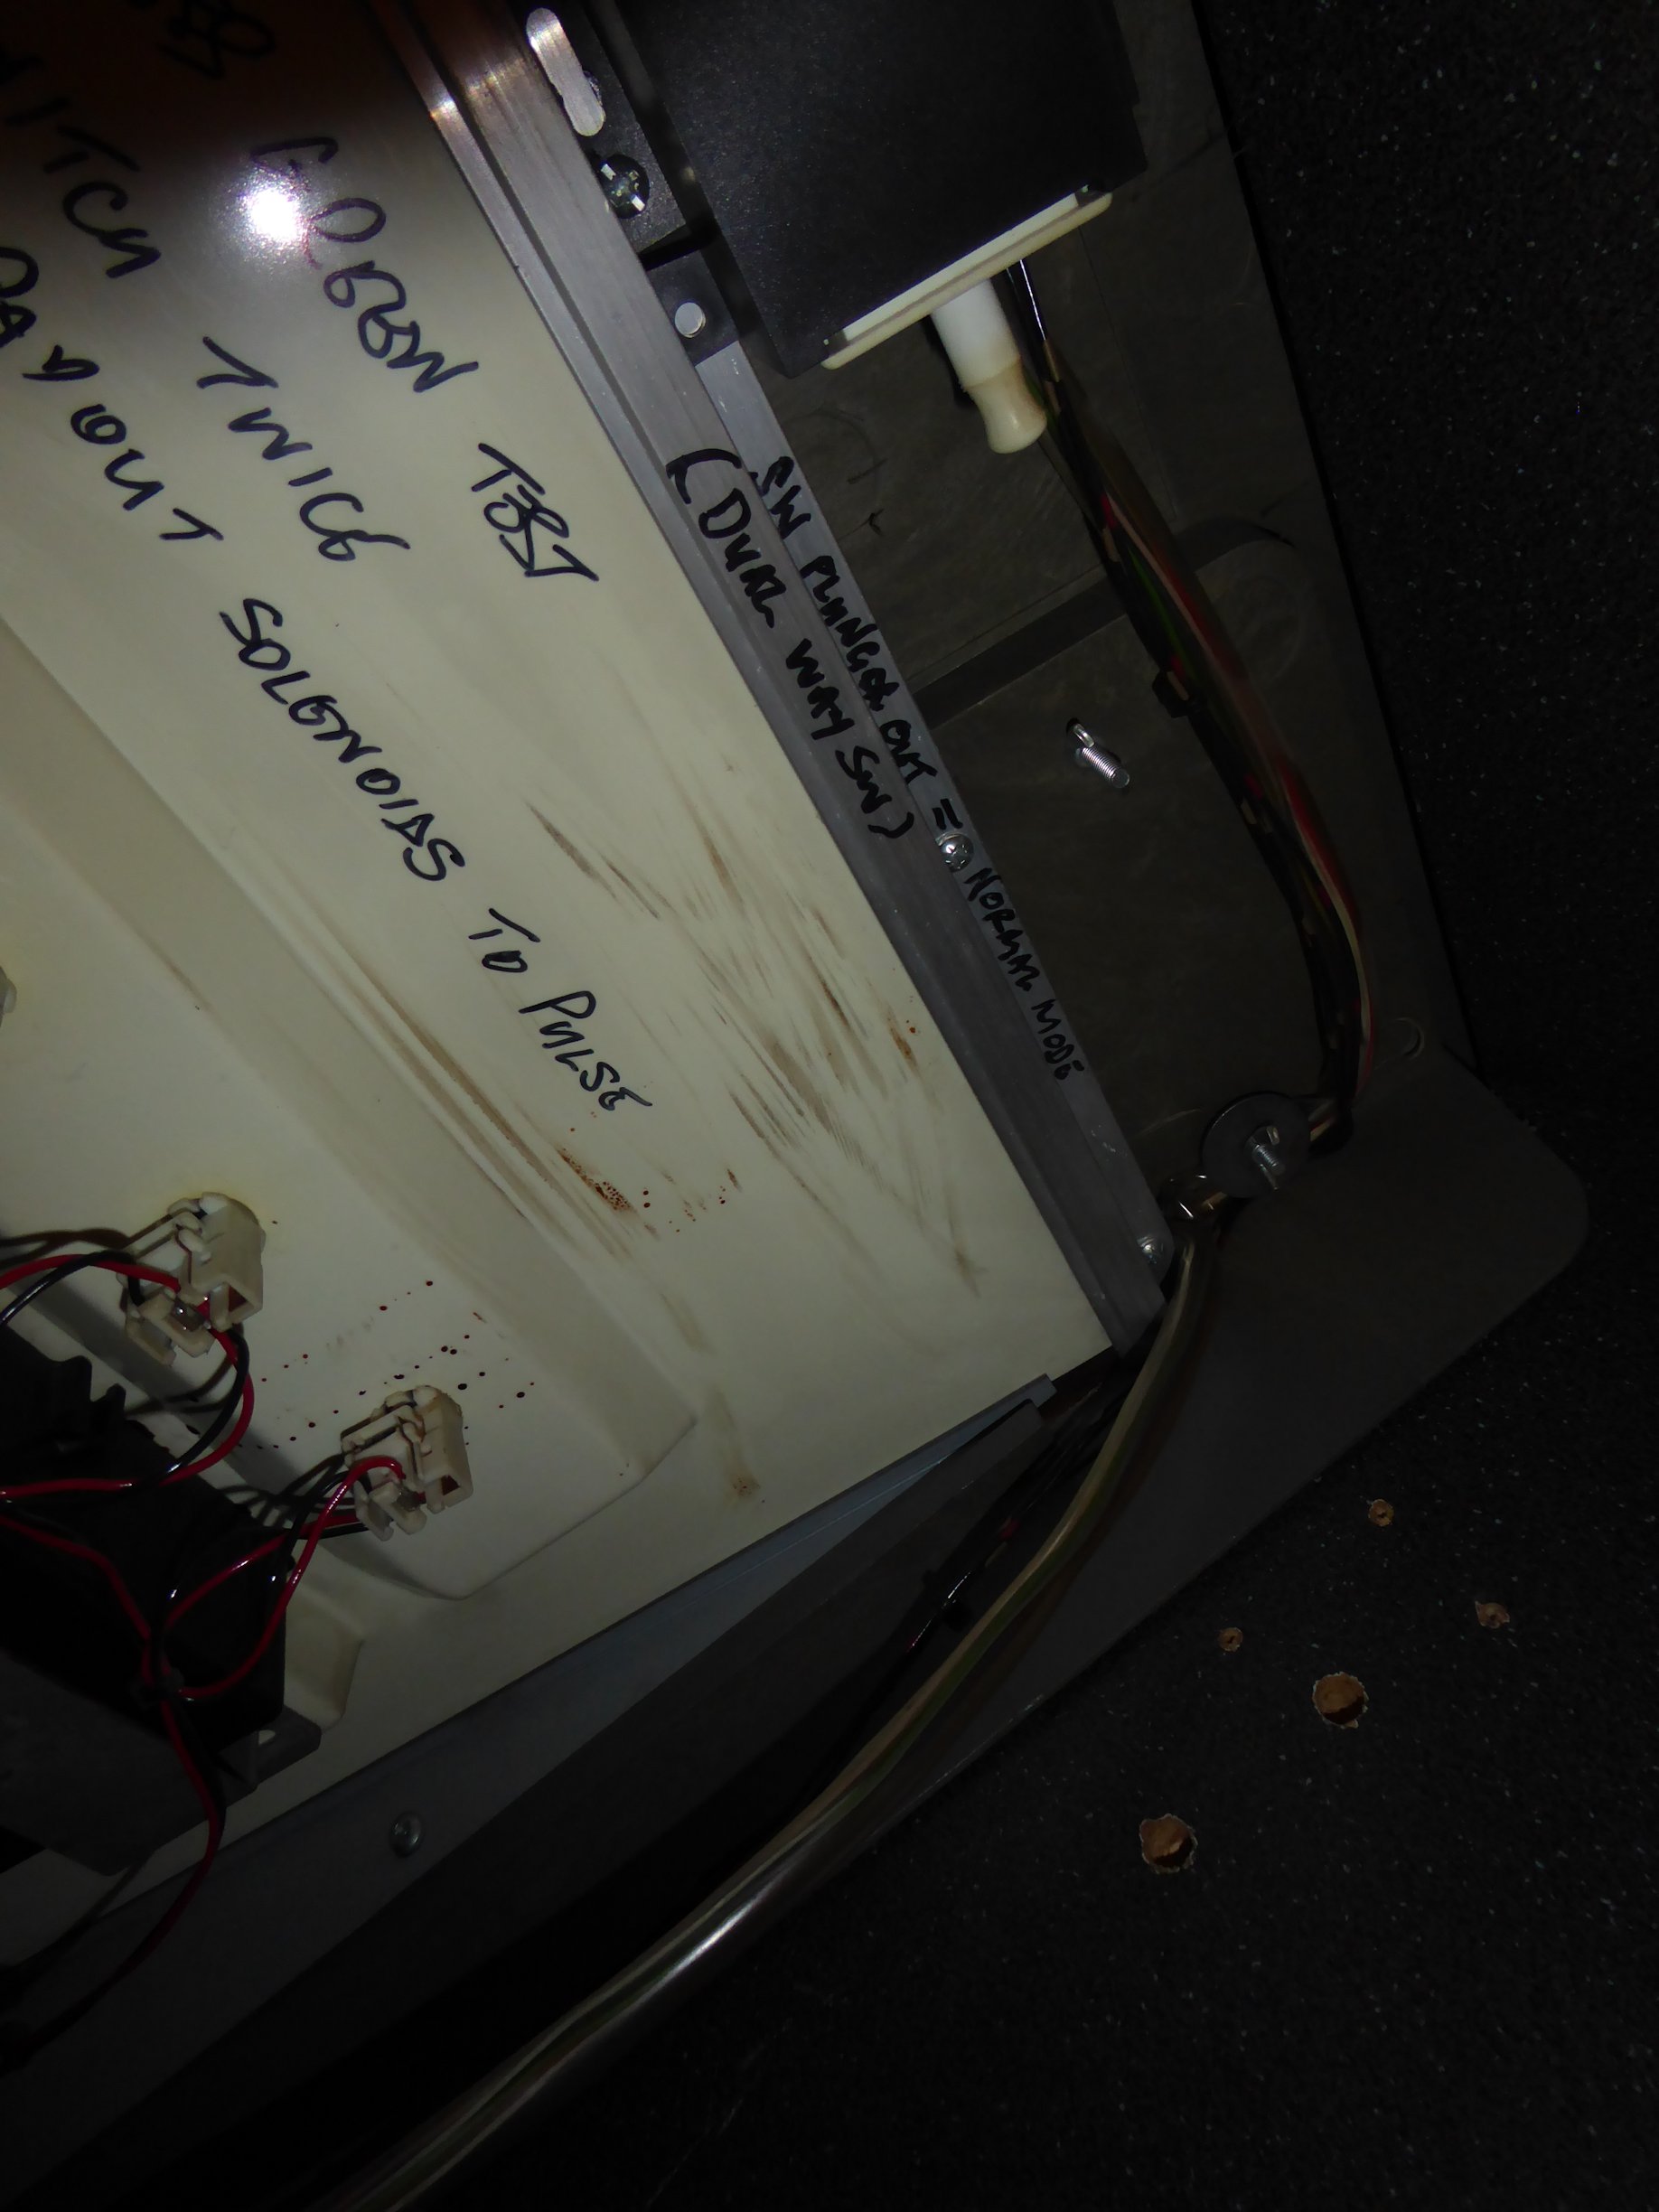
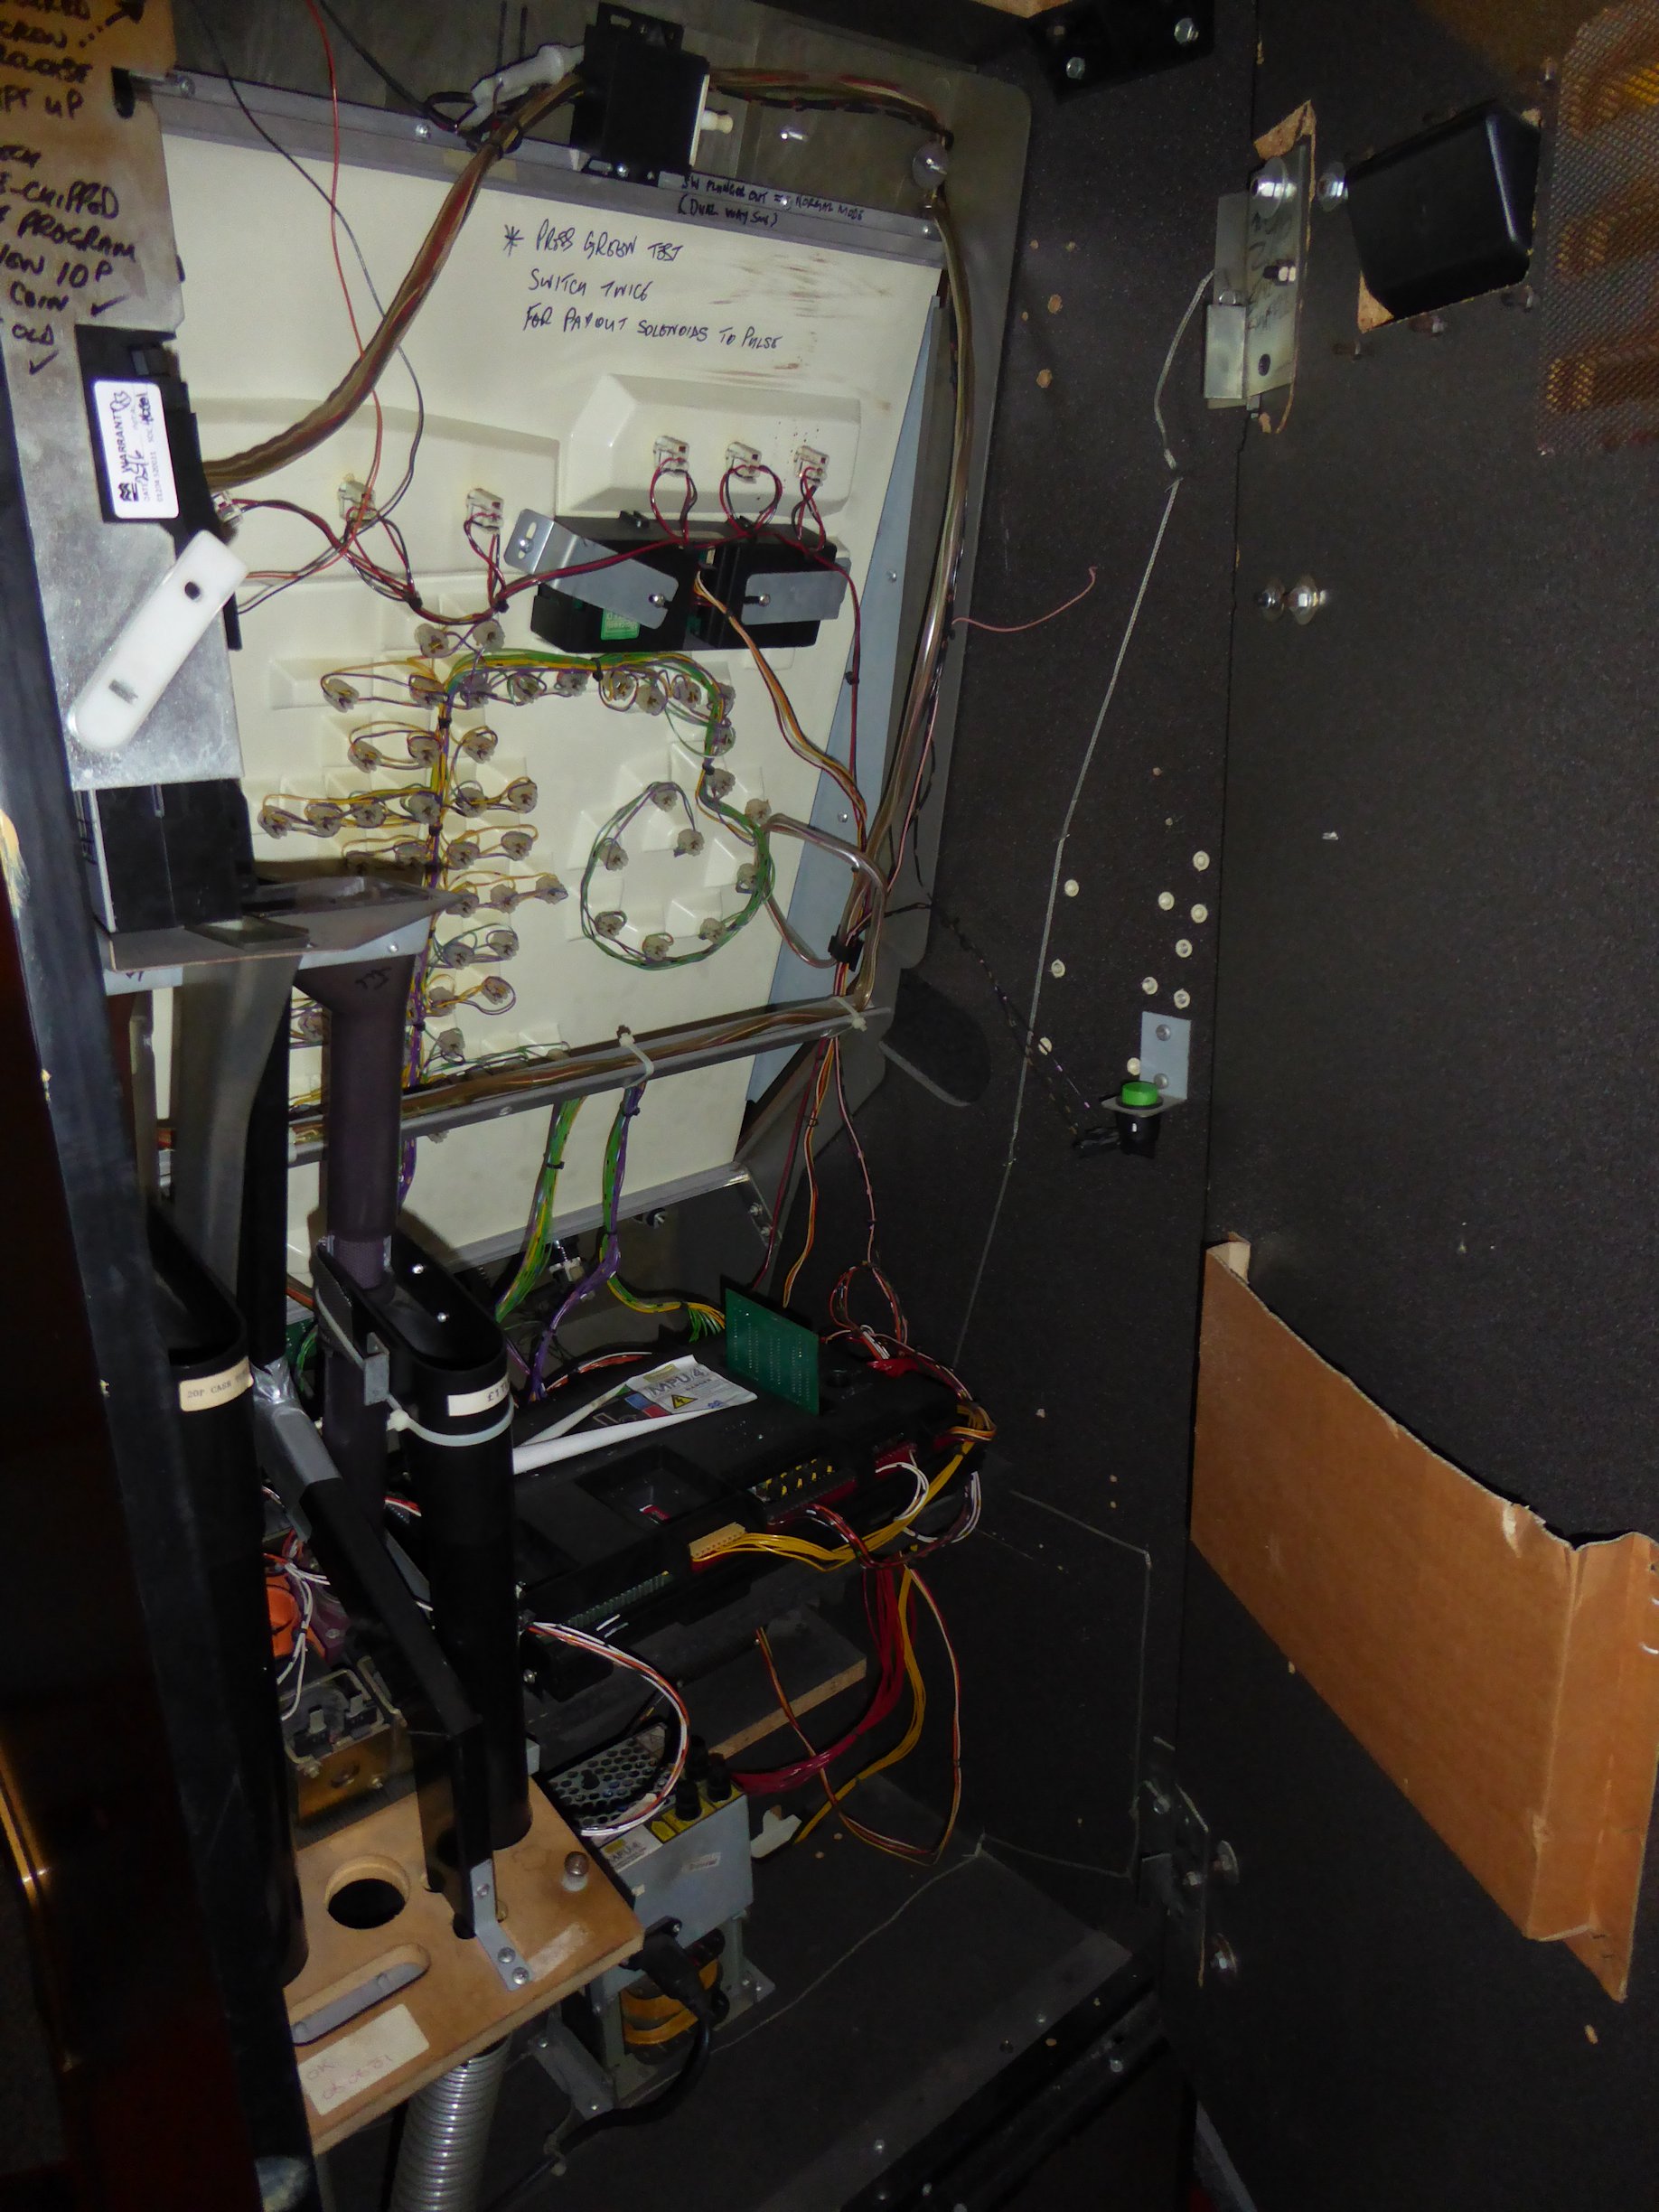
Inside I have an ME126 in place ( will need to update later for new £1 ) with all the routing for the hopper and cash-boxes etc.

There is a great frame in place that will hold the bezel for the monitor and additional buttons. Size is 26' x 23'.
Finally, a generic view of the inside of the cabinet.
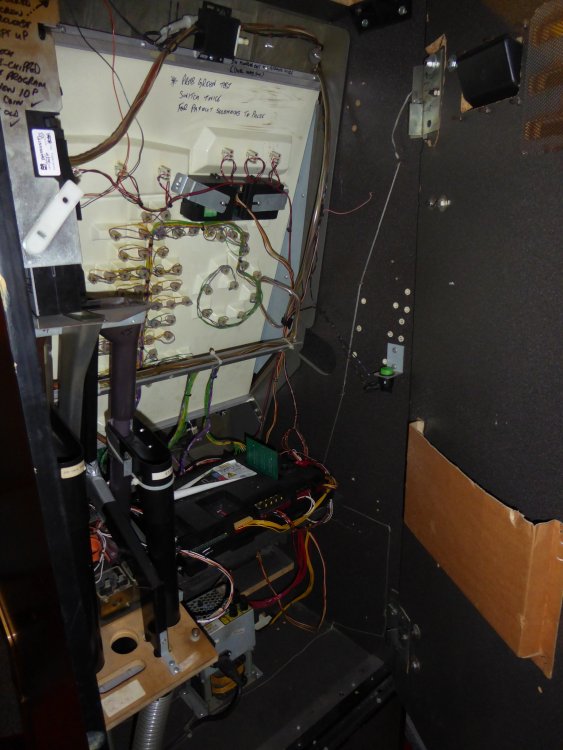
The more eagle eyed of you will spot this is not the right tech for this type of cabinet housing.
-
So I have been thinking about layouts.
This is in my opinion a slight irony, that layouts made in the past ( at least DX ones ) are more suited for cabinets.
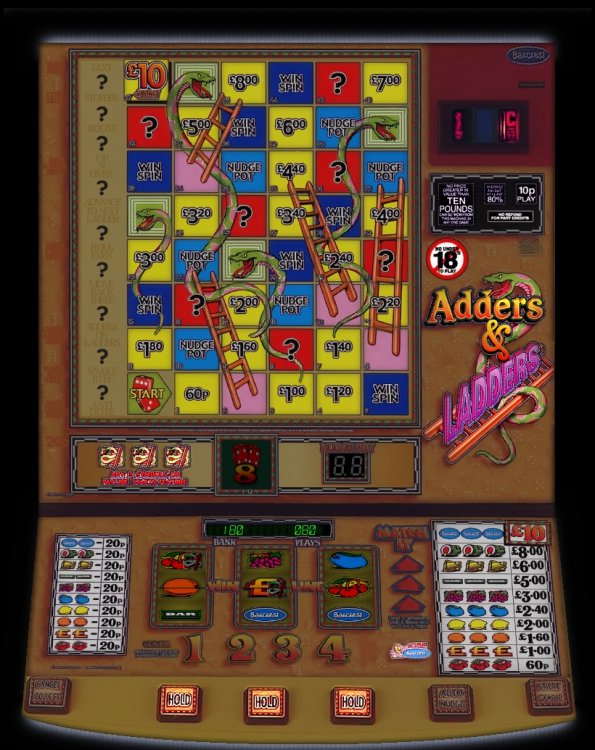
Historically we had a lot of flat screen DX's such as this, this will be perfect...
...no work needed here.
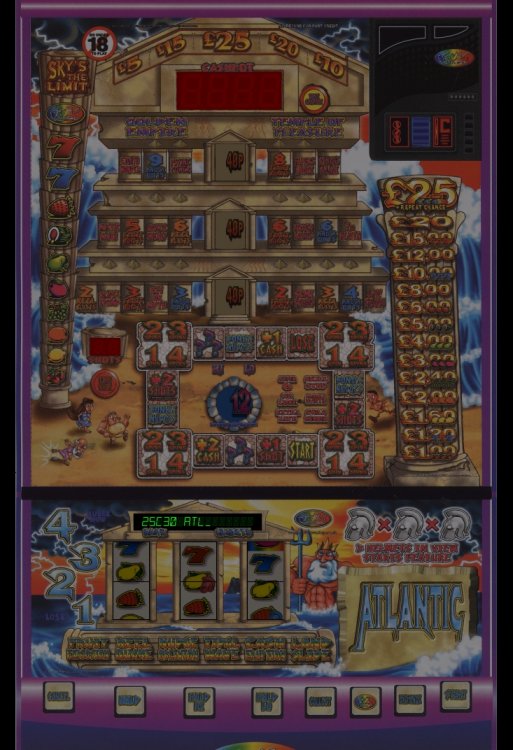
As we evolved we wanted to get more realistic so we ended up with this...

...that looks lovely, but the cabinet within a cabinet ?
Moving forward, I think the solution is a delicate use of a template to modify the original background to make it look more digitial and when you have a black screen you're looking at this might just work a little easier. The proof will be in the pudding so time will tell...
-
1
-
-
Today just like @No1Stoney and @uptown47, I start my journey for the MFME cabinet.
This is really considered day 0 as I start my journey tomorrow. I am going to post the same article at Fruit-Emu so posts from at least myself will mirror both sites.
My woodwork skills are not the beast so for myself, I have been looking at a cabinet to but specifically for this.
This is what I am collecting tomorrow.
Although a little battered, this is actually a JPM based cabinet so it will be an ideal framework for everything else that is going to happen
Currently I am torn between having a touch 30" full screen or a 27" touchscreen in the cabinet.
Pros:
- Touch-screen reduces the need for some buttons.
Cons:
- Not able to put glass on the screen and then slight dirt and markings.
Either way - nothing is set in stone until the cabinet arrives. I am also wondering about Future Pinball tables here with the vertical screen, if the tilt can be set to a good enough depth - this might be able to double up - but that is a generic thought and not a rock solid plan.
-
1
-
 1
1
-
-
Haha!
No problem mate - some of the surprises are worth waiting for...
...though you would like the link !
-

Of all the years I have been around Fruit Machine emulation, there is never a better feeling then to get some roms, dump them and then create a layout off your own back. This was recently done with a fantastic little game from QPS tha we did not have the roms for - that layout will remain a mystery and be released soon.
Recently my new eBay roms arrived, so this time I decided to capture the process.
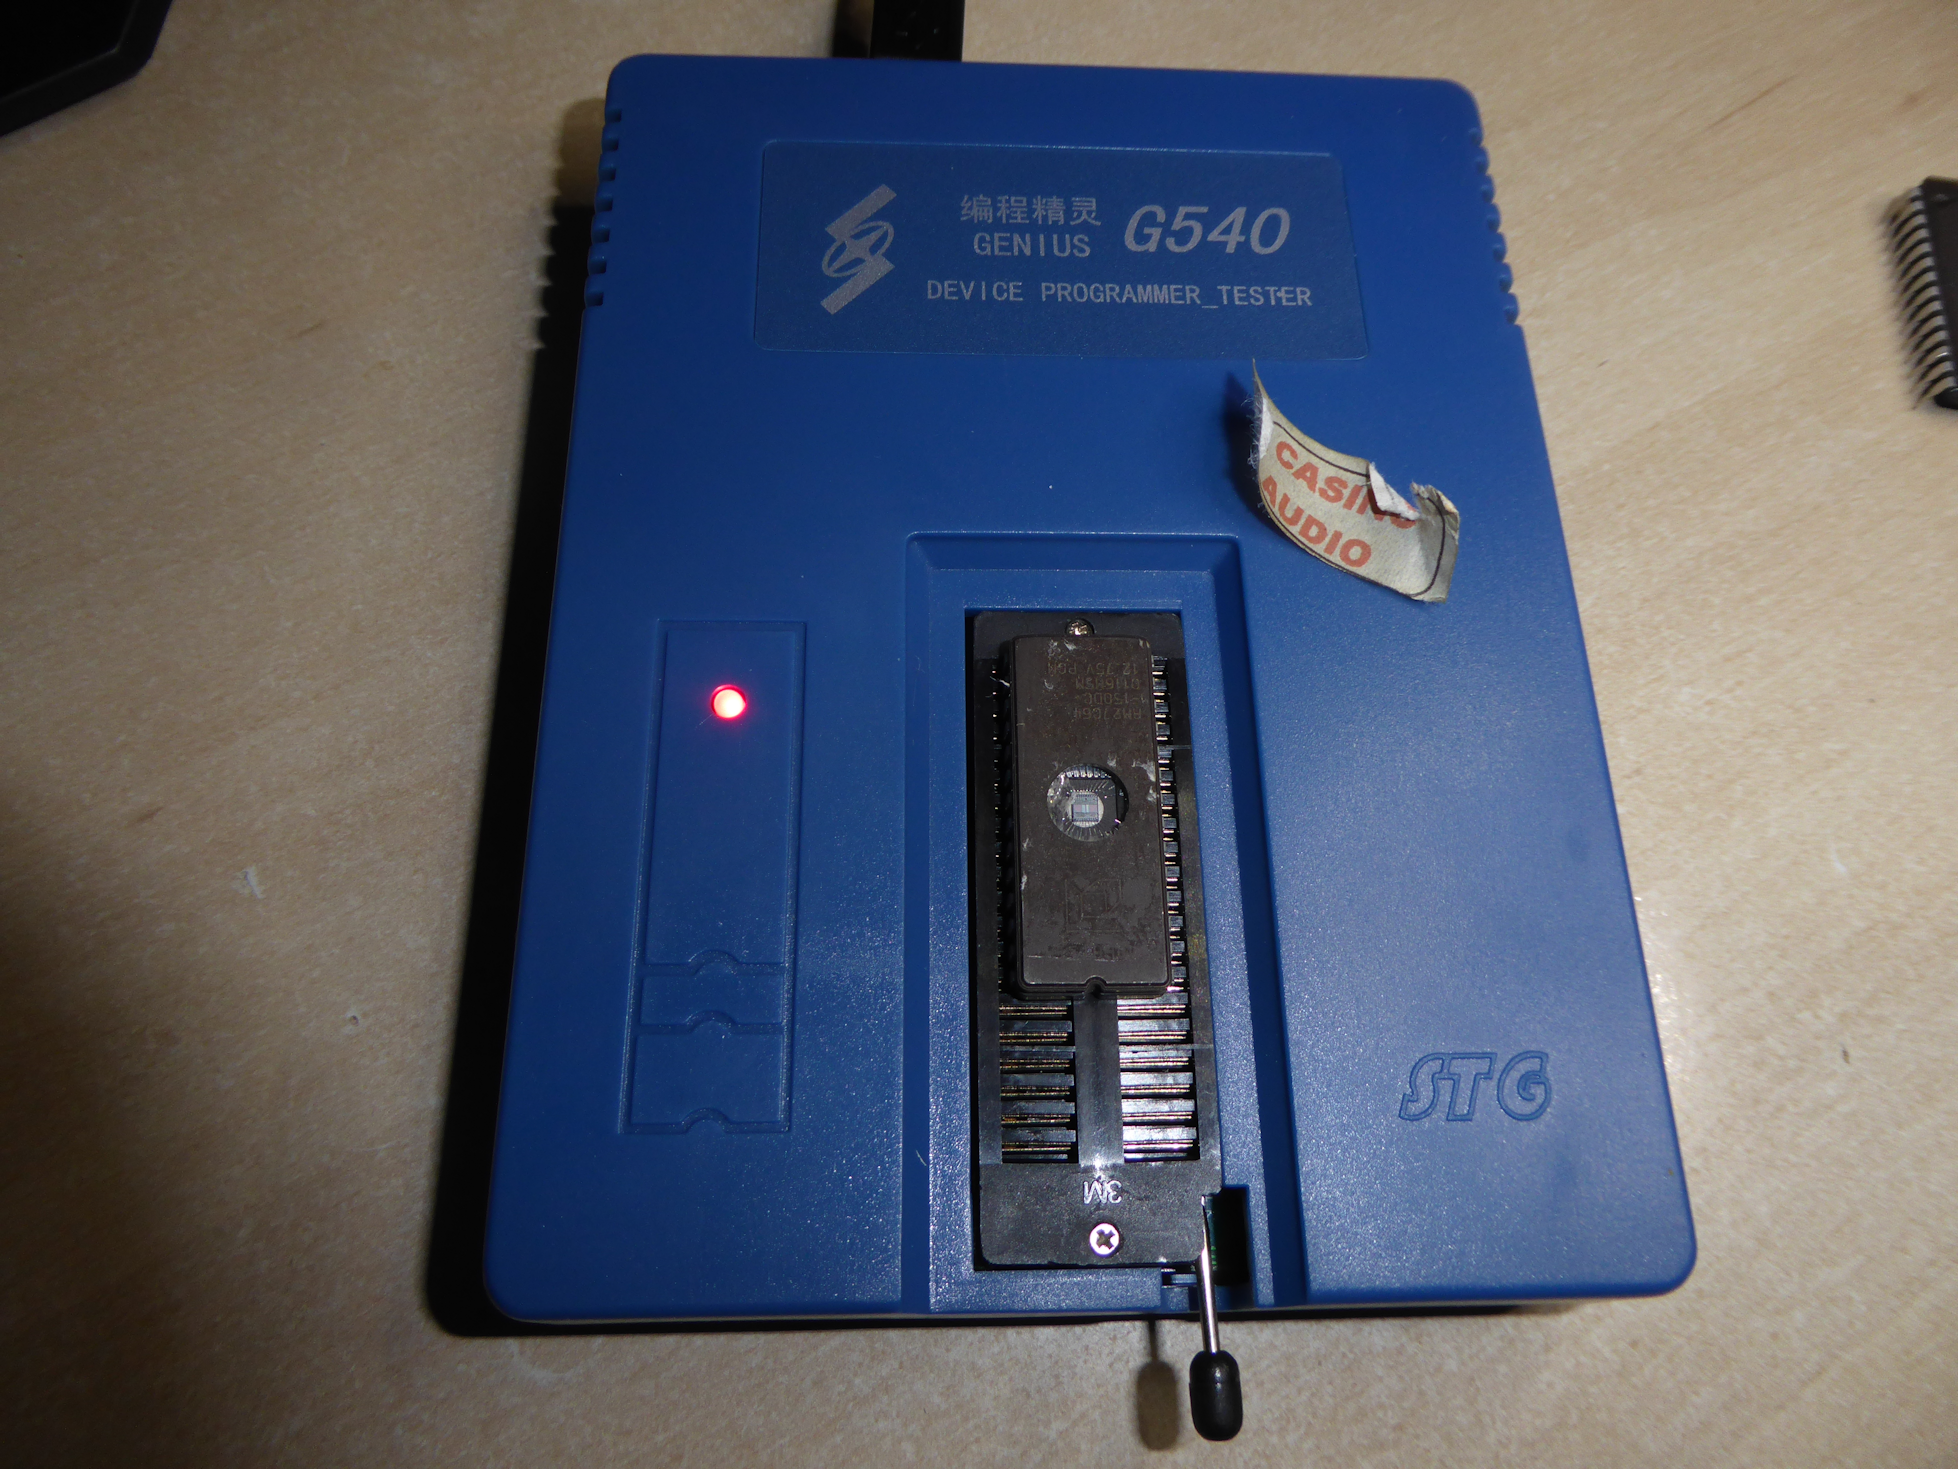
The costs are not too bad thanks to cheap Chinese imports. For this, I brought a G540 rom dumper off eBay. If I recall, I change change from £50.
The dumping process was as follows:
001 - Load the G540 utility for dumping the EPROM. The below splash screen will appear.

002 - When loaded you are presented with the below screen.
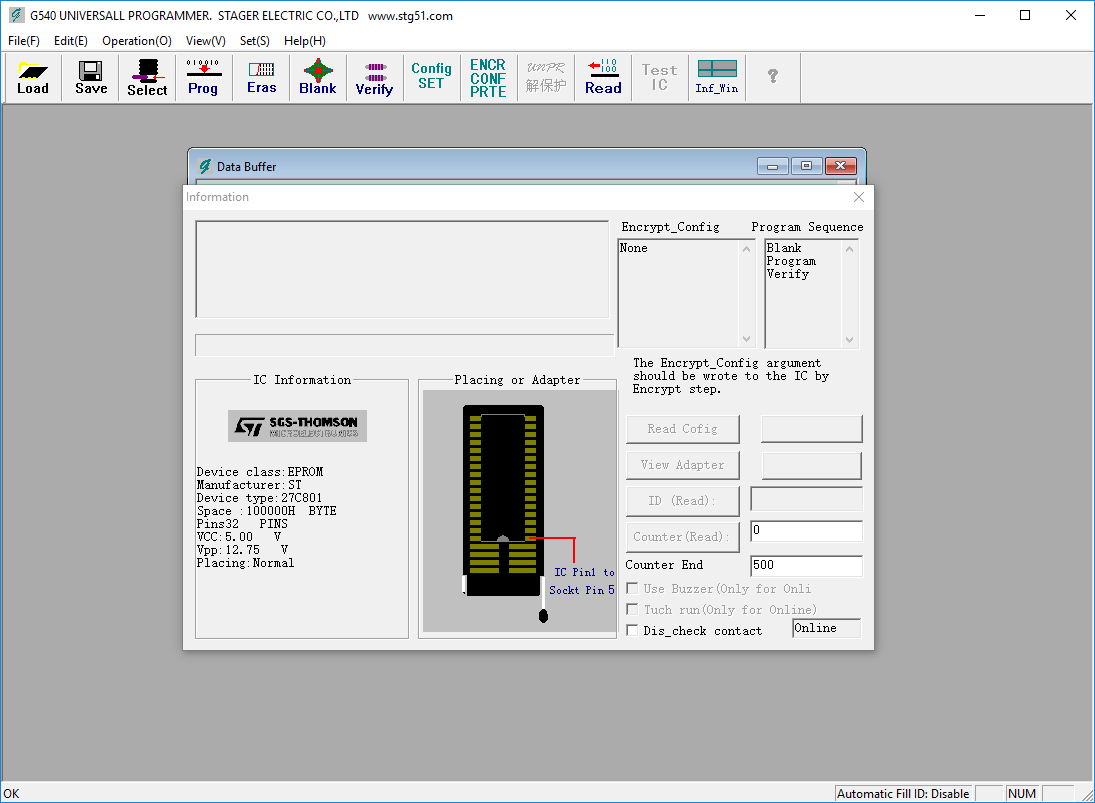
003 - You must first identify what EPROM you wish to dump, below are the original chips from Random Gold.
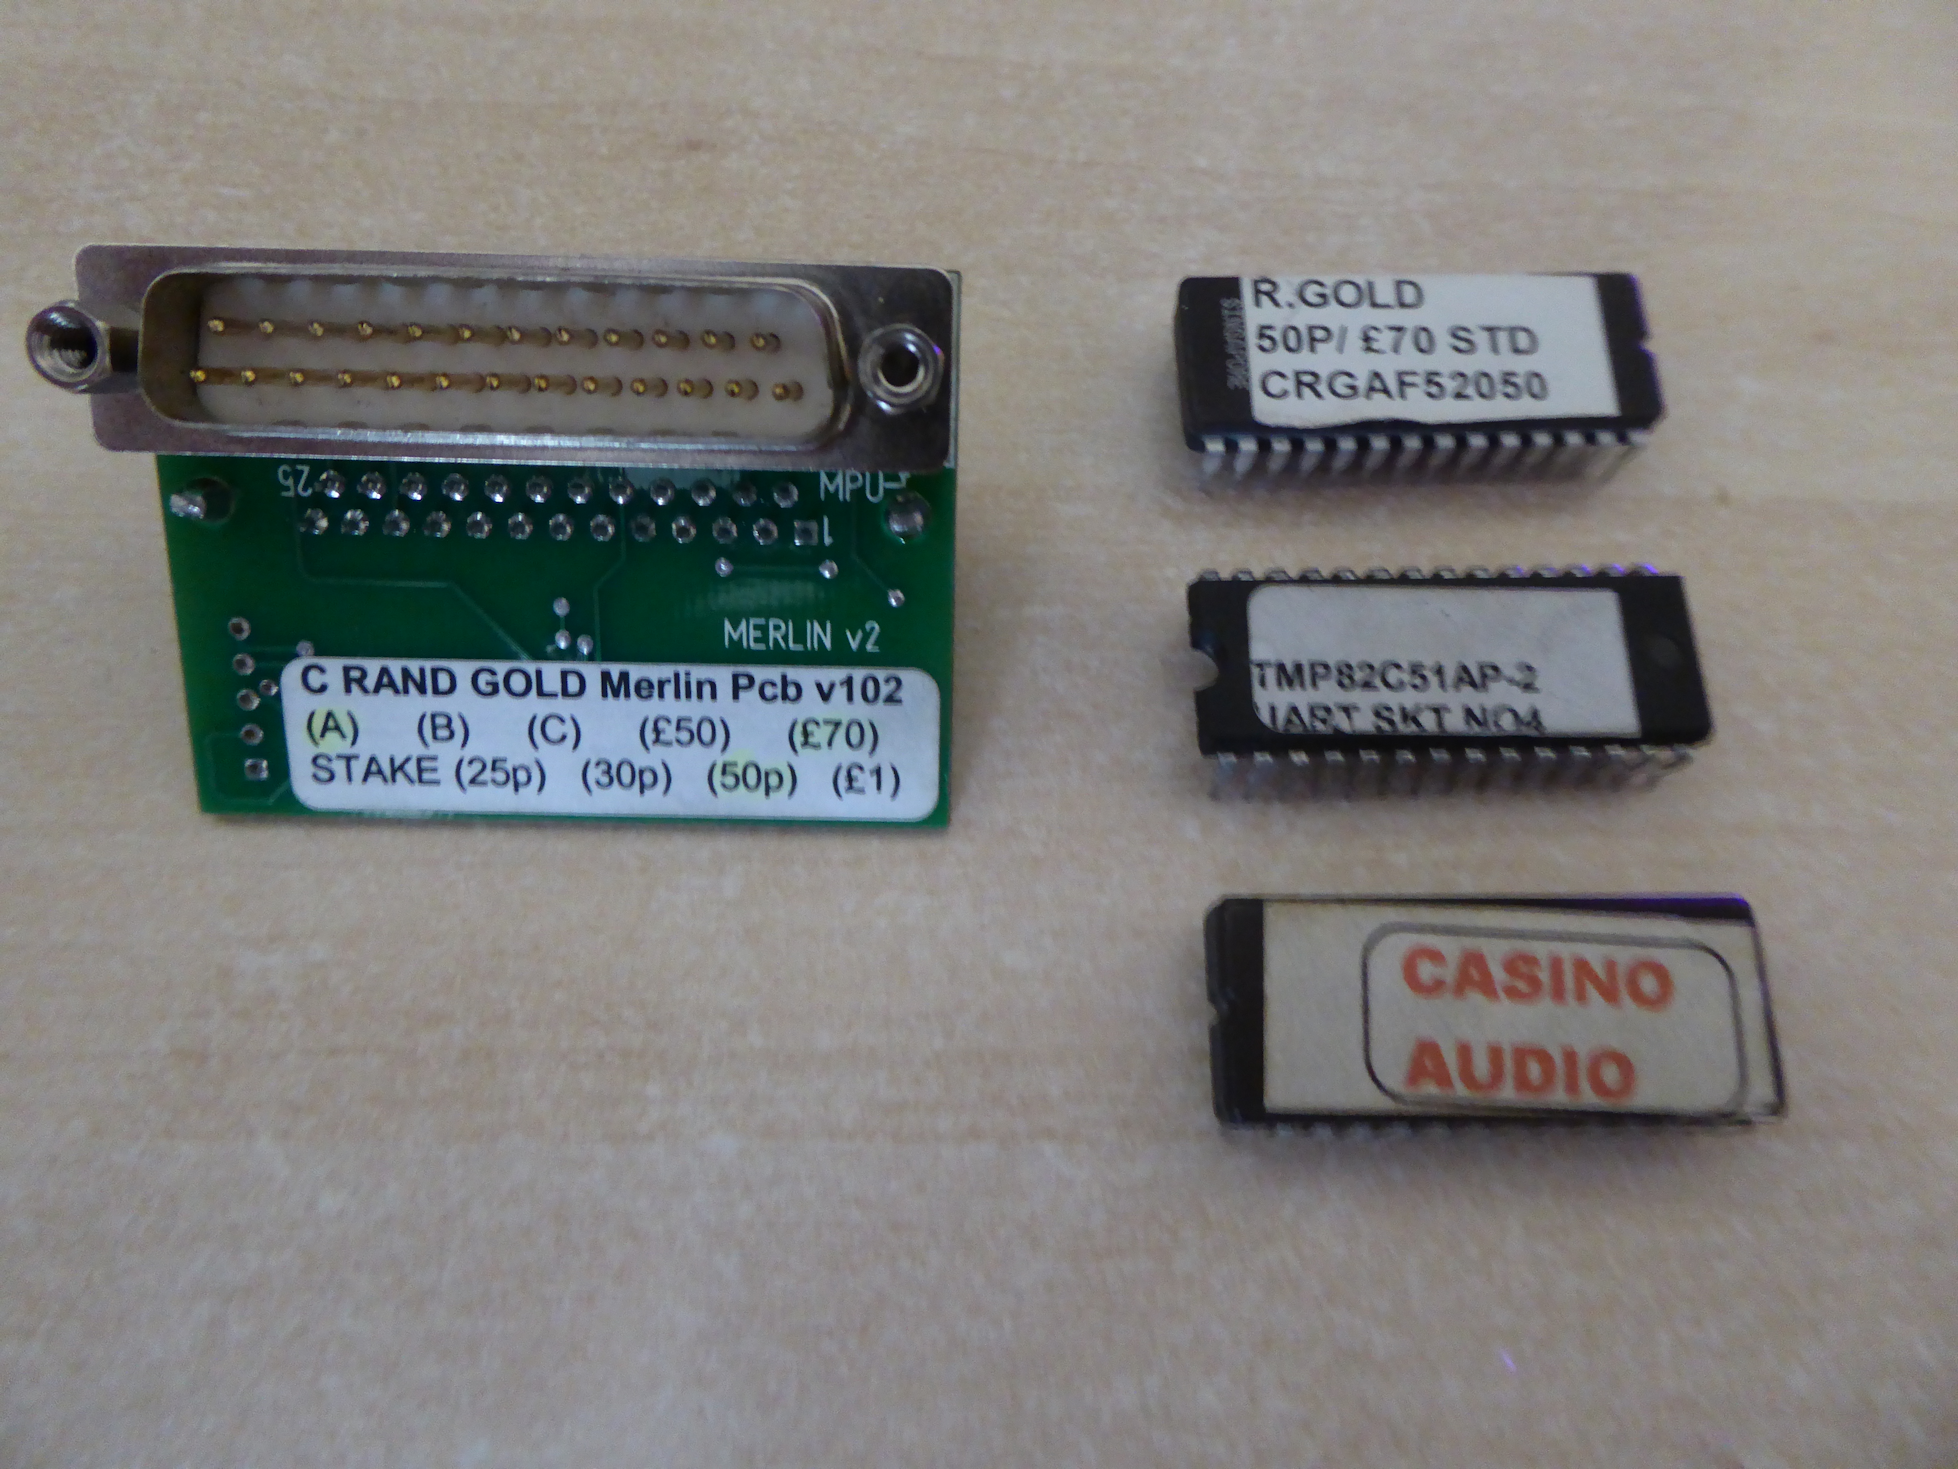
004 - The reader can read all types of chips, but you must do a little work to identify them yourself. Very carefully remove the labels and for this example we are left with the following EPROM information.
R.GOLD 50p / £70 STD CRGAF5250 - M27C256B-15XF1 ( ST )
TMP50C20AP-2 UART SKT NO4 - M5L8251AP-5 ( Mitsubishi Electronics )
CASINO AUDIO - AM27C64 ( AMD )
005 - For each EPROM you need to do the following steps.
-
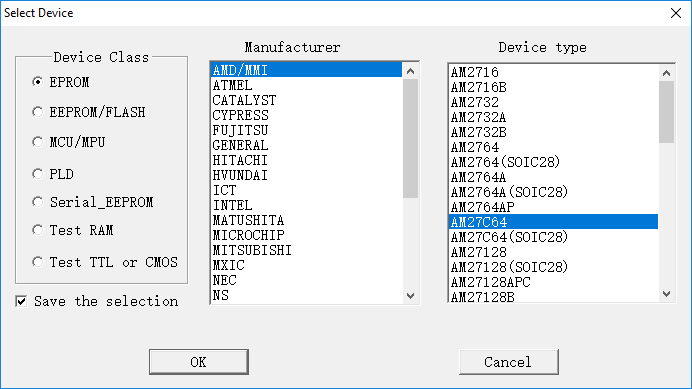
Choose SELECT icon from the menu bar and pick the right manafacture and chip set.
-
Place the EPROM into the device as shown by the GUI.
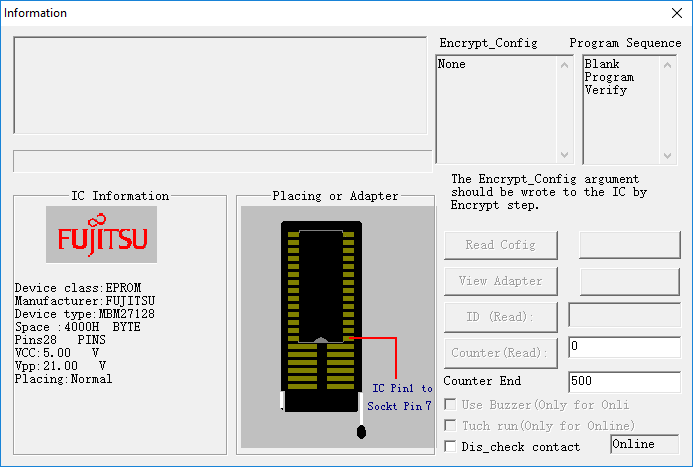
-
Choose READ icon from the menu bar. The display with either disapear or sometimes it shows you what it read.
-
Click SAVE and select BIN and choose a relevant filename.
-
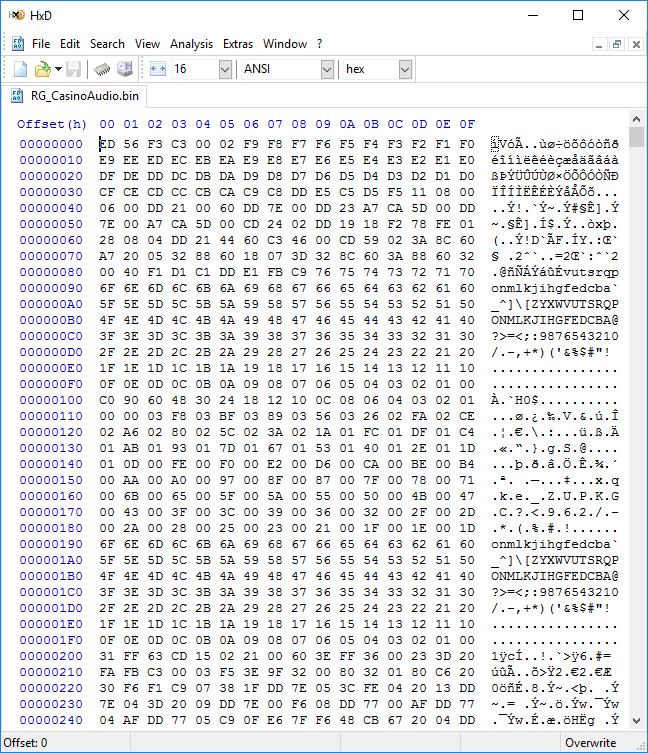
If you have HxD you can view the saved file as per below.
- Repeat for all EPROMS.
006 - Note that the CASINO AUDIO eprom was easy to identify but with the others a little more work sometimes needs to happen. You must get the exact chip.
This bit may take a little work as there are a "lot" to choose from. If you need help, best to ask on the forums what is the best one to use there are plenty of people who have knowledge and can help you.
Datra sheets are available for all chips on the internet, attached are the three below that were easily found as an example.-
7
-
Choose SELECT icon from the menu bar and pick the right manafacture and chip set.


Not Seen in Over 10 Years...
in Emulator Chat
Posted
For some of you that maybe FME legends and heroes, you may remember these.
These have not been seen in over ten years...
Welcome back, awesome avatars...