


Amusements
-
Posts
1,842 -
Joined
-
Last visited
-
Days Won
18
Content Type
Profiles
Forums
Gallery
Downloads
Articles
Posts posted by Amusements
-
-
Not something I have seen anybody mention. I see you can now get Windows 10 running on a PI 3/4, but I don't know if it would be powerful enough to run some of the layouts? But maybe in the future?
Here is a spec image from (https://www.windowslatest.com/2020/07/24/install-windows-10-on-raspberry-pi/)

-
 1
1
-
-
Just edit the button shortcuts. There are 2 spaces for each button by default in edit mode.
I use number pad shortcuts on all my layouts.
-
Your project is really coming along nicely. You cant beat doing it yourself! In the end, you get all the satisfaction of a working project:)
I noticed you are using 15 illuminated buttons, so I assume you are only going to add one hopper (Unless you are using 2 PacDrives (16 outputs each))
Just in case you had not thought of it already?......I would recommend adding a few hidden buttons (non illuminated) (esc) (F3) (F6) as I have found these invaluable on my set up.
-
 1
1
-
 1
1
-
-
Hi guys + odd Gal
Just in case you missed it? Steam is having a big ass sale.
I just grabbed TR1-7 and some other TR titles for under a fiver (For all of them) -
Well done! A nice tidy job with a small footprint:)
I noticed on FE you said 110 hours to print....How much filament did it take?
BTW....For Christmas you could always make your dad a tower that fits next to it. Put a coin Mech up the top, a hopper inside, and a pay out tray at the bottom. You would only need to add power and a few relays, then connect to the cabinet with a LAN cable. Maybe make another one for the other side, next birthday.
-
1
-
-
-
15 minutes ago, cja272 said:
Will do!
 Just realised the bulbs in the switches are 12V will i need another power source for this please ?
Thanks,
Craig.
If they are LED bulbs, you should get away with 5v, but if not, then you will need an additional 12v supply. https://www.ultimarc.com/output/led-and-output-controllers/pac-drive/
-
2
-
-
I agree with AE: A good HD screen in portrait mode is not far off original machine size. Maybe 42" if possible, and resize layouts as you go along (Add height to the bottom of the screen)
-
1
-
-
1 hour ago, justme2019 said:
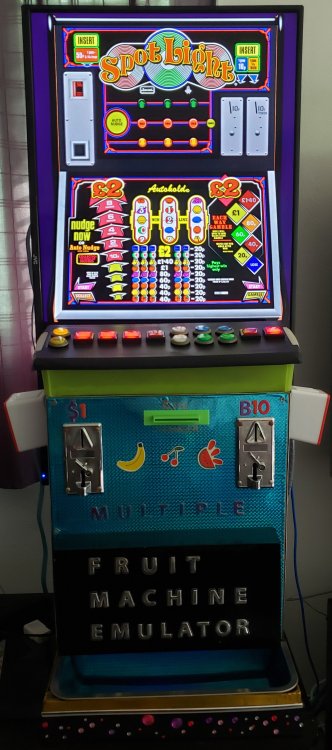
Can I see your set up please mate?
Sure.
 2
2
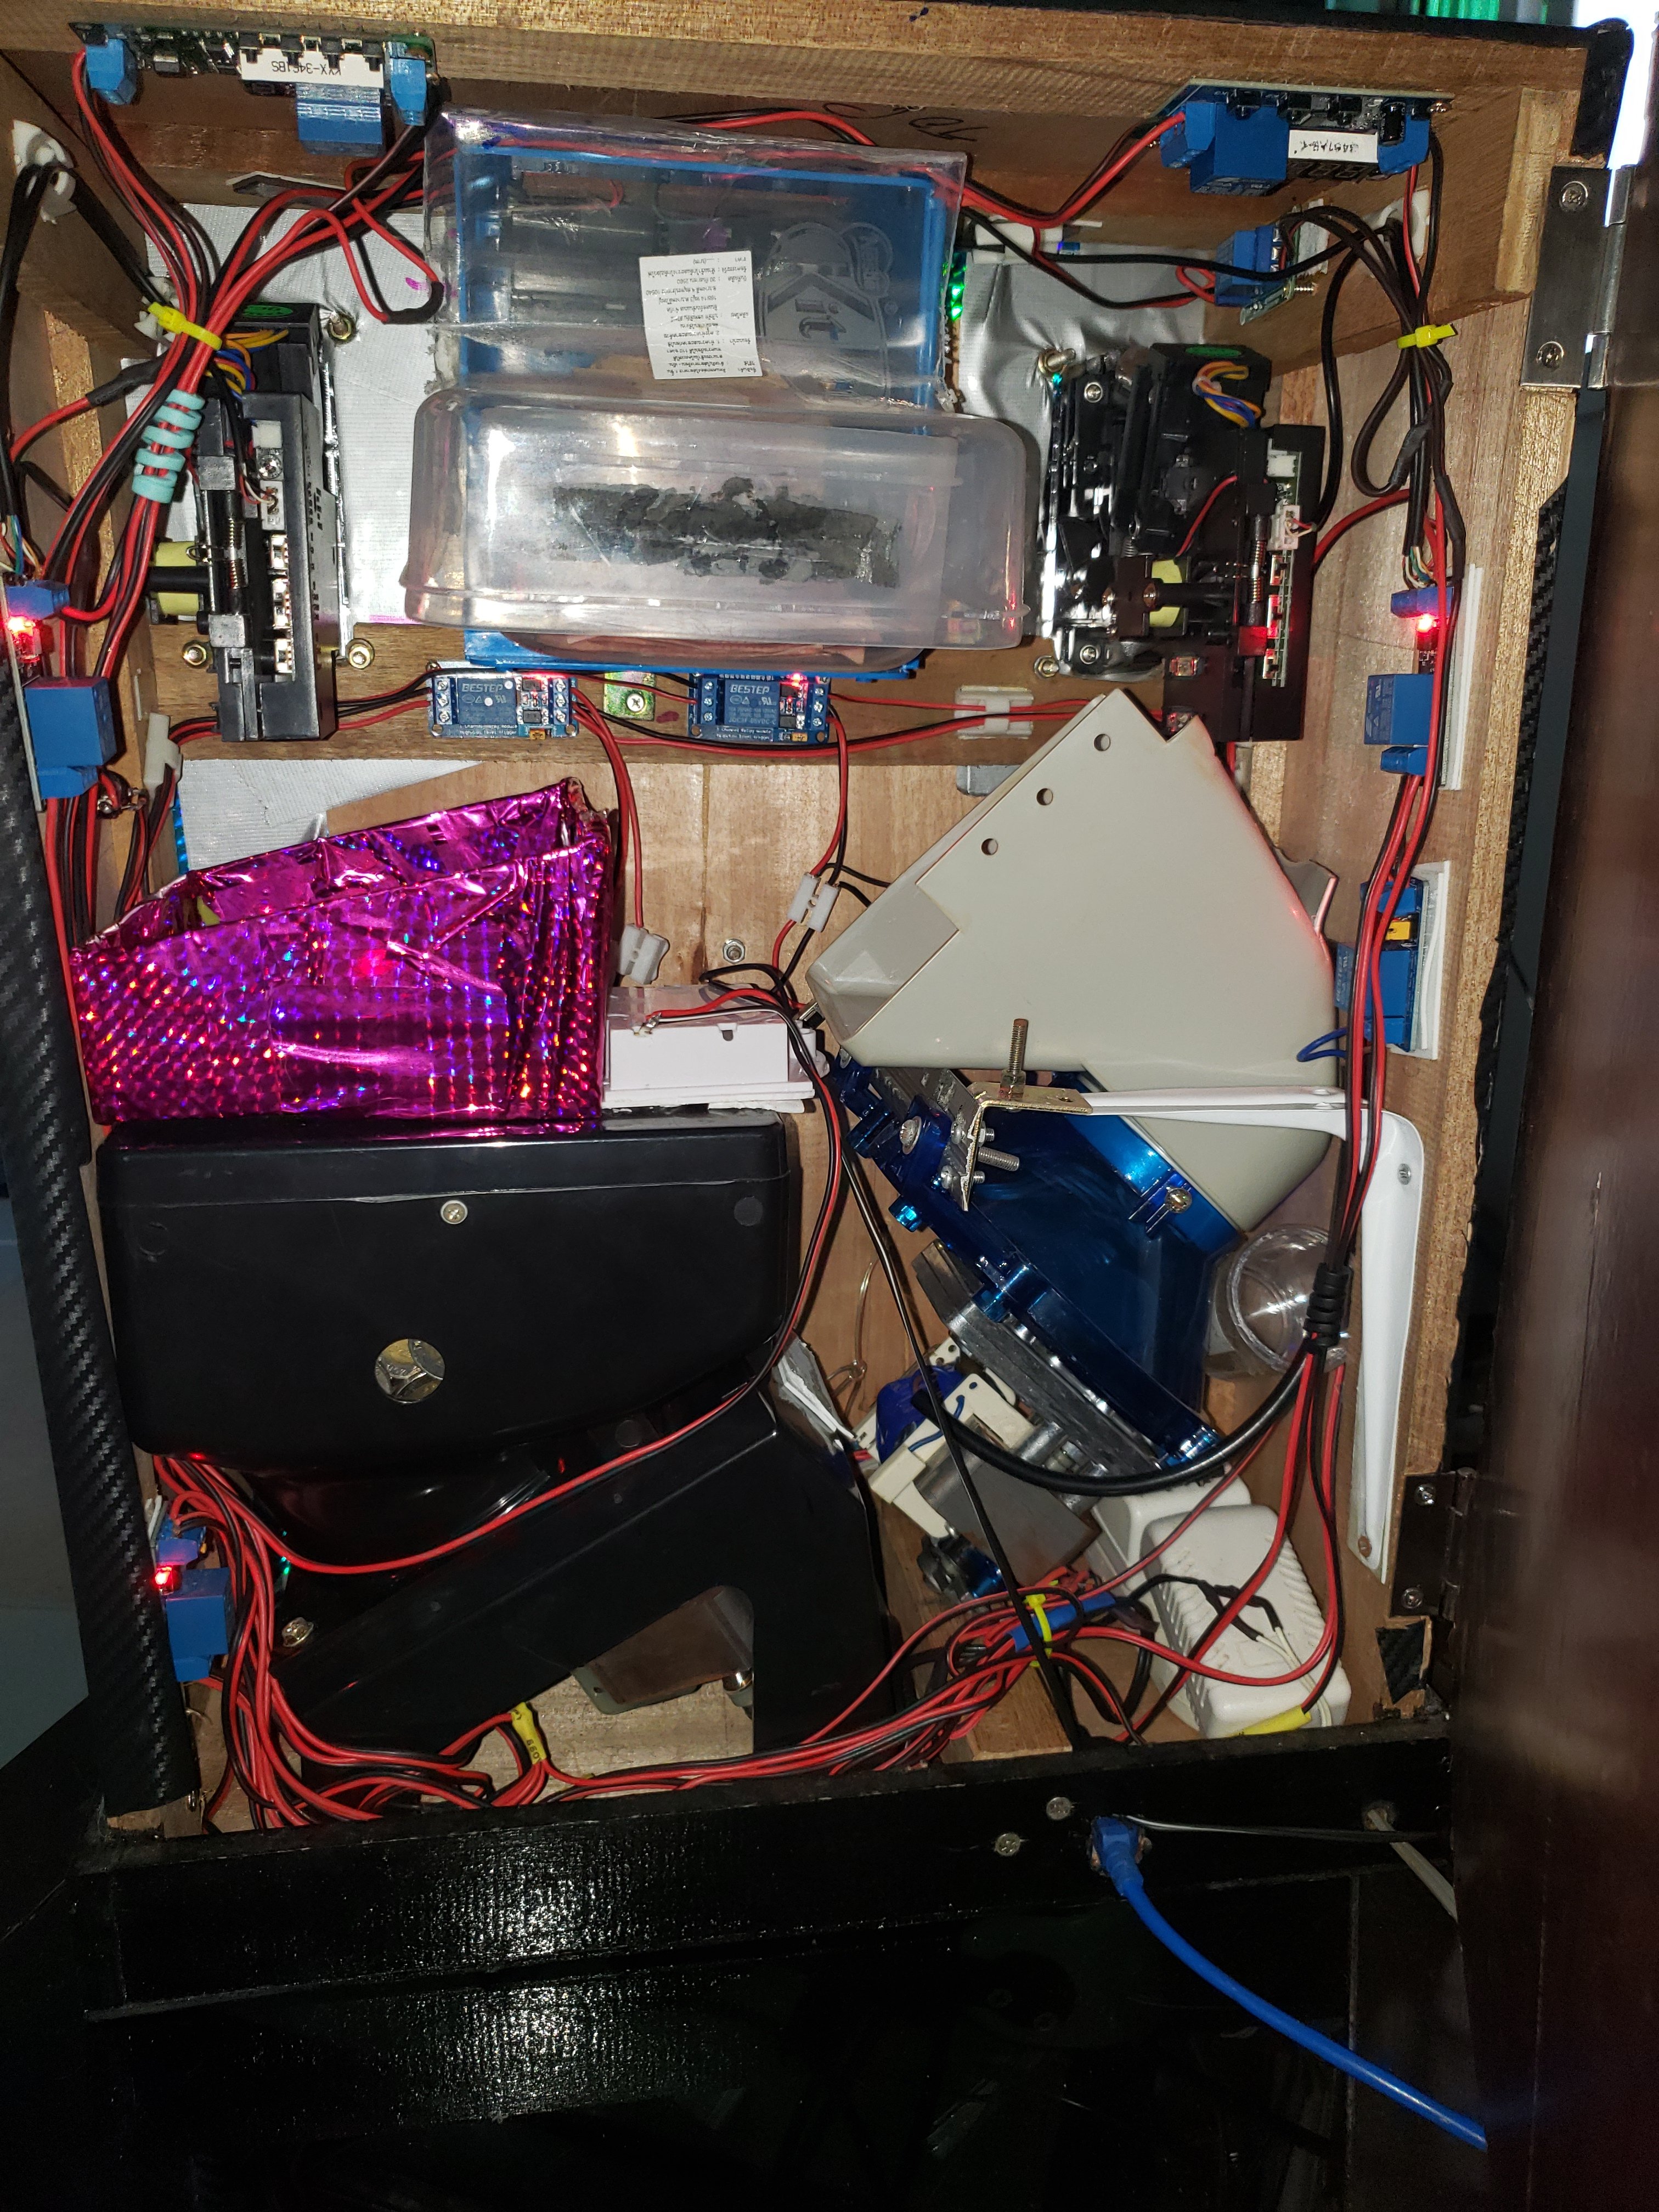
2 USB cables go from the PC to the Button box, which houses the IPac and PacDrive, and a LAN cable goes into the back of the box below with the hoppers, mech and note acceptor (Hacked toy money box).

The speakers plugged in to the monitor add a bit of vibration to the whole thing when played in its static position.
-
3
-
2
-
1
-
-
Nice set up Craig:)
I have a similar monitor set up on a wall mounted arm, and put my button box on top of a separate box with hoppers and mechs in it. Everything is easily moved around, and takes up very little space.
4 hours ago, justme2019 said:Not really much point of a hopper is there, isn't that a bit overkill.
It does add a lot more realism, and makes a nice money box. It is nice to have a handful of coins and play to win something tangible. I have 1500 MFME layouts that work great with my set up, including the Electro Mechanical slots and quiz games. Unfortunately I can not go and play a real machine, so this is the next best thing.
-
1
-
-
Definitely an interesting project, and something I initially thought about trying myself, but I went down the wood route instead.
Good luck with it. It will be interesting to know how much filament you use, print times, and on what printer:)
-
2
-
-
1 hour ago, saunders22 said:
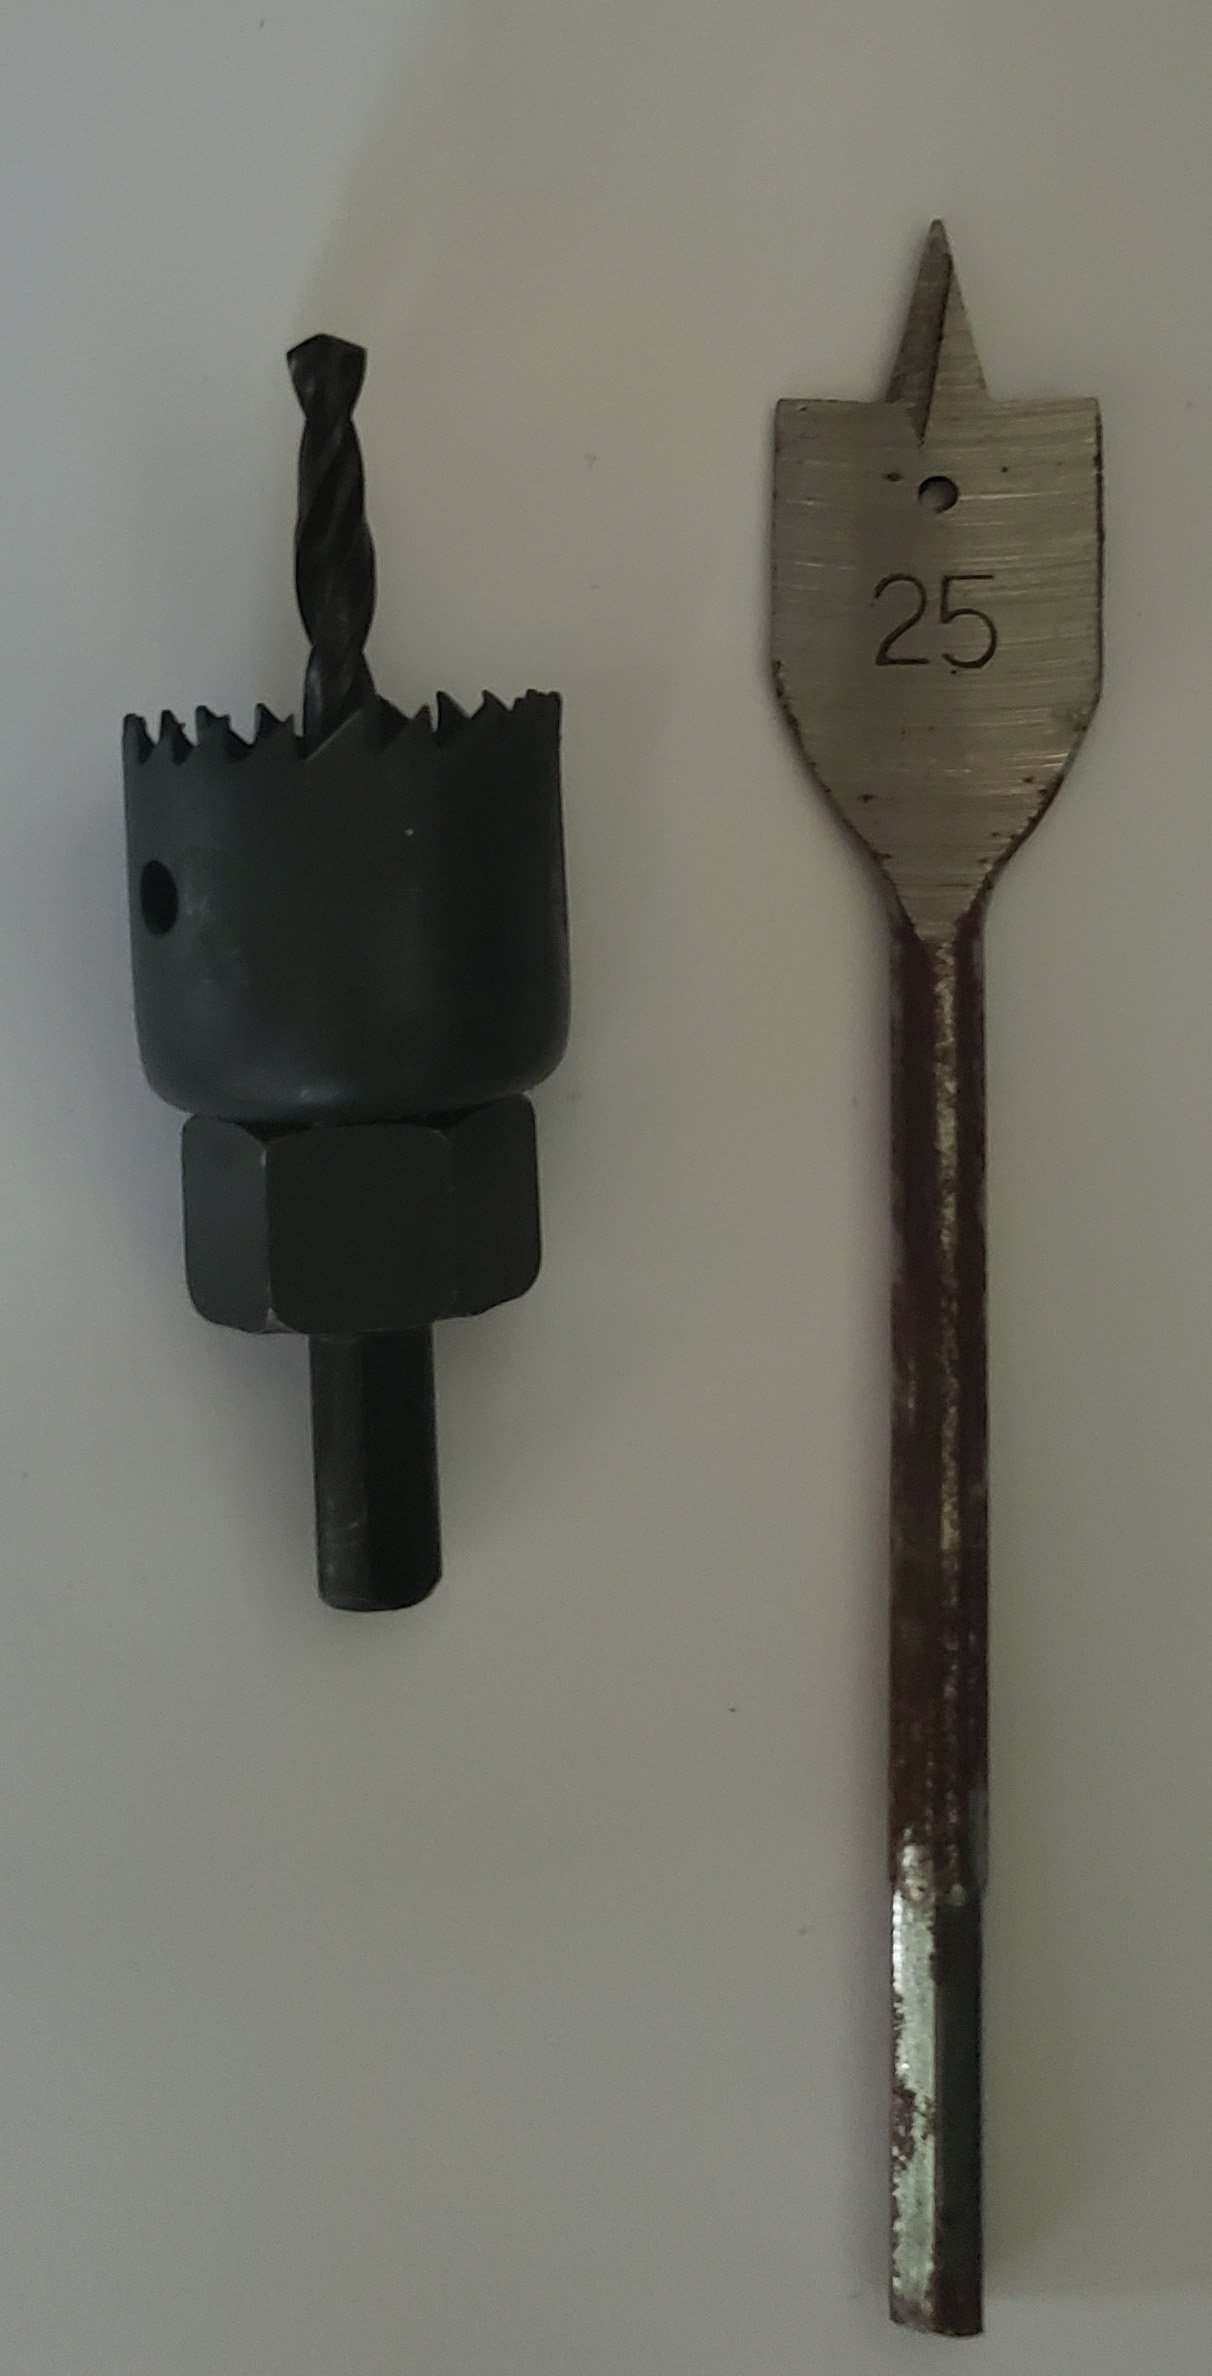
But I messed up with my buttons panel. Woods too thick for the threads to catch. So I'm looking for another solution for that.
You can always drill a hole from underneath, going part way through the thick wood, and make the bottom part of the hole big enough for the plastic nut to tighten the button.

-
2
-
-
57 minutes ago, stevedude2 said:
Some of those games mentioned in the OP sound like they might be Dutch and unemulated, which might make finding them tricky...
Yes Turbo Reel, Club 2000 and Mistral do not sound familiar.
Andy Capp and Cash Buster are in the legacy downloads under Barcrest and JPM. Not sure where Reel Cash is, but it must be here somewhere because Reg released it!
-
59 minutes ago, Tonymce said:
horrible being a noob at my age lol!
I know how you feel. I did my first layout at age 53!
-
1
-
-
For me..I always make 3 versions of all the layouts I download.
One "as it comes/as released" with all the buttons/LED's/hoppers set up for my cabinet (That becomes my main back up).I then reset the RAM , refill, and adjust volume, and make that the version I personally play. A copy of that is saved for next year when I reset my stats.
That way, I get a fuller experience of what was originally intended.
-
The Nudge Shuffle Personality Pack is Copyright 1981. There was no date on the glass as far as I know.
-
This happens to me a lot, because I always reset the RAM on the layouts in my play list, so I can see my own stats.
I am also interested to know the right way to solve this, as I always have to try all the tick boxes, open/shut back door, reset ect (Trial and error) to get the these type of games to initialize after a RAM reset.
For example. For me to get this particular game to work, I did the following.
Put in Edit Mode and open Game Configuration
Unticked everything. (Coin Mech) (Note Acc) (Hopper1) (Hopper 2) <- not needed I think.
Ticked S Door (Top of MFME).
Ticked all DES boxes (In Game Config).
Unticked S Door
Re-ticked S Door
Ticked all the Trusted Boxes (underneath DES).
Unticked S Door and the game initialized.For volume and hopper fill, I Re-ticked S Door and waited for it to initialize, then ticked Refill and then clicked Top Up to fill the hopper. I then pressed the CHANGE STAKE button until the display said VOLUME CONTROL and pressed START. This lets you adjust the Volume.
Unticked Refill and S Door, come out of Edit Mode and everything was perfect.
-
1
-
-
A lot of the common buttons are the same, like the hold, start, cancel and collect. However you can program each button to what ever key press you like. There are 2 short cut boxes on each button. Or you could even duplicate the button to add even more short cuts. You can also use the same key press for different game buttons, so long as they are not active at the same time. IE: an exchange button can also be used as a feature button.
-
1
-
-
3 hours ago, Ruffmeister said:
Wow thanks dude. Do you have any instructions for the beginner if how this was achieved at all? And a parts list so I can see if I could do the same?
Not as such, other than a couple of wiring diagrams I made for my own reference. I think the best thing to do is read all the threads on cabinets if you haven't already. Then decide what route to take, and then ask for help along the way. There will always be someone who can answer your questions.
-
My first prototype (Cardboard box) had a 3D printed slot, and a micro switch - wired in to an external numerical keypad.
V2 was a $5 Dollar (12v) mech from china that triggered a $2 (5v/12v) relay - wired in to an external numerical keypad.
I also wired my buttons in to the keypad as well.V3 with a hopper, mech and LED buttons, used an IPac and Pacdrive with relays, instead of the numerical keyboard.
V4 (Wooden box) has 2 hoppers, 2 mechs, LED buttons, an IPac and a Pacdrive , and has worked perfectly for over a year now.
Recently I added a 3D printed note slot, which sucks in a note and gives change (controlled by timer relays).-
1
-
-
Random winner and club Random Winner have a crazy fruits feature. Both in the download section somewhere.
But you probably mean this one
-
@vectra666 You complete div!
BTW. If you have a G27 logitech steering wheel, there is a ScriptHookV and a gears.asi mod for this at https://www.gta5-mods.com/ which works wonderfully, especially if you have a massive 4K screen, and there is also a free VR mod https://github.com/LukeRoss00/gta5-real-mod. Just make sure you disable any mods if you are going to play online. I always have 2 separate copies of GTA, one for offline (story mode) and the other for online with no mods.
-
1
-
-
Hi Guys
For anybody who has not already got GTA V. Epic Games are giving it away for free until 10PM on May 21st 2020.
https://www.epicgames.com/store/en-US/free-games
This is totally legit , and is mentioned on the Steam News site https://store.steampowered.com/news/?appids=271590
-
3
-
2
-
1
-
-
Thanks for doing this Reg. If there was one thing I appreciate more than anything, it has to be - the ability to create and/or play my favorite slots from a 100% bygone era!
LONG LIVE MFME!
-
2
-


Fruit Machine's best played in Portrait?
in Newbies Help Area
Posted
I have a dedicated 39" screen in portrait mode for MFME, with separate buttons, and twin hopper unit, which is much better than playing on my 55" TV in landscape mode. However since V20 of MFME now supports 2 screens, I am tempted to try 2x 24" or 32" screens in landscape mode next.