


No1Stoney
-
Posts
427 -
Joined
-
Last visited
-
Days Won
17
Content Type
Profiles
Forums
Gallery
Downloads
Articles
Posts posted by No1Stoney
-
-
Hi everyone,
For those that are interested in these cabs, I am starting work on my 2nd build. This time I am converting a real fruit machine cabinet (Barcrest genesis cab) and turning it into a multi-fruit machine.
Seeing everyone's builds recently gave me the itch again to get stuck into another project and as I have a good friend who wants my old cab, I am selling him my old one and creating a new one for myself. These will be linked via the internet to share RAM states, so we never know what state a machine will be in. Seeing it's just between 2 friends, this will be done via a basic OneDrive account which will host the RAMs.
I have not long started the project, but I thought I'd share my progress as I go along with you.
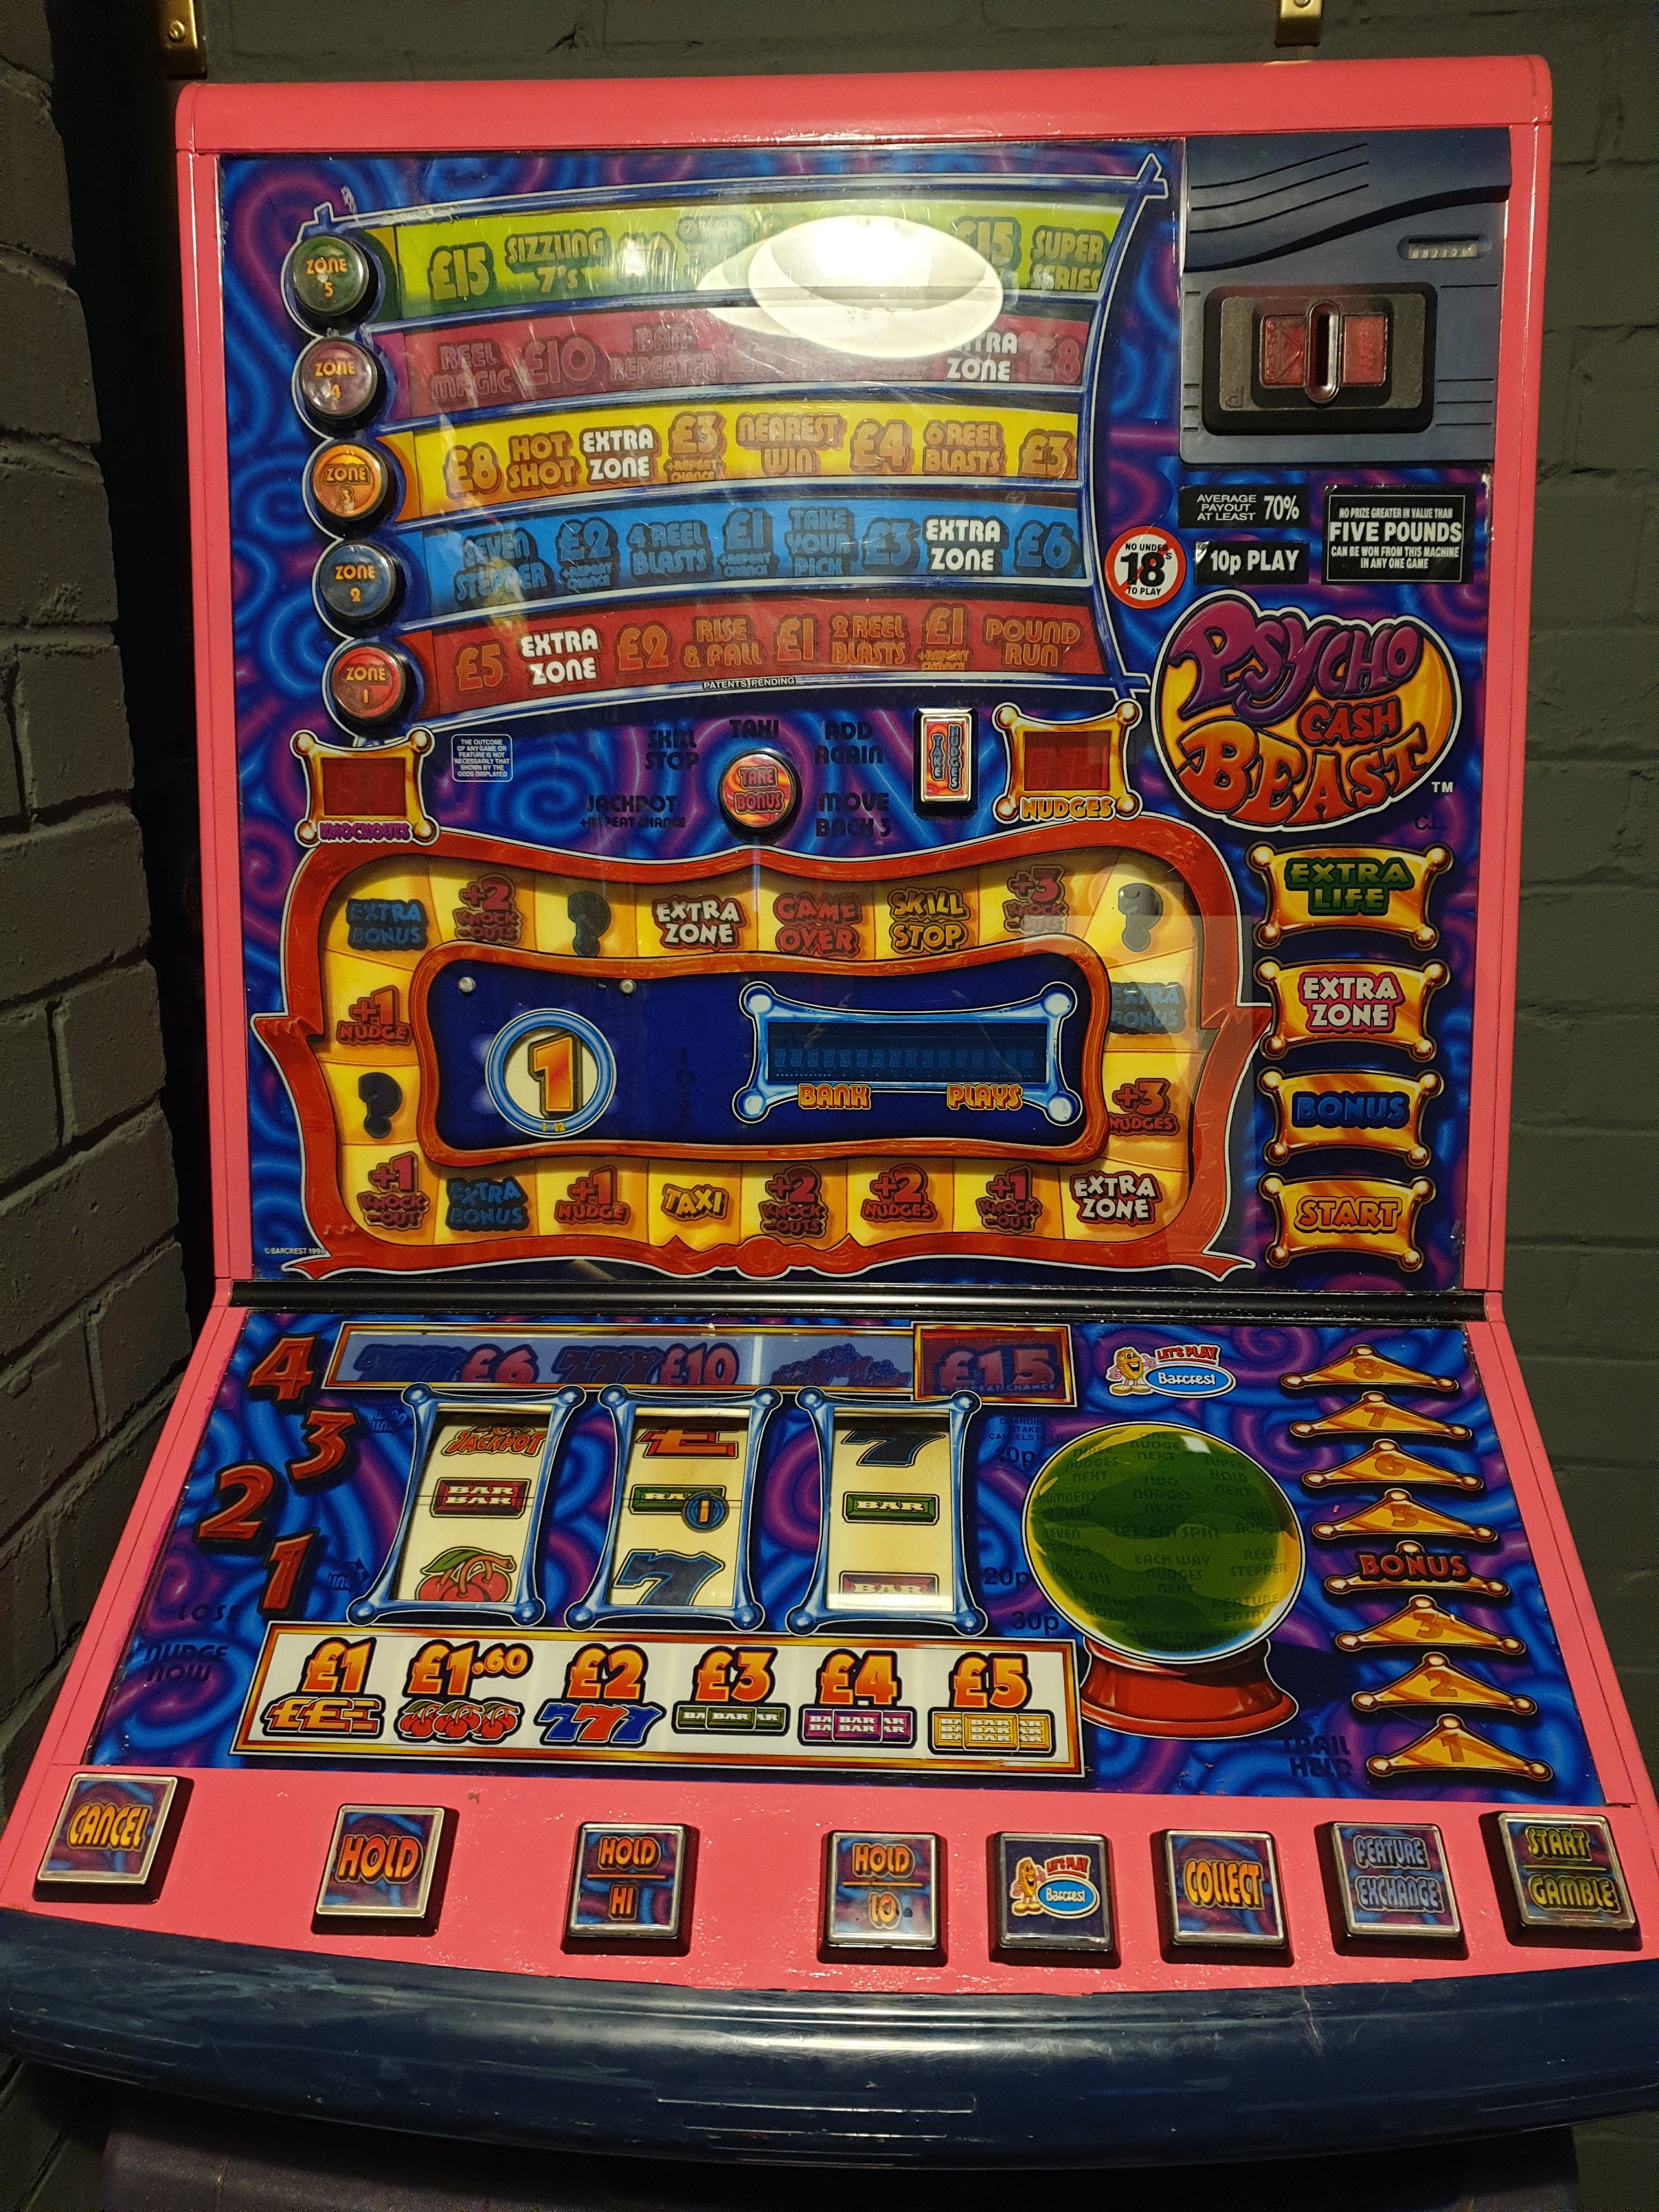
This was my original cabinet (now sold)
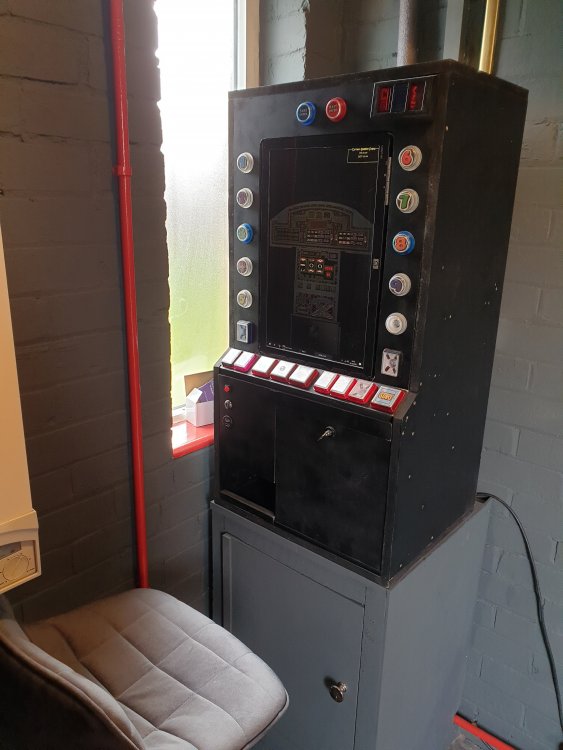
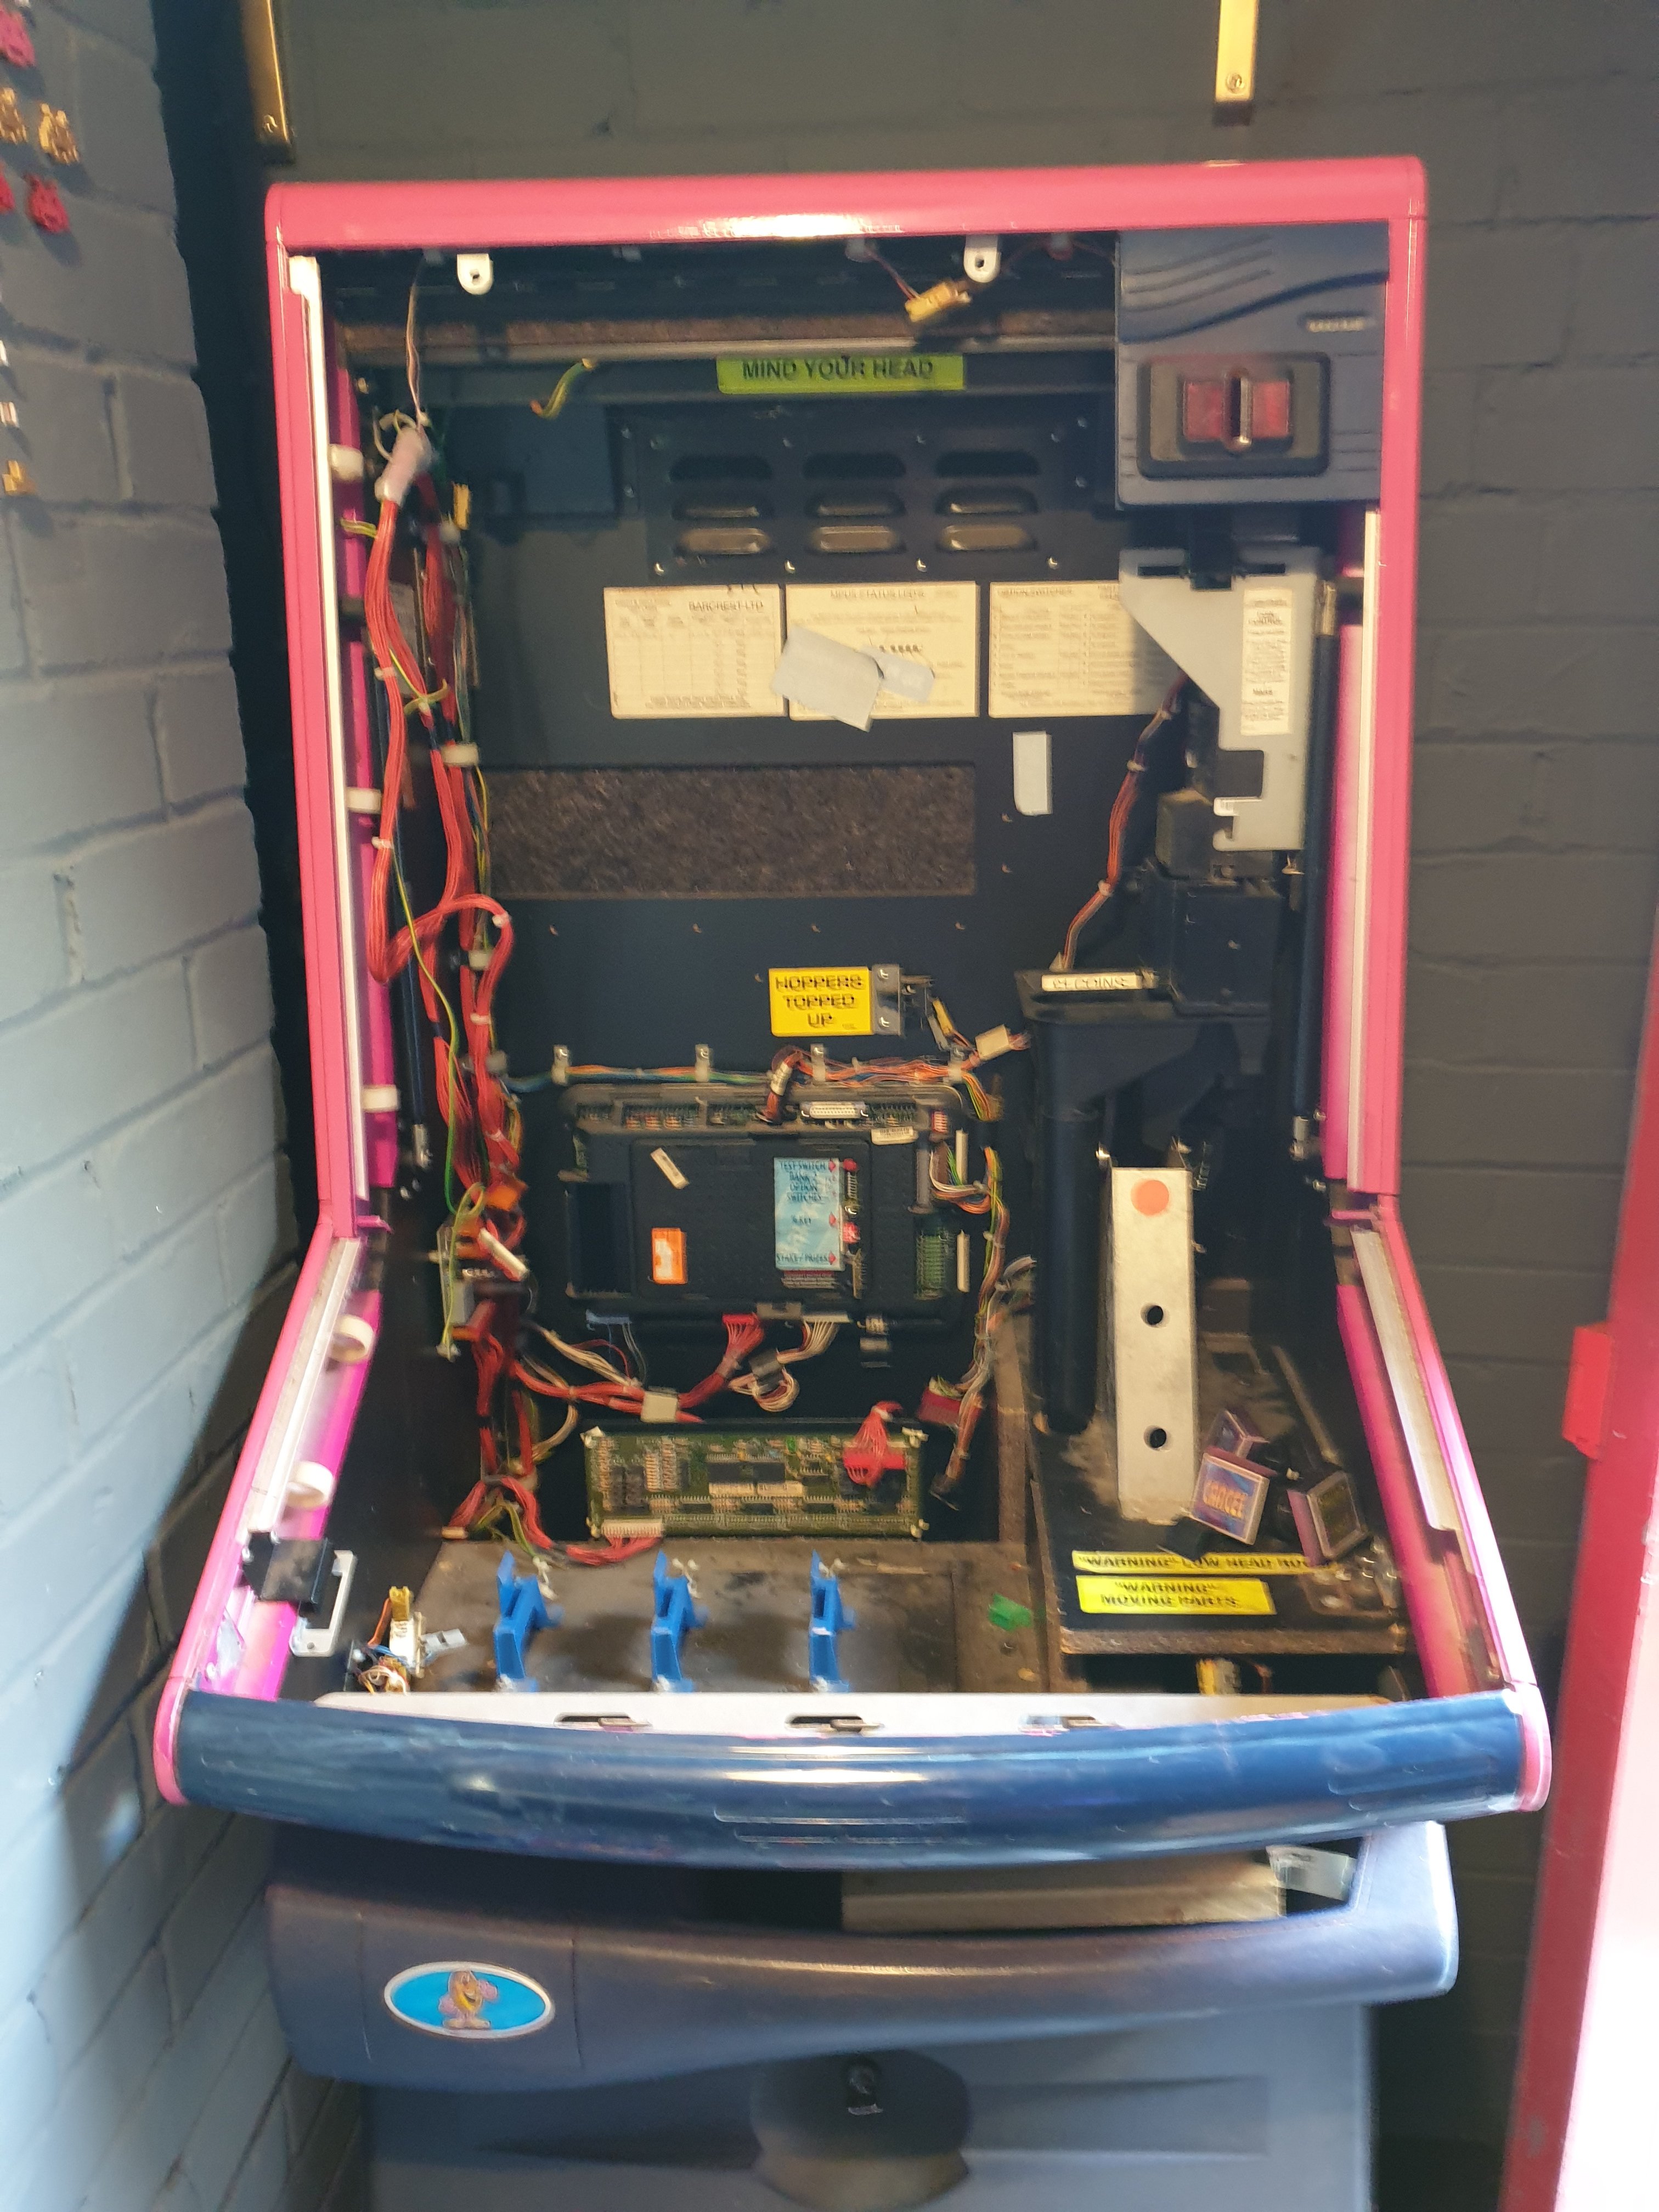
And now onto my new one.... (Please not machine was pretty beat up before this project and was not working before anyone moans about me breaking a cash beast)
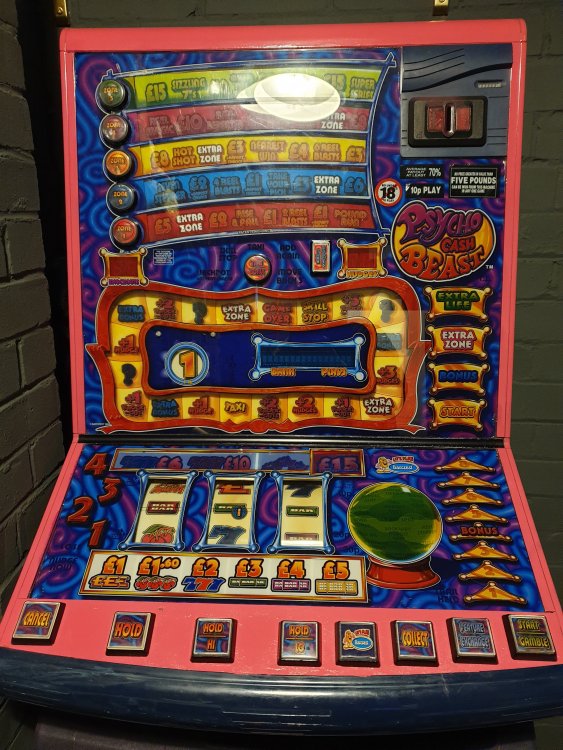
So onto removing the glass. I was totally winging it here as I had NO IDEA how to remove the glass and I knew that once I'd committed to stripping stuff out, there wasn't really any going back.
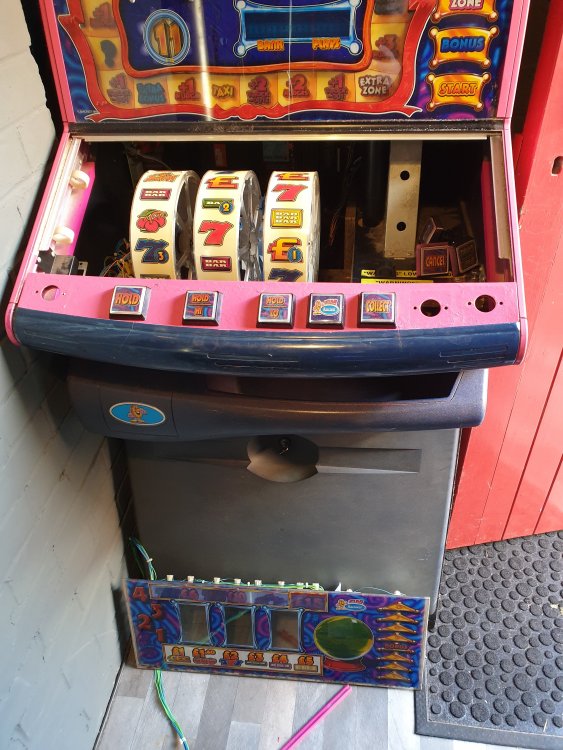
Both glasses removed. Not too bad after all once you know how to remove the braces.
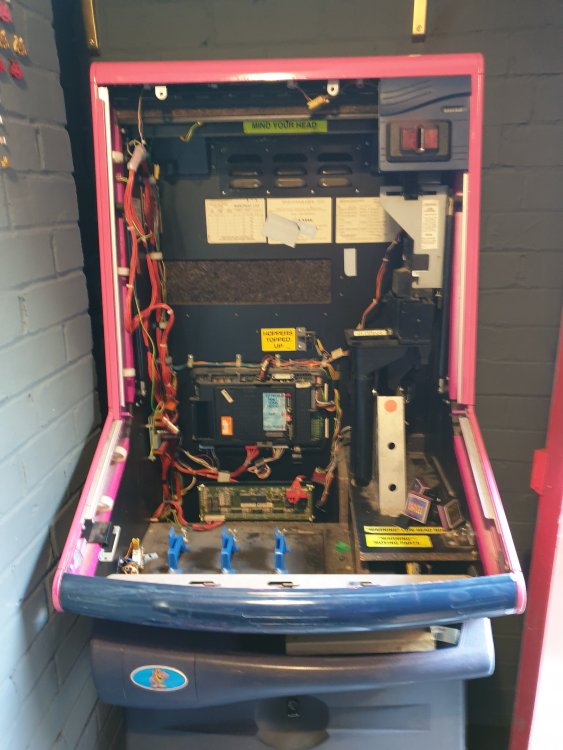
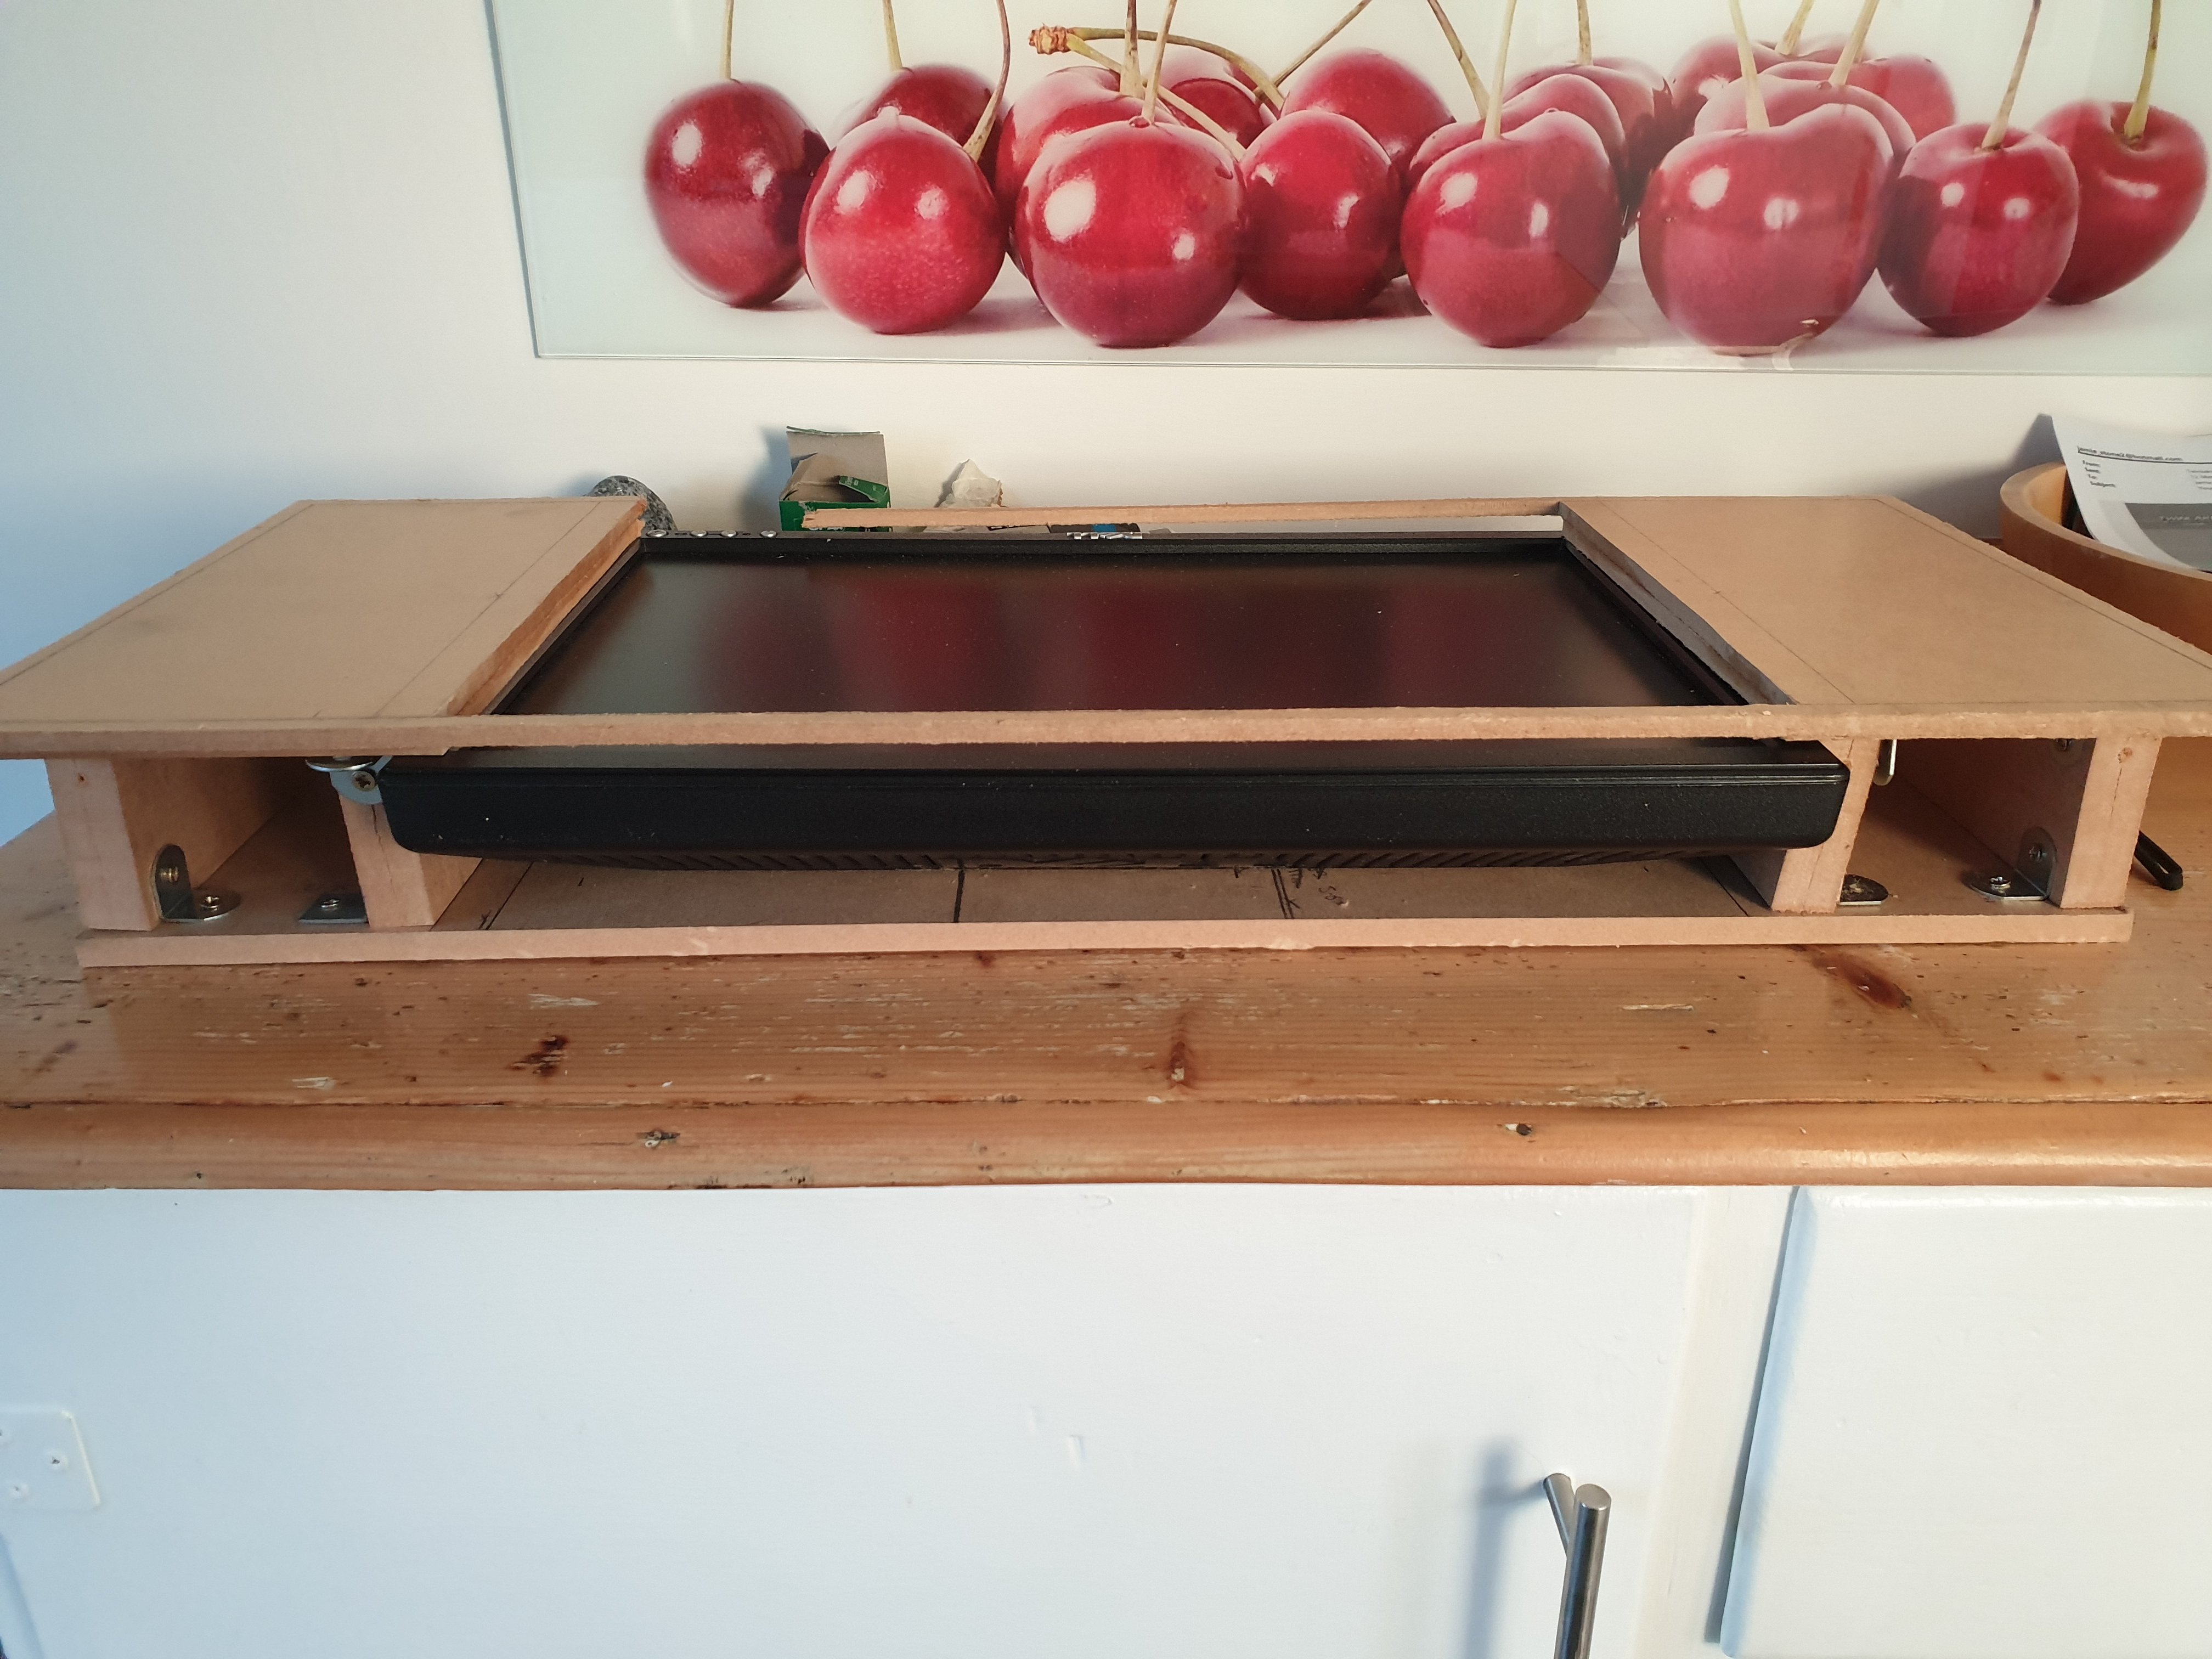
So I want to use 2 screens in this machine, one on the top glass (portrait) showing the actual machine, and a bottom smaller screen in landscape showing info about the machine
and also will be used to choose a machine to play.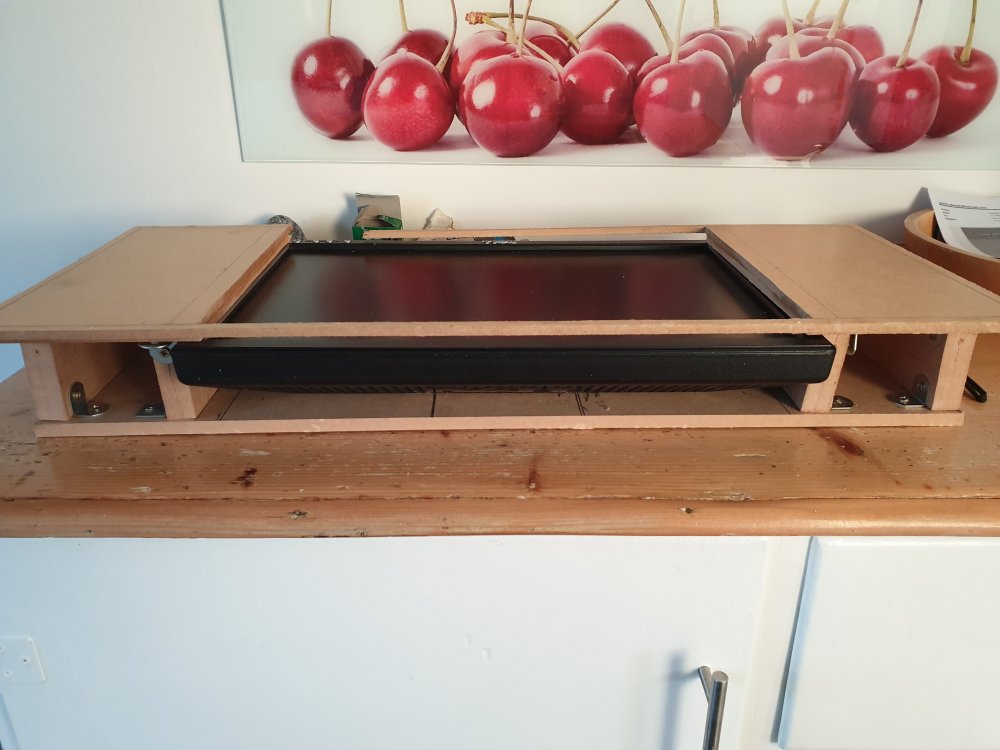
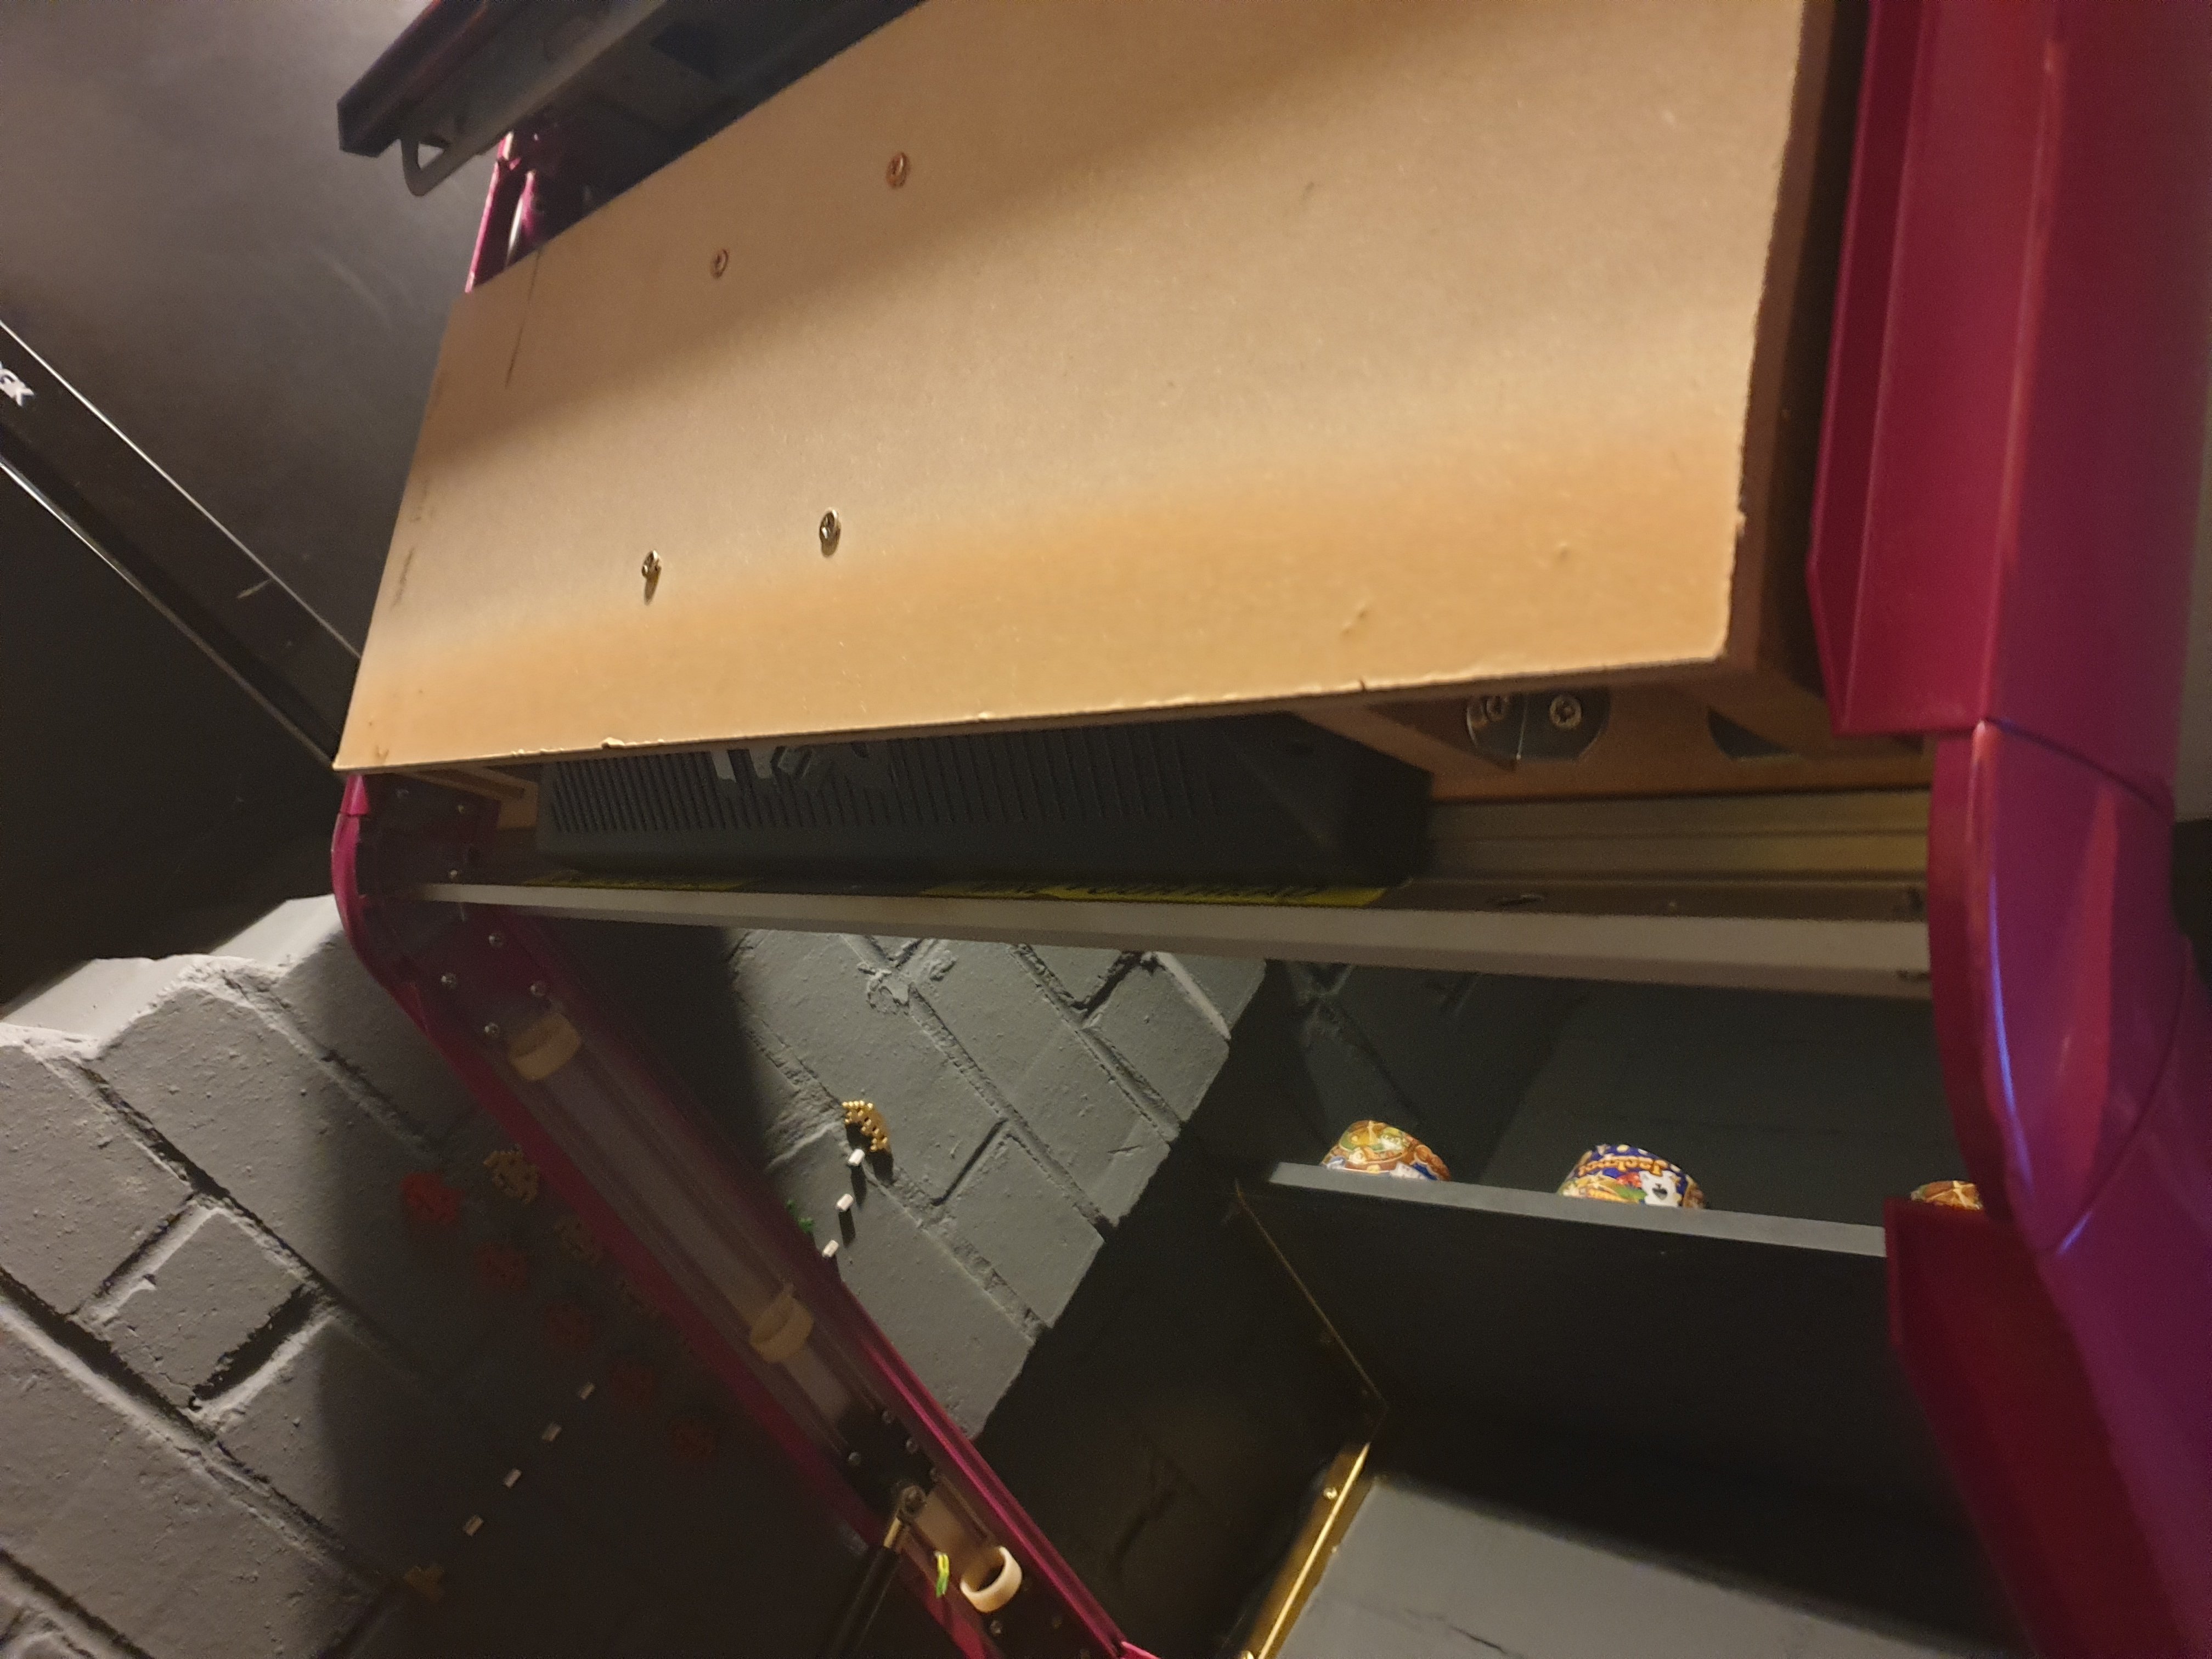
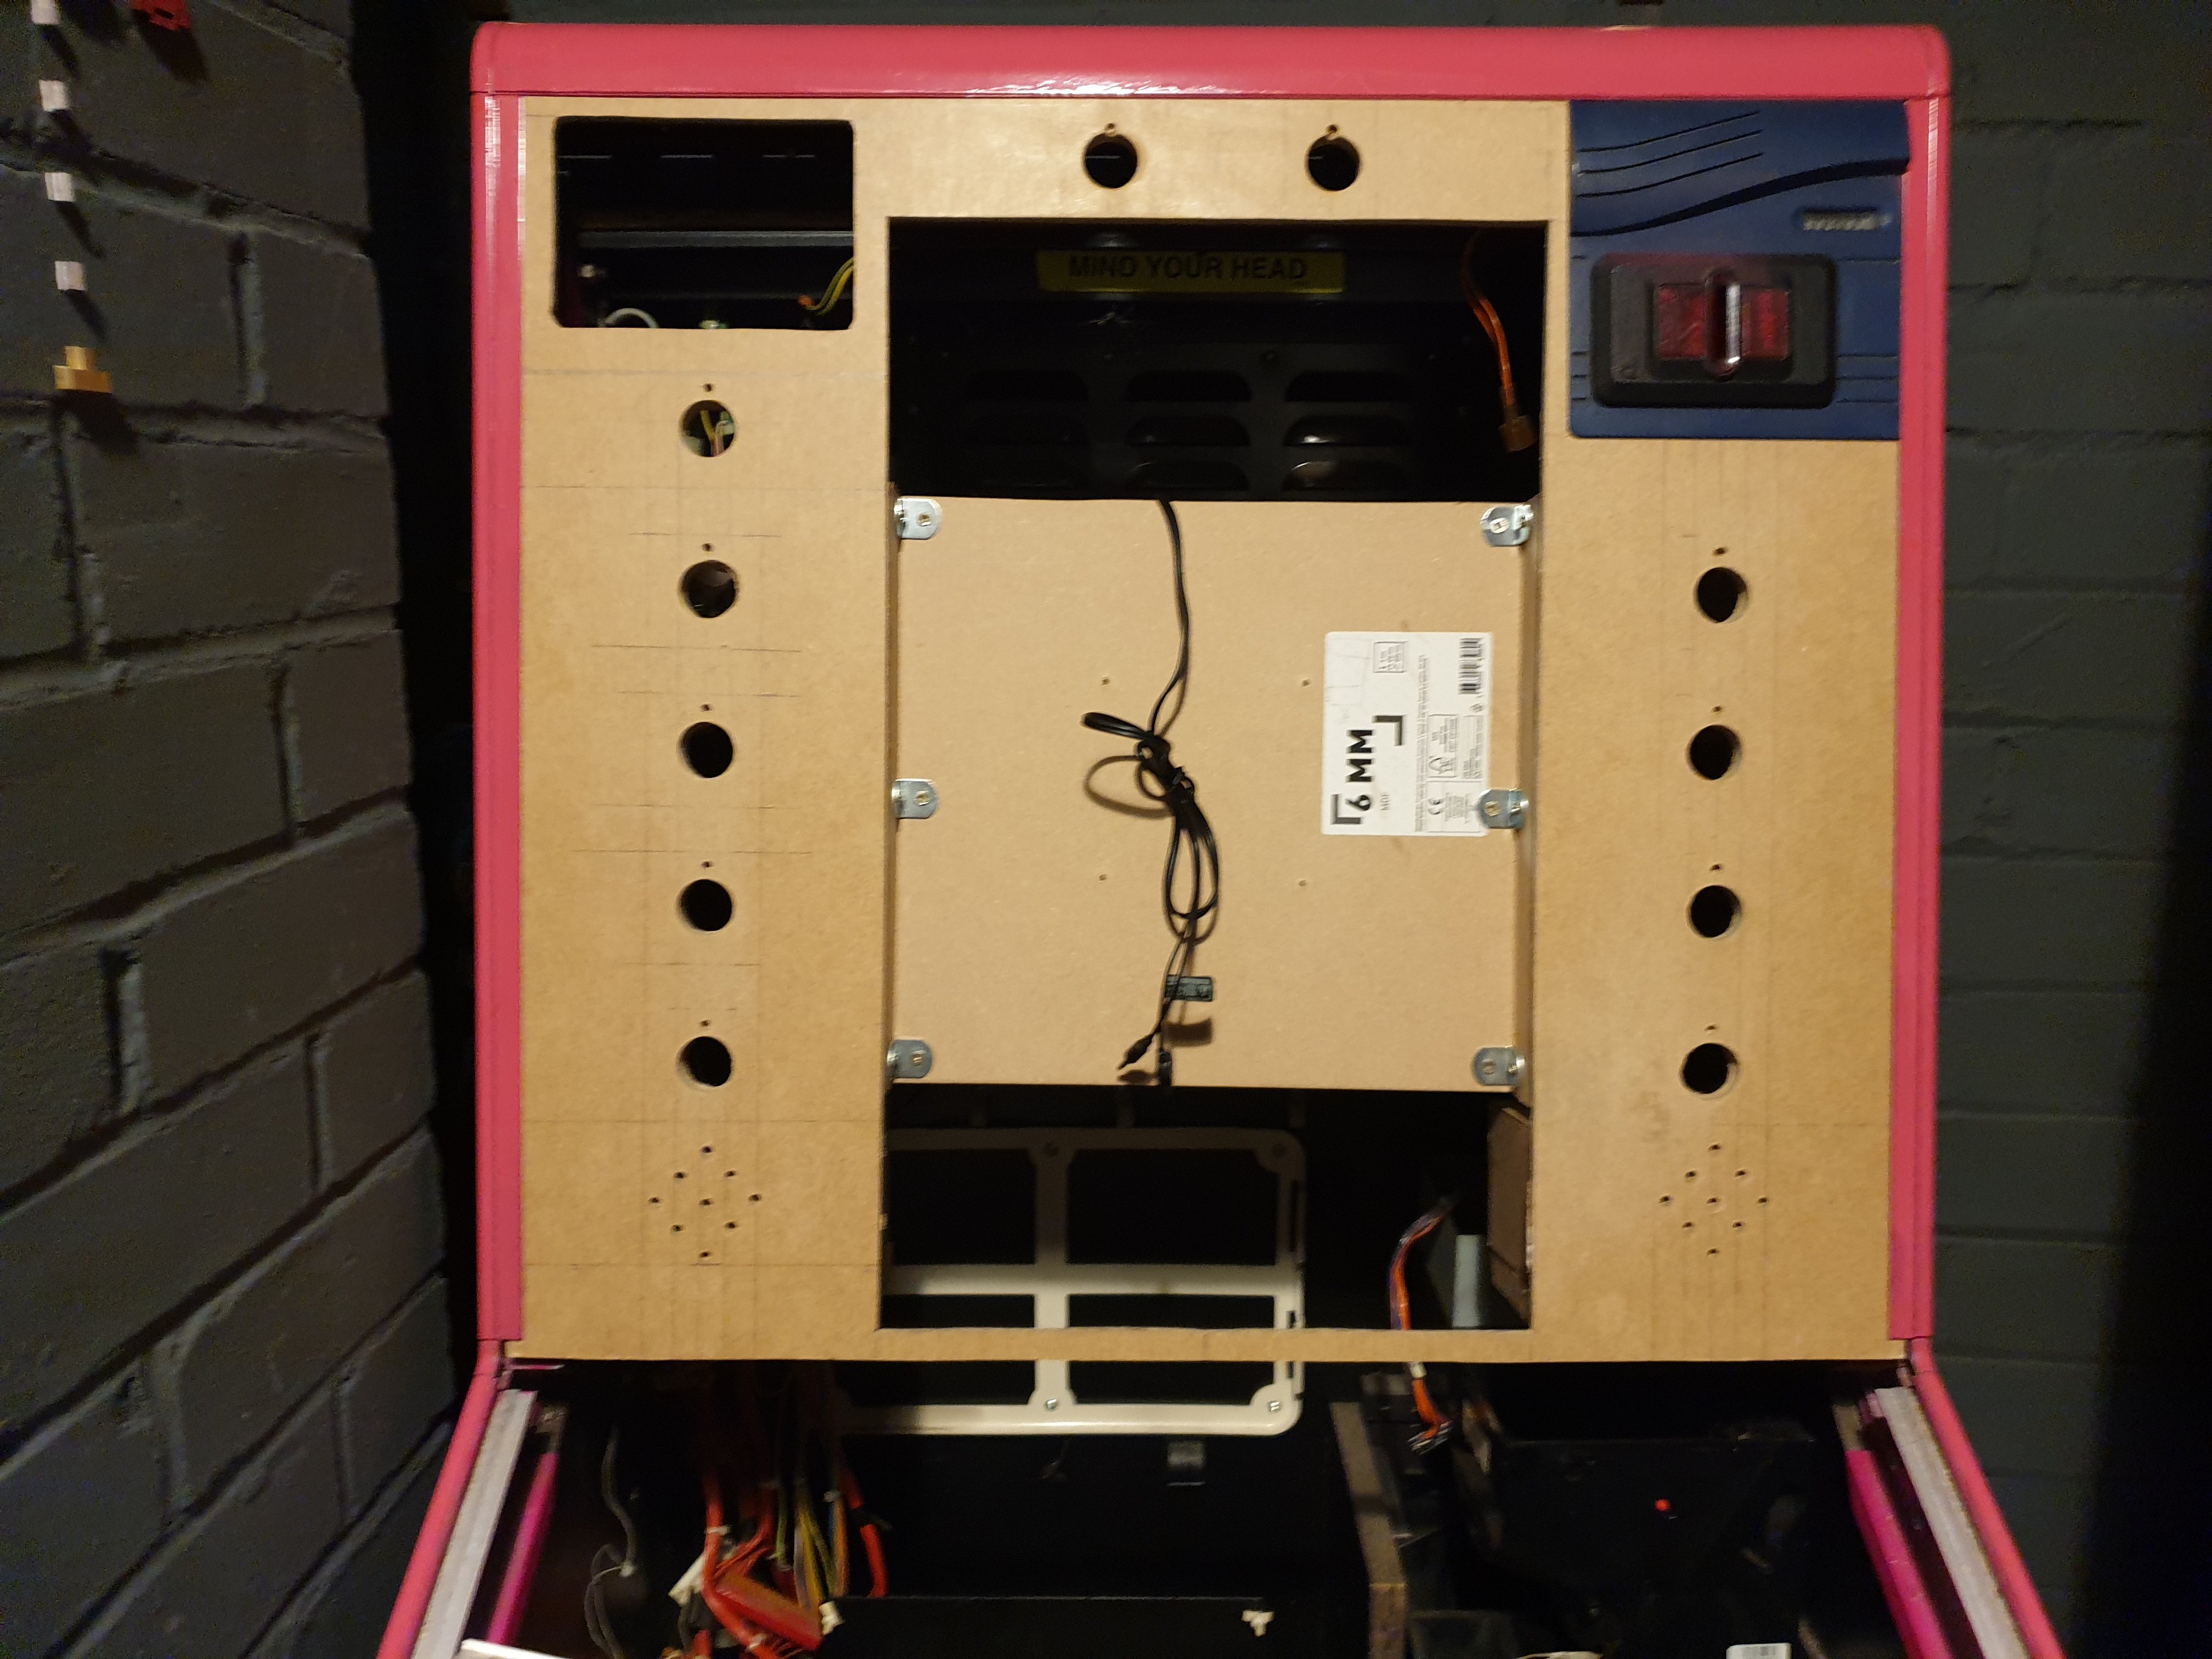
Then I tested that the panel I made would actually fit into the machine and also that it remained secure. Essentially it is 6mm hardboard supported by brackets all round, but it does have to support a fair bit of weight. I was pleasantly surprised that it felt very secure.

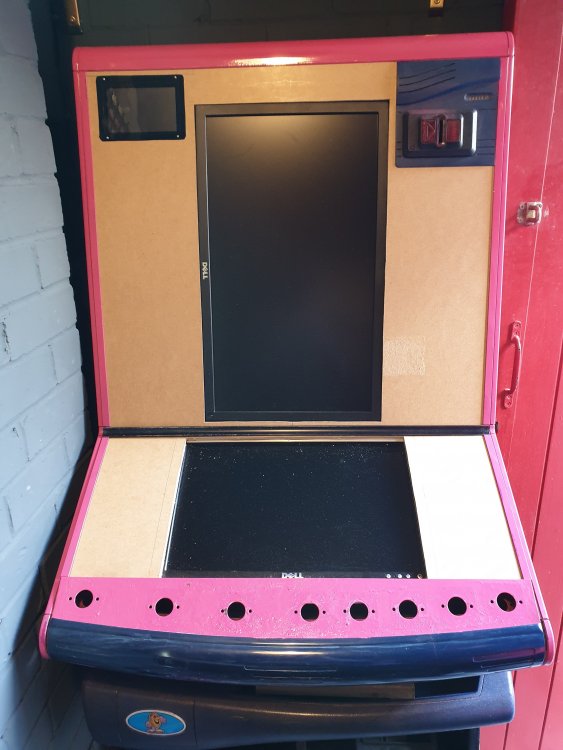
This is what it would look like when closed, obviously buttons and painting needed to make this panel complete. Not to mention pacdrives and all the wiring.
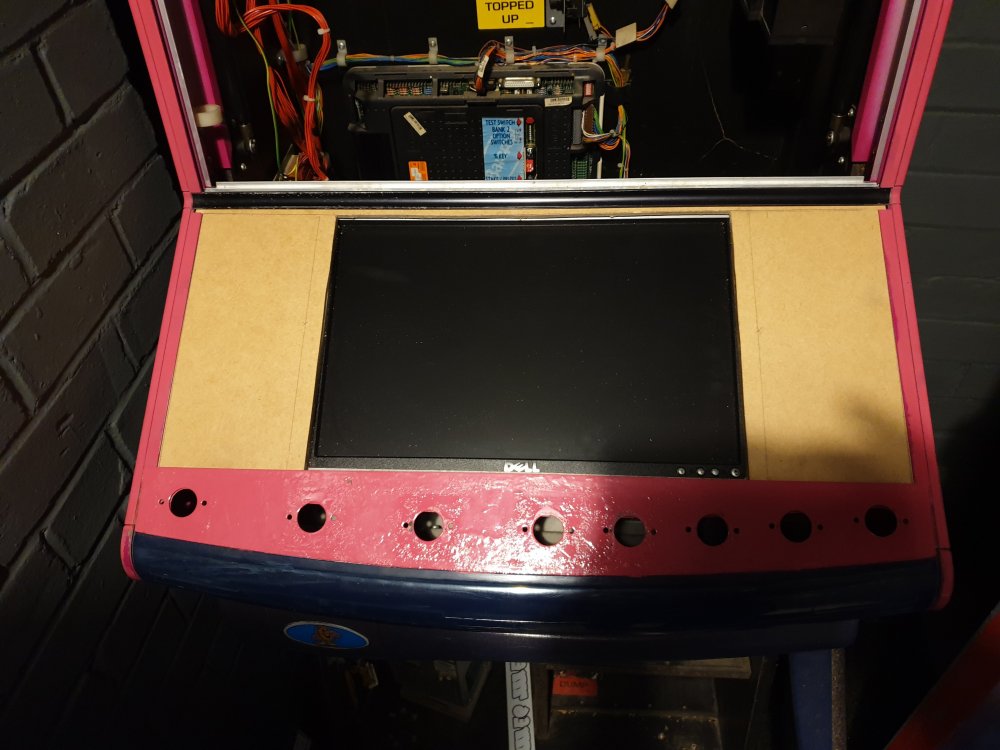
Top panel created in a similar way, this time housing a bigger monitor and also a touch screen mini monitor in the corner.. I'm hoping to be able to use this as some kind of touch screen music player of some type. Maybe linked to my spotify account. Original coin mech will remain but repainted black. The whole cab is getting resprayed black too.
Top panel all drilled out. The bottom holes are for 2 speakers that sit either side of the monitor.

Bottom panel all painted and buttons inserted. The pic makes the buttons look 'wonky' but they are in fact straight when secured properly. The break in the wood at the bottom is because of an obstruction in the cab. This is completely hidden when in place.
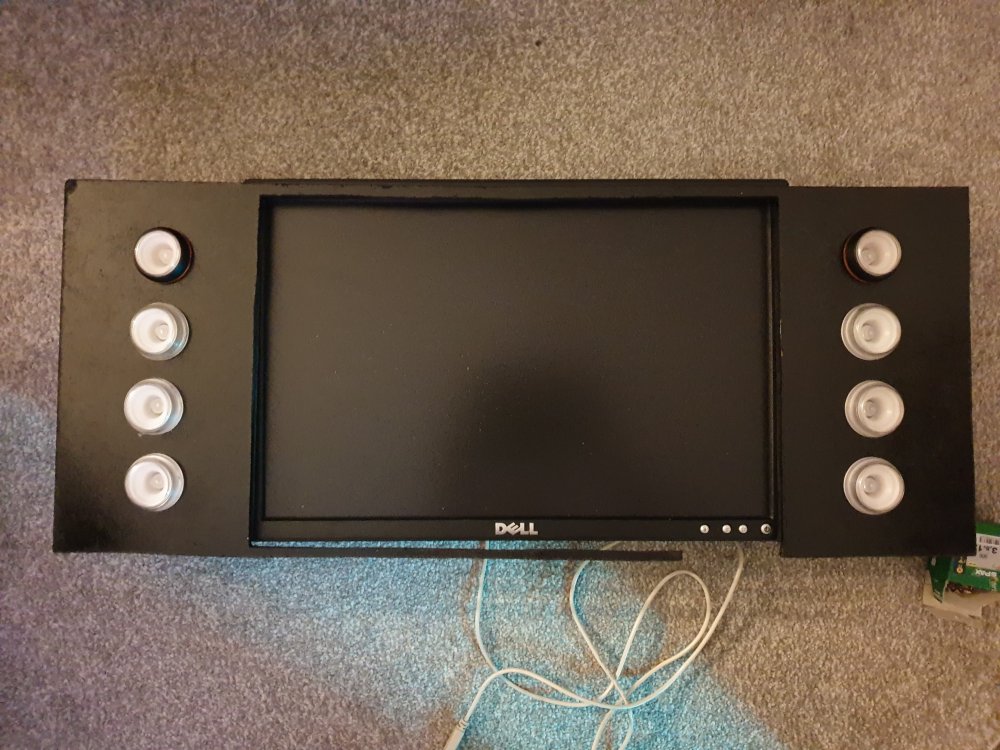
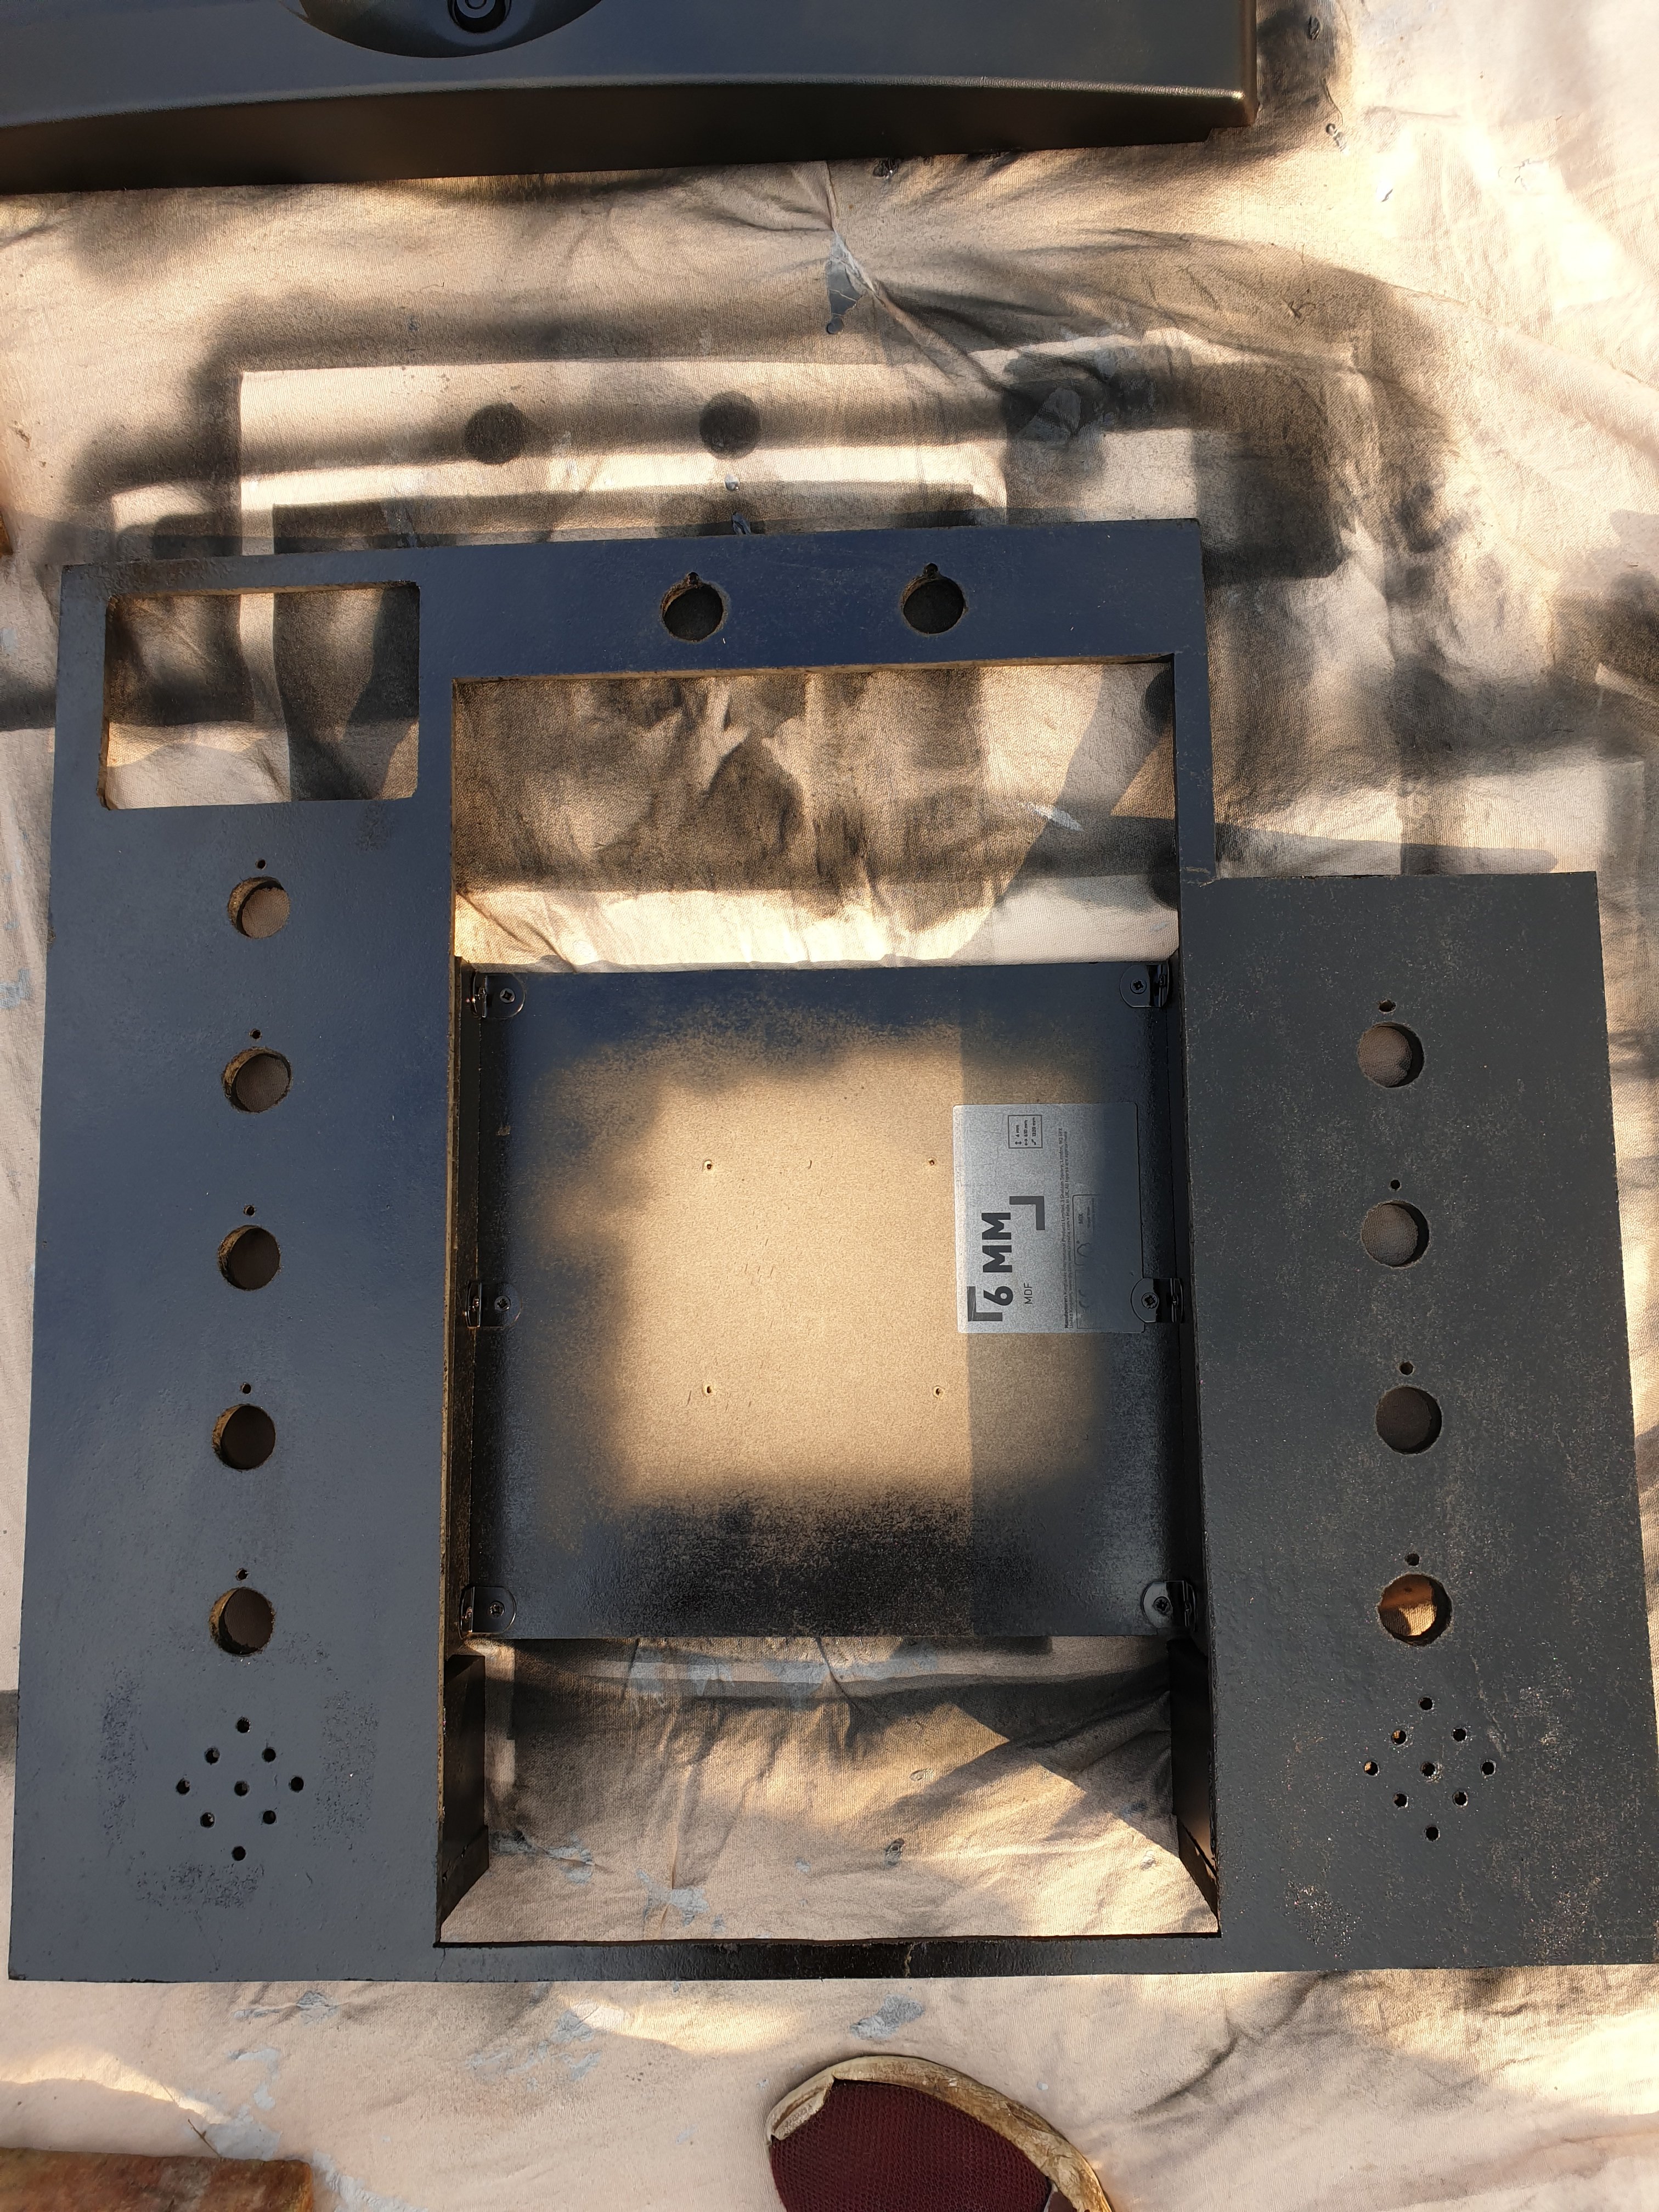
Top panel pained along with several other bits from the cab. This is now ready to be filled with buttons and wiring.

And that's where I am at the minute. I'll keep everyone updated, but I am fully respraying the cab in a few days, then putting the panels and cab all back together before wiring the whole thing up.
It will take coins with the original coin mech and slot, and payout into the existing payout tray. I have to design a base for the hoppers to sit on and put some tubes in to direct coins to the new hoppers.
I'm still yet to decide on the exact software for my front end. I did create my own for my original cab and I'm unsure yet whether I'll adapt that and use that again or use another like Fruitbar.
Thanks for reading.
-
 4
4
-
 2
2
-
-
Haven't gone back to it just yet as haven't had the time. I will have a go at your suggestions and see how I get on. It looks really good and I'm hoping to use it in a new build I'm currently working on
-
First check with notepad that the 10p hopper is pressing the [ or ] key each time a coin passes the sensor. If it is, then if its a scorpion 4 machine, try a mpu5 machine and see what happens as some scorpion 4 machines don't work correctly with dual hoppers.
-
I think you need to look at the laptop cable like @cja272 has done. Under the metal sheaf in the laptops power cable should be the wires. Because you have used your laptop for usb and the separate psu for the hopper , it doesn't share a common ground. Remember its all about the hopper getting the signals to pay out and stop paying out. (Your test bulb will light as there is power going to your hopper) This is driven both by the pacdrive and the ipac so everything needs to be on the same circuit . To do this everything needs to share that common ground wire.
-
1
-
 1
1
-
-
Take a ground from one of the black wires off the PCs PSU. Assuming of course that the PSU powers the PC which your USBs are on.
-
Could this be another issue with 'common ground' in other words is the hopper sharing the same ground as the ipac? The easy way to solve this if possible is splice into one of the ground wires from the pc the usbs are plugged into and use that for the hopper ground. If the hopper and ipac are connected on separate circuits then it won't work.
-
Still having no joy with this at all. I got the settings page up and located all the paths and imported the ROMs. All OK so far. Then fruitbar prompts to restart the app which I do. Upon restart, the settings page is back to default again (I've tried clicking the save button under MFME settings too) so nothing is getting saved. Trying to boot a machine results in the MFME loading bar appearing then nothing else. I'm not sure what I'm missing here.
-
Thanks @Zakkieboy44 shift was the key I needed. The manual says press Control. I'll have another tinker now. Cheers
-
I'm really keen to give this program a go to use in a new cab build I am planning. However I just can't seem to get ANYWHERE with the app. Not sure what I'm doing wrong, so hopefully you can help. But I copied fruitbar into a folder which contains a folder named "rom" and load the app. I get a splash screen with music then afterwards a line of blank cabs. Your manual says press Control to open the settings page, but all that happens is the app asks if I want to quit. The 'cog' icon only takes me to the website. I can't seem to get anywhere at all with it to set it up. Strangely, it does seem to pick up the roms folder as above the empty cabs, are the names of machines contained in that folder. If I click to play them, MFME loading bar shows, but the emulator doesn't load up. I'm really confused. Hopefully you are able to assist @appstrader Thanks.
-
The refill cash message on a real machine is when the 2 metal discs in the hopper aren't joined together by the metal of coins inside it. If this is the case, regardless of what the machine thinks is in the hoppers, if those 2 discs aren't joined to create a circuit then it assumes the hopper is low of coins. In a real machine you can bypass this by joining the 2 wires connecting those discs together. In mfme this circuit is emulated by way of a button (or checkbox 32 if I remember rightly??) And by adding said checkbook and ticking it, should get rid of the message. It has nothing to do with the amount of coins the machine thinks is in the hoppers
-
Looking really smart that. Nice job
-
This is where blended lamps can help. As you light up the whole image in photoshop and then MFME will split the image up by way of blending the lamps. You can create a 'mask' in MFME which acts as the place where the lamp would be positioned on the image and then assign it with a lamp number. Have a look at my King kebab layout and look at the king kebab logo between the reels and the trail to see how to set them up (There are 8 lamps on 1 image).
-
Yes, all correct.
It doesn't matter what way round the microswitch wires go as the button press just completes the circuit back to the ipac
-
2
-
-
When the games load up, click the topbox and the click ESC. Then move the topbox where you want it. Do this for the other slave units if you want. Then on all but the topbox, press f2 (or f3?? Sorry not as pc at moment) to get rid of the top bar, then close the topbox. This should save where the windows should be. And next time you load them, they should load exactly where you left them . Hope that helps
-
Could you load winipac without the ipac connected. Find the output that uses '5' and disable that port completely. Then replug the ipac ?
-
I'm wondering if something has shorted while powered up . If that's the case I'd be concerned its unfixable but I really don't know. I just can't see how its something straightforward if its doing it in another pc with no wires except the USB plug inserted.
-
Has this happened as soon as you sorted your common ground ? If so then its probably related to that. If it worked fine for a bit since then, its probably not related.
Does sound like maybe a wire is shorting somewhere?
Edit: just seen you said tried in another pc so unlikely to be that. Is it still doing that with all wires disconnected ?
-
Have you tried different USB ports ? You're using a USB hun aren't you? Maybe its faulty or overloaded.
-
No I don't think they are. But I believe they work in such a way that will work with MFME if wired correctly. I don't have any experience with these. The universal one is in Reg's build and I think the wiring is also different.
-
1 hour ago, Road Hog Mad said:
They had to be Parallel or something didn't they?
Yes they do. There are also Suzo's cube hopper and Coin control's universal hopper that will also work in these builds. all have to be parallel versions.
-
Got there in the end. Well done to everyone involved and shows what can be achieved by sharing knowledge and putting heads together.
If the hopper stops after 1 coin maybe the coin sensor is dirty ? If the hopper detects a coin for too long across the sensor it stops the hopper as it thinks there is a fault. Am stumped on the 10 second delay though. Has that been resolved now?
-
Have a look at the posts on page 3 for the explanation on the ground solution
-
1
-
-
I think that would be right although i think you would also need a 0v going back from hopper to the 24v as well as a 0v to the 12v psu. At least that would create a connection to the same 0v. As much as I think it should be ok to try, try at your own risk here.
-
Just now, Psycon said:
It's less than a second. If I get a 24v power supply, how do I make the negative wire on the same loop as the 12v wires so they share the same earth?
Unfortunately I am not sure on that one as I'm not great with all that. I imagine it wouldn't matter if you linked the 2 earths together and try again but I really can't be sure so seek someone else's advice on that one


My new cabinet project
in Cabinet Building
Posted
Thanks! Yes sharing .RAM states in theory should be very simple to do on a larger scale. I did attempt such a program a while ago but I couldn't get the downloading and uploading on files to be stable enough to ever release openly. For this project it will be using a Onedrive account as that seems to work great in testing. For anyone else who has friends who enjoy playing MFME you could set up a personal account and all login to it on their pcs. Then have the mfme roms all on there. Granted there's a 5gb limit for a free account but thats still plenty of layouts to enjoy.
@MPU_FIVE I did toy with that concept of bottom reels on bottom screen, but I decided it would be too much work to chop all the layouts around to make them stretch over the screens perfectly intersecting the top and bottom glasses. However its something I might look into again one day. The beauty of creating a cab of your own is you can customise it just how you want. i am looking to use the bottom screen for displaying the 'topbox' on multilayer games. But I first need to see if I can get a 2nd mfme screen to default to the 2nd screen and also whether it actually looks any good doing that. And yes cost does start adding up quickly but luckily for me over time I have a spare set of hoppers, buttons, coin mech, wiring and pc hardware to make a dent in that.